Private servers on Roblox offer a unique way to enjoy experiences with more control over who can join. Instead of playing in a public server with strangers, private servers allow you to create a more intimate and controlled environment. Whether you want a space to play exclusively with friends, host a private event, or simply explore an experience without interruptions, setting up your own private server provides the flexibility you need. While some private servers are offered for free by experience creators, others can be monetized through a monthly Robux subscription, providing creators with a way to earn while offering enhanced user experiences.
Private servers offer several key advantages, making them ideal for various situations:
- Play with Friends: Enjoy Roblox experiences exclusively with your chosen friends, creating a more social and personalized gameplay session.
- Host Private Gatherings: Organize classes, meetings, parties, or any event within a Roblox experience, ensuring a focused and private setting.
- Content Creation: Record videos or stream gameplay without the presence of other users, providing a clean and controlled environment for content creators.
- Resource Farming: Gather in-experience resources efficiently without competition or interference from other players.
It’s important to note that you cannot simultaneously enable both paid access to your experience and private servers. You must choose one monetization method. Additionally, players under 13 might face restrictions in joining private servers based on their account privacy settings and parental controls.
Enabling Private Servers for Your Roblox Experience
Before you can offer private servers, ensure your Roblox experience is set to public for all users. Here’s how to enable private servers:
-
Navigate to Game Settings from the Home tab in Roblox Studio.
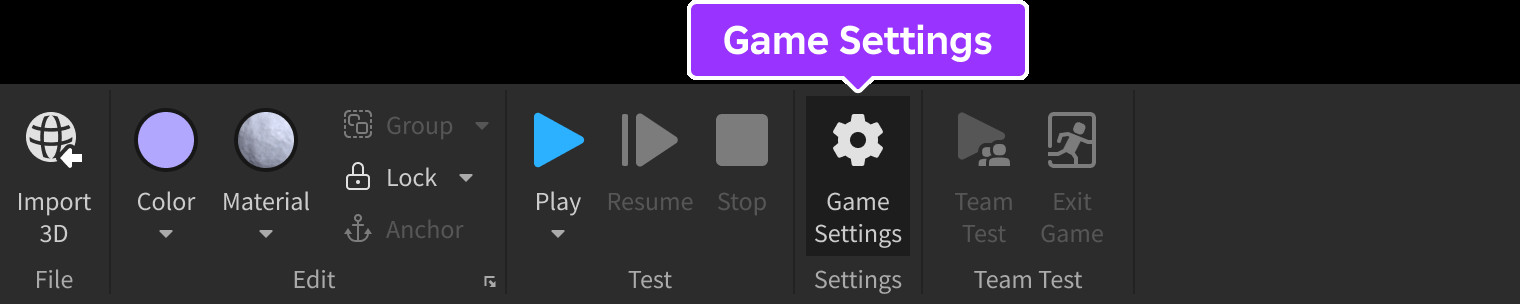 Accessing Roblox Game Settings from the Home Tab to set up a private server
 -
In the Game Settings panel, locate and click on Monetization in the left-hand navigation menu.
-
Find the Private Servers toggle and enable it. Once enabled, you’ll see additional settings to configure monetization options for your private servers.
- Free Private Servers: Select the Free option to make private servers accessible to all users without any charge.
- Paid Private Servers: Choose the Paid option and enter the desired Robux price for monthly access to your private server. This price directly impacts your earnings from each subscription.
-
Click the Save button to apply your changes.
Remember that altering the price of your private servers will automatically cancel all existing subscriptions. Users with active subscriptions will receive an automated private message in their Roblox inbox informing them of this change.
In conclusion, creating a private server on Roblox is a straightforward process that can significantly enhance the user experience for both players and creators. By following these steps, you can easily set up private servers and offer a more controlled and personalized way to enjoy Roblox experiences.