Discord server roles are the backbone of any well-organized community. They’re not just fancy labels; they’re powerful tools that allow you to manage permissions, structure your server, and create a better experience for your members. Whether you’re looking to set up roles for moderation, content access, or just for fun, understanding How To Get Discord Server Roles working effectively is crucial.
This guide will walk you through everything you need to know about Discord server roles. We’ll cover what they are, why they’re important, and, most importantly, provide detailed, step-by-step instructions on how to create Discord server roles on both desktop and mobile. Let’s dive in and learn how to take control of your Discord server with roles!
Understanding Discord Server Roles
Discord roles are essentially customizable labels that you assign to members of your server. Think of them as digital name tags that come with superpowers. These roles are more than just visual identifiers; they dictate what members can and cannot do within your server. Understanding what Discord server roles are is the first step to effectively managing your community.
Here’s a breakdown of why Discord roles are so important:
- Organization: Roles help you categorize members, making it easier to manage large communities. You can visually distinguish moderators, VIPs, or members with specific interests.
- Permissions Management: This is the core function. Roles allow you to grant specific permissions, like moderating channels, managing messages, or accessing exclusive content. You can control who can do what, ensuring a safe and structured environment.
- Customization: Discord roles are highly customizable. You can assign colors to roles, making member names stand out. You can also assign multiple roles to a single user, layering permissions and access.
- Automation: With Discord bots, you can even automate role assignment, such as setting up auto roles Discord for new members or allowing users to self assign roles Discord based on their preferences.
Essentially, mastering Discord roles is about learning how to effectively control access and permissions within your server, leading to a smoother, more organized, and engaging community experience.
There are several key aspects you can customize within each role:
- Color Customization: Change the color of a role member’s name, making it visually distinct in the member list and chat.
- Channel Access Permissions: Define which channels role members can view and interact with. This is crucial for creating private channels or controlling access to specific information.
- Server Action Permissions: Control what actions role members can perform within the server, such as moderating messages, managing nicknames, or even server administration tasks.
How to Create and Manage Discord Roles on Desktop
Creating server roles on desktop is a straightforward process. Follow these steps to learn how to create Discord roles on your computer:
Step 1: Launch the Discord Application or Web Browser
First, you need to open Discord. If you have the desktop application installed, simply click on the Discord icon to launch it.
 Open Discord Application on Desktop
If you don’t have the app installed, you can access Discord through any web browser by going to the Discord website. Both the app and the web version offer the same role management features.
Step 2: Select Your Server and Access Server Settings
Once Discord is open, navigate to the server where you want to create roles. On the left-hand side, you’ll see a list of your servers. Click on the icon of the server you want to manage.
After selecting your server, right-click on the server icon. This will open a dropdown menu with various server options.
 Access Server Settings from Server Icon Dropdown Menu
Step 3: Navigate to Server Settings
From the dropdown menu, select “Server Settings”. This option will take you to the server settings page, where you can manage various aspects of your server, including roles.
Access Server Settings from Server Icon Dropdown Menu
Step 4: Open the Roles Tab and Create a New Role
In the Server Settings menu, you’ll see a list of tabs on the left-hand side. Click on the “Roles” tab. This will bring you to the server roles management section.
Once in the “Roles” section, you’ll see a “Create Role” button, typically located at the top of the roles list. Click this button to start creating a new role.
Access Server Settings from Server Icon Dropdown Menu
Step 5: Customize the Role’s Appearance in the Display Section
After clicking “Create Role,” you’ll be taken to the role customization page. The first section you’ll see is the “Display” section. Here, you can customize how the role appears:
- Role Name: Enter a descriptive name for your role. Choose a name that clearly indicates the purpose or function of the role (e.g., “Moderator,” “VIP,” “Member”).
- Role Color: Select a color for the role. This color will be displayed next to the usernames of members assigned this role. Choose a color that is visually appealing and helps distinguish the role.
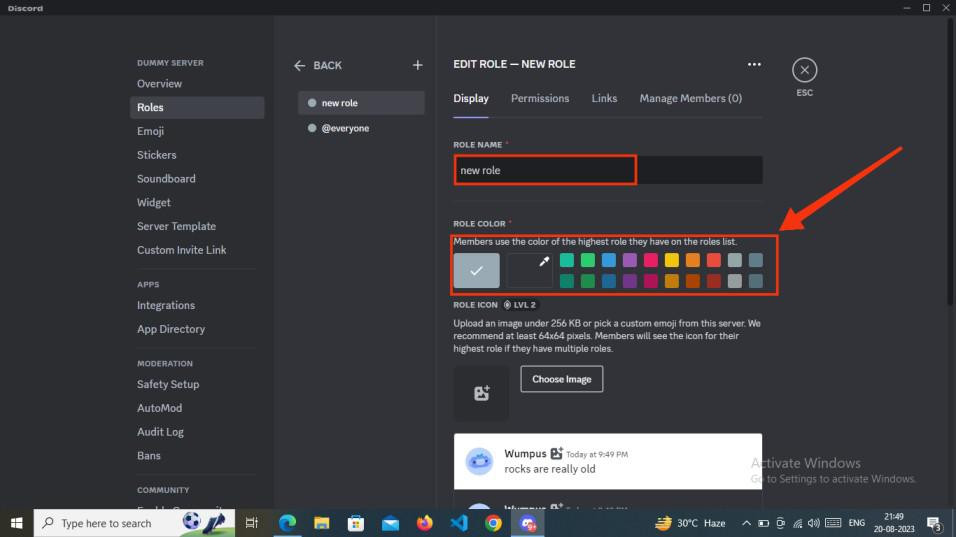 Customize Role Display Settings: Name and Color
Step 6: Manage Role Permissions
Next, navigate to the “Permissions” tab within the role settings. This is where you define what abilities and restrictions members with this role will have.
Discord offers a wide range of permissions you can grant, from basic permissions like reading and sending messages to administrative permissions like managing channels and roles.
Carefully review each permission and toggle the switch to enable or disable it for this role. Consider the purpose of the role and grant permissions accordingly. For example, a “Moderator” role would need permissions to manage messages and members, while a general “Member” role might have basic communication permissions.
Crucially, remember to click the “Save Changes” button at the bottom of the page after configuring permissions to apply your settings.
Customize Role Display Settings: Name and Color
Step 7: Explore Linked Roles (Optional)
The “Linked Roles” tab allows you to connect roles to external accounts, like social media profiles. This is an optional feature, but it can be used to verify members or grant roles based on external affiliations.
If you want to use linked roles, you can click the “Add Requirement” button and follow the prompts to link to services like Instagram, Facebook, or PayPal. This is a more advanced feature and not necessary for basic role setup.
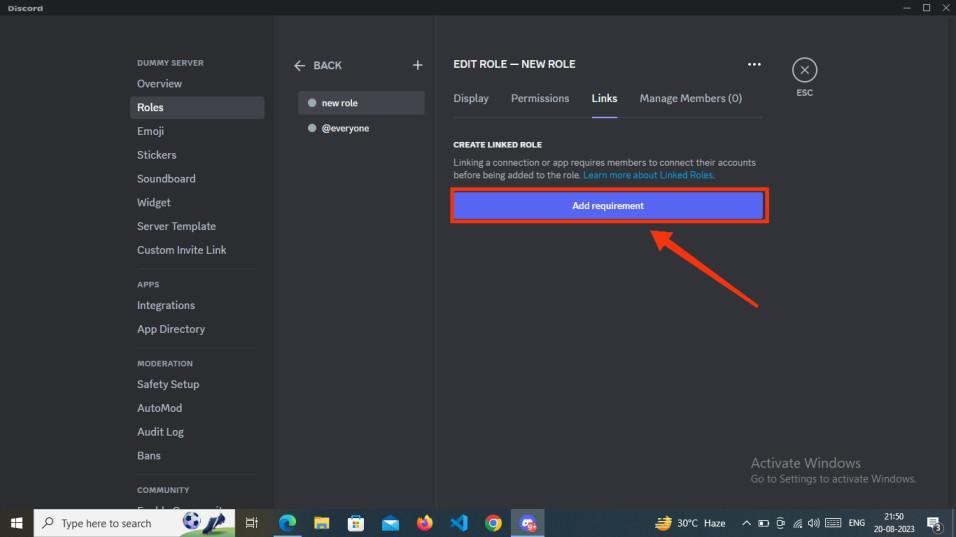 Linked Roles tab in Discord role settings, showing the "Add Requirement" button
Step 8: Add Members to the Role
Once you’ve customized the role and set permissions, you need to assign it to members. Go back to the main “Roles” tab in Server Settings.
Find the role you just created in the roles list. Click the “Add Members” button next to the role name. This will open a member selection window.
Search for or select the members you want to assign this role to and click “Add” or “Done.” The selected members will now have the newly created role and its associated permissions.
Linked Roles tab in Discord role settings, showing the "Add Requirement" button
How to Create Discord Roles on Mobile
Managing Discord roles on mobile is just as important, especially for server admins on the go. Here’s how to add roles on Discord mobile:
Step 1: Open the Discord Mobile Application
Locate the Discord app icon on your mobile device and tap it to open the application.
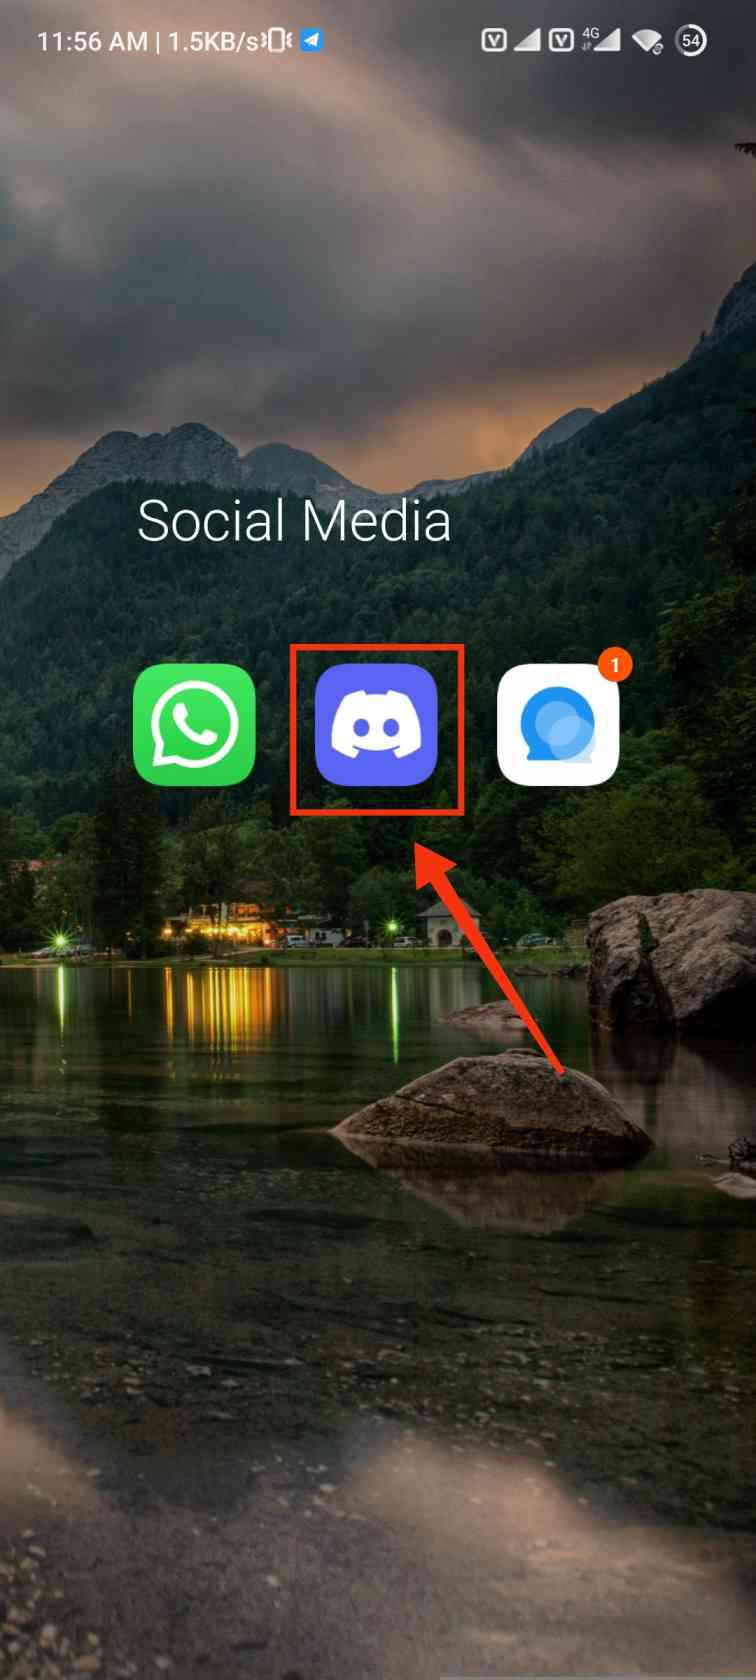 Discord Mobile App Icon
Step 2: Select Your Server and Access Server Menu
In the Discord mobile app, navigate to your server list (usually on the left side of the screen). Tap on the icon of the server you want to manage.
Once you’re in your server, look for the server name at the top. Next to the server name, you’ll see three dots (ellipsis). Tap on these three dots to open the server menu.
Image alt text: The three dots menu icon positioned next to the Discord server name in the mobile app interface.
Step 3: Open Server Settings
From the server menu that appears, tap on the “Settings” icon (gear icon). This will take you to the server settings page on mobile.
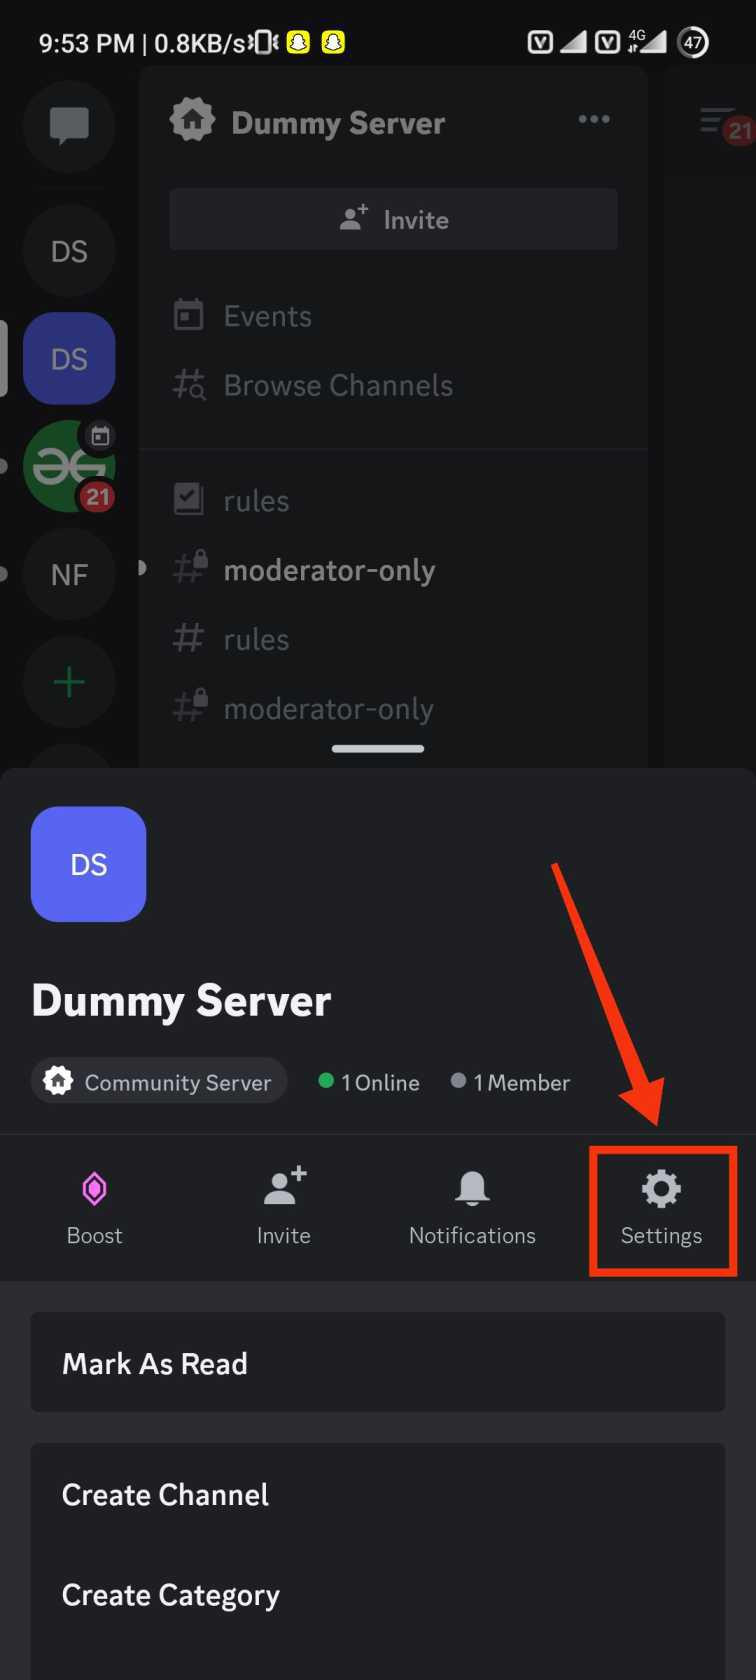 Settings Icon in Discord Mobile Server Menu
Step 4: Navigate to the “Roles” Section
In the Server Settings menu, scroll down until you find the “Roles” option. Tap on “Roles” to access the role management section on mobile.
Settings Icon in Discord Mobile Server Menu
Step 5: Create a New Role with the ‘+’ Icon
In the “Server Roles” section, you’ll see a list of existing roles (if any). To create a new role, look for the ‘+’ (plus) icon typically located in the top right corner of the screen. Tap on this ‘+’ icon to create a new role.
.jpg)
Image alt text: The ‘+’ icon located at the top right corner of the Discord mobile “Server Roles” interface, used to create a new role.
Step 6: Customize the Role Name and Color
After tapping the ‘+’ icon, you’ll be prompted to customize your new role. Start by entering a Role Name. Choose a name that accurately reflects the role’s purpose.
Then, select a Role Color from the color palette provided. Pick a color that is visually distinct and aligns with your server’s aesthetic. Once you’ve set the name and color, tap the “Create” button.
.jpg)
Image alt text: Discord mobile interface for creating a new role, showing fields for role name and color selection, with the “Create” button highlighted.
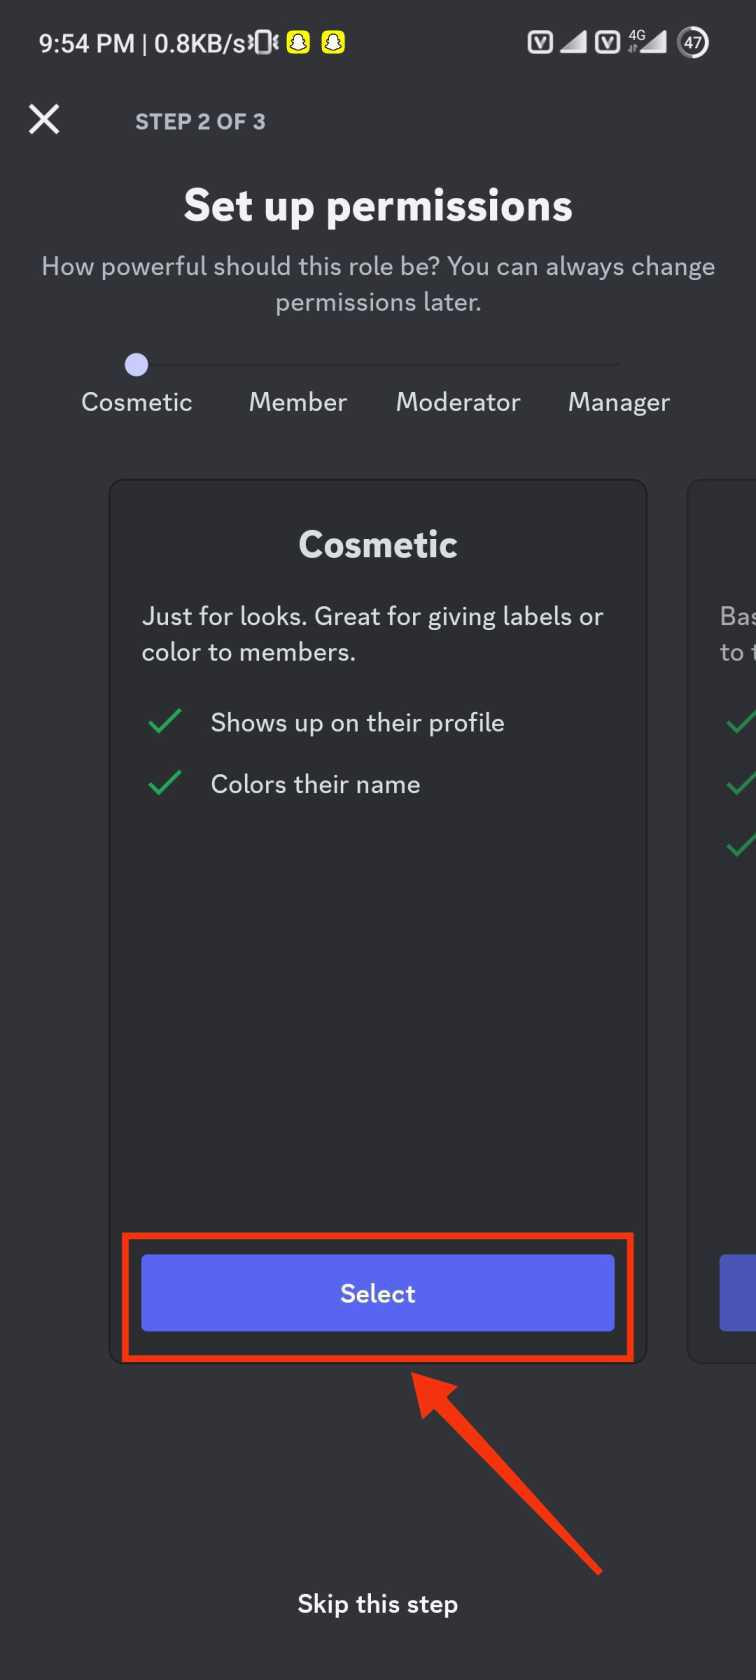
Step 7: Set Up Role Permissions
After creating the role, you’ll automatically be taken to the permissions settings for that role. Here, you can define the permissions granted to members with this role.
You can scroll through the list of permissions. To grant a permission, tap the “Select” button next to it. For more advanced permissions, swipe right to reveal additional options. Carefully configure the permissions according to the role’s purpose.
 Manage Role Permissions in Discord Mobile
Step 8: Add Users to the Role
Once permissions are set, you need to add members to the role. After setting permissions, you are usually prompted to add members. If not, navigate back to the main “Roles” section, select your newly created role, and look for an “Add Members” option.
Select the users you want to assign to this role by tapping on their names. After selecting members, tap the “Finish” button to finalize the process.
Manage Role Permissions in Discord Mobile
Step 9: Review Your Changes
Finally, review the “Server Roles” section to ensure that your new role is created and configured correctly. Check the role name, color, permissions, and assigned members.
Image alt text: The “Server Roles” section in Discord mobile, displaying a list of roles and their configurations.
Conclusion
Mastering how to get Discord server roles right is essential for creating a thriving and well-managed Discord community. Whether you’re learning how to add roles in Discord on desktop or mobile, or exploring advanced techniques like auto assign roles Discord, the principles remain the same: roles provide structure, control permissions, and enhance user experience.
By understanding what are Discord roles and following these step-by-step guides, you’re well-equipped to create and manage roles effectively. From setting up basic member roles to implementing complex permission structures, Discord roles offer the flexibility you need to tailor your server to your community’s needs. Start experimenting with roles today and see the positive impact on your Discord server!
Frequently Asked Questions about Discord Roles
How do I add roles in Discord?
To add roles in Discord, navigate to your server settings, click on the “Roles” tab, and select “Create Role.” Customize the role name, color, and, most importantly, permissions. Once created, you can assign the role to members by right-clicking on their username and selecting “Roles” or through the role management section.
How to add roles in Discord in 2024?
The process for adding roles in Discord remains consistent in 2024. The steps outlined in this guide for both desktop and mobile applications are up-to-date and applicable. Discord’s core role management features have not changed significantly.
How to add role icons in Discord mobile?
Currently, Discord does not natively support adding icons directly to roles within the mobile app or desktop version. Role customization is primarily limited to name and color. For visual enhancements beyond color, you might need to explore Discord bots or custom CSS solutions if available and applicable to your server setup.
How to add roles in Discord using Carl-bot?
Carl-bot and other Discord bots simplify role management, especially for reaction roles and auto-roles. To use Carl-bot for roles, you generally use bot commands within your server. For example, to set up reaction roles, you would use Carl-bot commands to define a message and associate reactions with specific roles. Refer to Carl-bot’s documentation for precise commands and setup instructions.
What are the different types of roles in Discord?
While you can create roles with any name and permission set, common types of Discord roles include:
- Administrator: Full server control.
- Moderator: Manage content and members.
- VIP/Donator: Recognize supporters with special perks.
- Member: Basic access for regular community participants.
- Event Roles: Temporary roles for specific events or activities.
- Interest-based Roles: Roles members can self-assign based on their interests (using bots).
The best roles for your server will depend on your community’s structure and goals.