
Creating a unique and functional piece for your home can be a rewarding experience. This guide will walk you through the process of building a beautiful Serving Tray Wood from repurposed pallet slats. This project is perfect for woodworking enthusiasts of all skill levels and offers a fantastic way to add a touch of rustic charm to your serving ware.
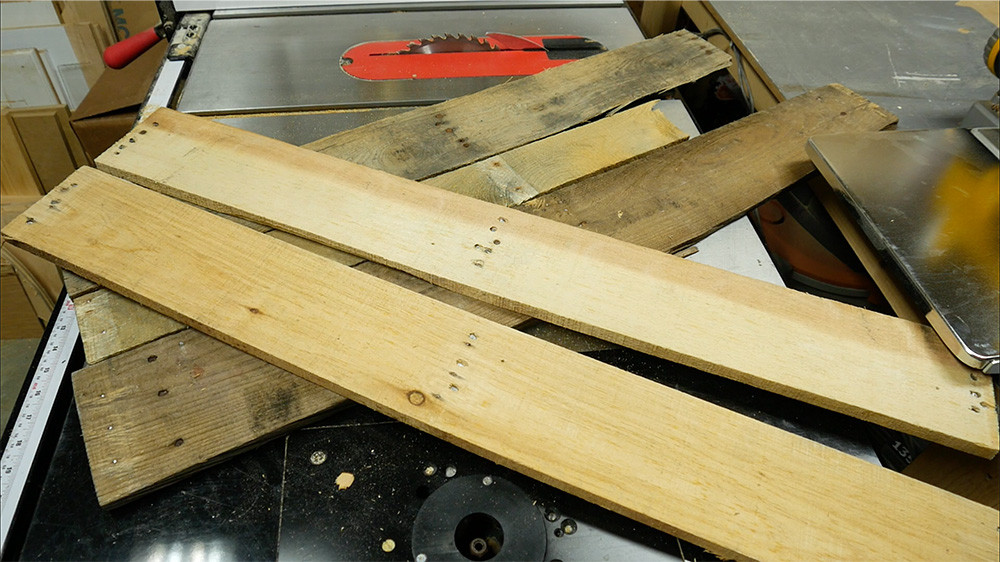 Rustic pallet boards ready for a serving tray wood project
Preparing the Pallet Wood for Your Serving Tray
Before starting any woodworking project with pallet wood, safety and preparation are key. Begin by carefully dismantling your pallet and selecting the slats you wish to use for your serving tray wood. Pallet wood often contains nails, so the first crucial step is to address these.
For safety, focus on removing nails in areas where you plan to make saw cuts. This prevents damage to your saw blade and potential hazards. Nails that are not in the direct path of your cuts can be left in place for now, adding to the rustic aesthetic of your serving tray wood.
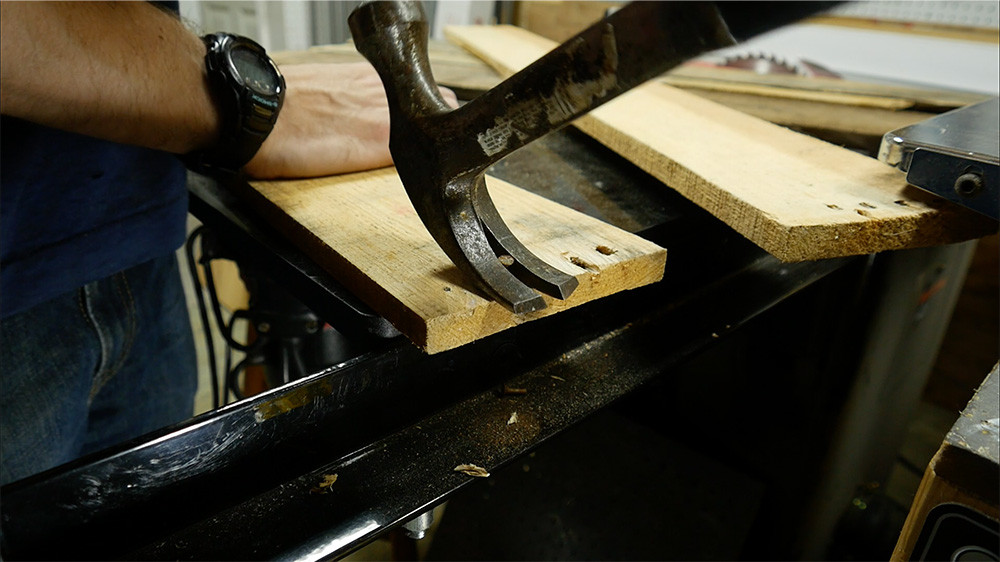 Close up of pallet wood with nails partially removed for woodworking
Cutting the Base Boards for the Serving Tray
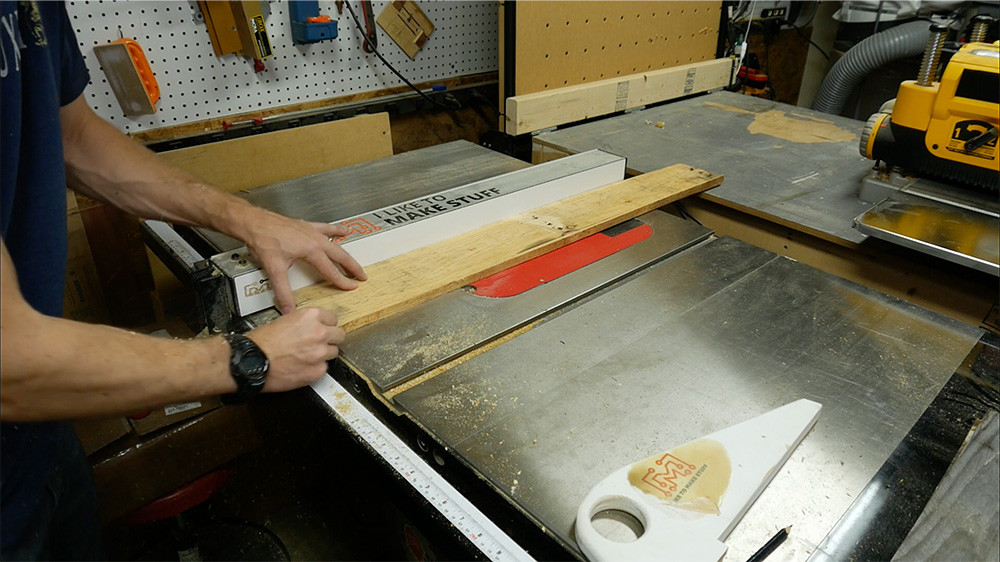
With your pallet wood prepped, it’s time to start shaping the base of your serving tray wood. Measure and mark the desired length for the tray bottom onto your chosen darker boards. This darker wood can provide a nice contrast and visual appeal to your finished piece.
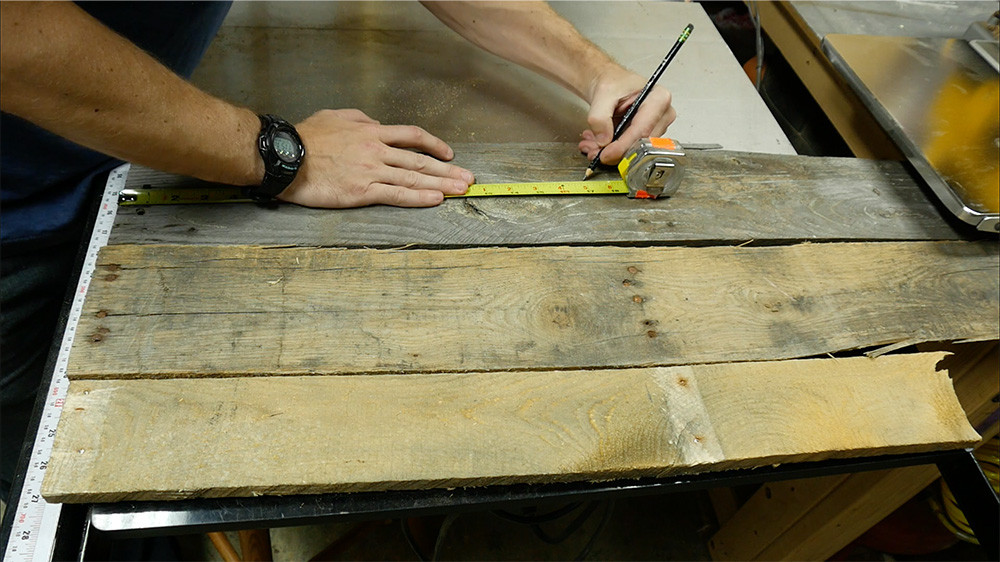 Marking dark pallet wood boards for serving tray bottom length
Carefully cut along your marked lines, ensuring you avoid any remaining nails in the wood. Precision at this stage will contribute to a professional-looking serving tray wood.
Creating Clean Edges for a Professional Finish
To achieve a clean and professional look for your serving tray wood, it’s important to have straight, even edges. A simple hold-down jig can be invaluable for this purpose. This jig helps secure the wood and allows for a clean, straight cut along one edge of each base piece.
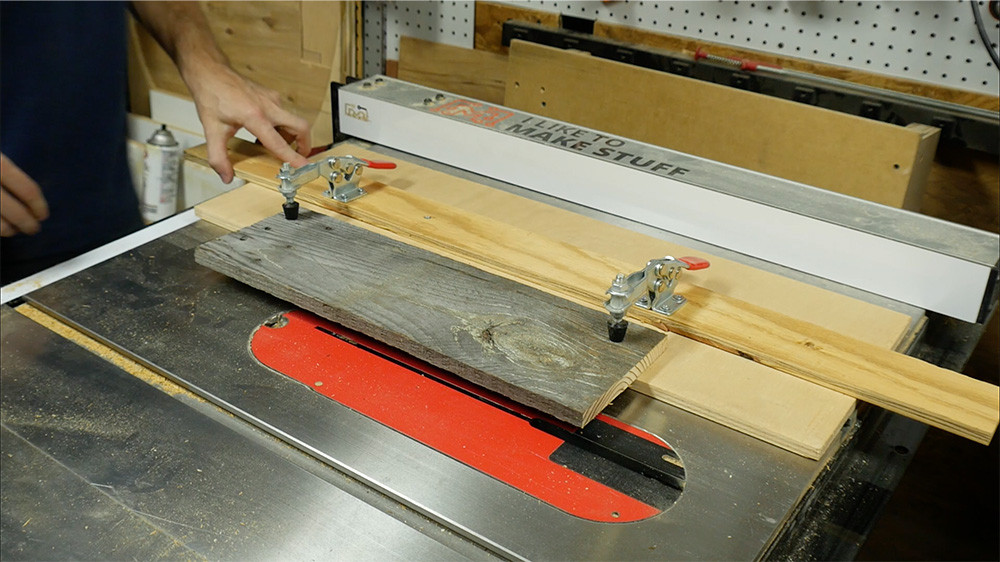 Using a hold down jig for clean edge cutting on pallet wood
This clean edge then acts as a reference point. By placing this edge against the fence of your saw, you can make a parallel cut on the opposite side, ensuring uniform width for all your base pieces. This method is a great alternative to using a jointer in many woodworking scenarios, especially for smaller projects like a serving tray wood.
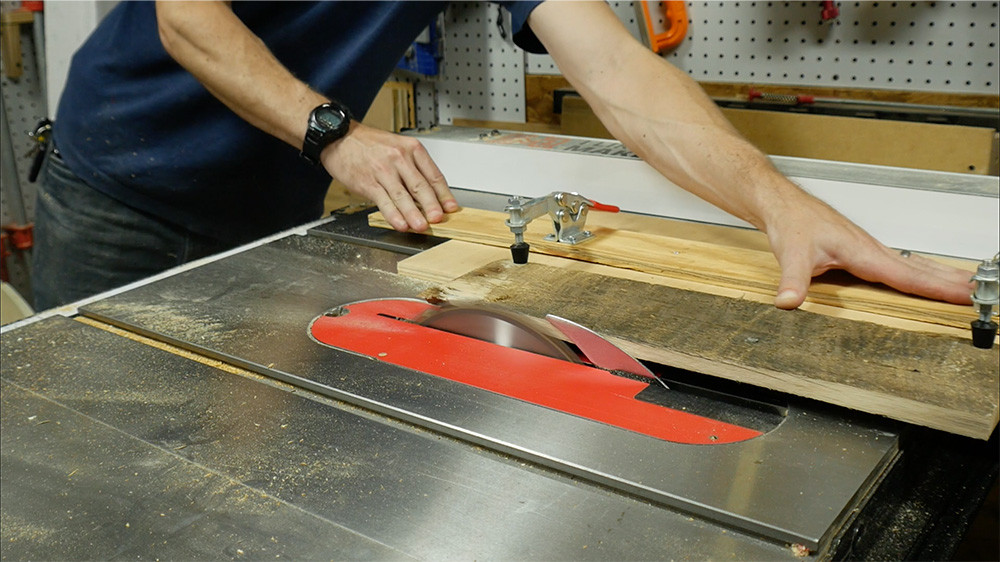 Using a fence and clean edge for parallel cuts on wood boards
Continue to clean up the opposite edges of all the bottom pieces, ensuring they are straight and parallel. This attention to detail will make the glue-up process smoother and result in a more refined serving tray wood.
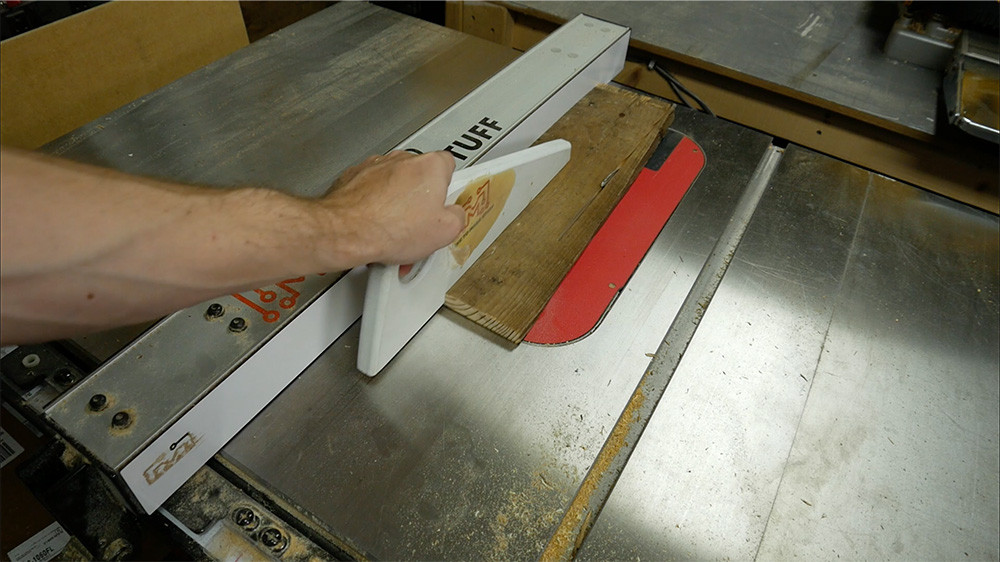 Cleaning opposite edges of pallet wood pieces for evenness
Preparing the Side Pieces for the Serving Tray Frame
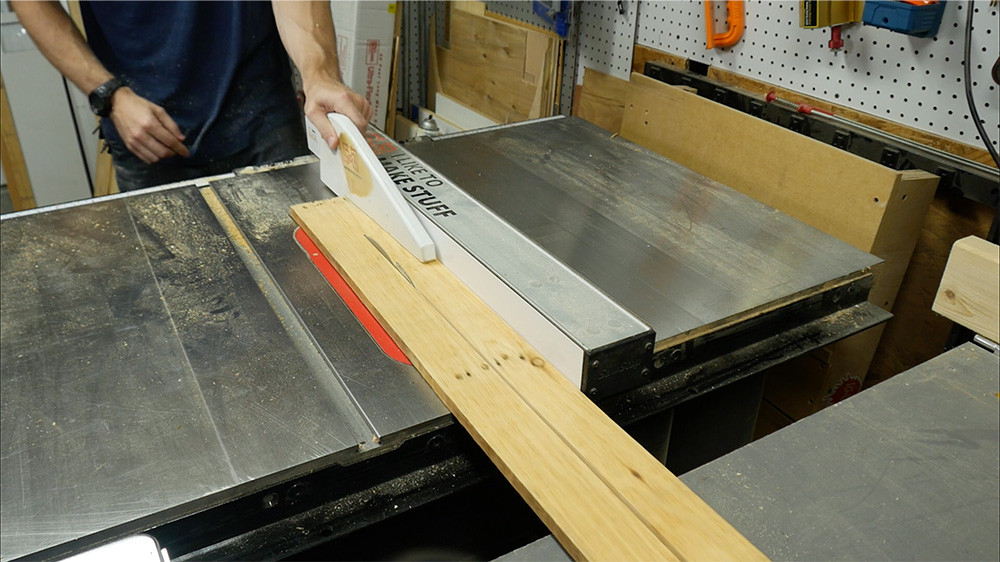
Now, turn your attention to the side pieces of the serving tray wood. If your side pieces are relatively straight, simply trim off the rough or uneven edge to create a clean starting point.
 Trimming rough edges off pallet wood for side pieces of tray
Next, rip these side pieces down to uniform 2-inch strips. This will create the height of the sides for your serving tray wood, providing a border to keep items securely on the tray.
 Ripping side pieces to 2 inch strips for serving tray frame
Cut the end panels to the desired length using a miter saw. Miter saws are excellent for ensuring accurate and square cuts, crucial for the corners of your serving tray wood.
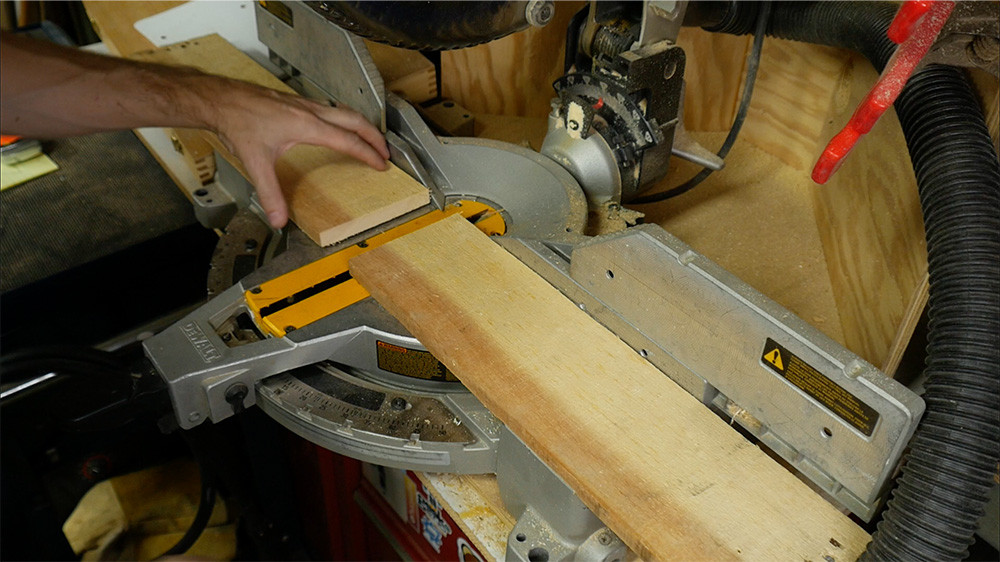 Cutting end panels to length with a miter saw for tray sides
Clean up the faces of the end panels as well, ensuring they are smooth and ready for assembly. This step enhances the overall finish of your serving tray wood.
 Cleaning faces of end panels for smooth tray construction
Assembling the Base Panel of the Serving Tray
With all the base pieces prepared, it’s time to glue them together to form the bottom panel of your serving tray wood. Apply wood glue to the edges of each piece and clamp them together, applying pressure from both the top and bottom to ensure a strong bond.
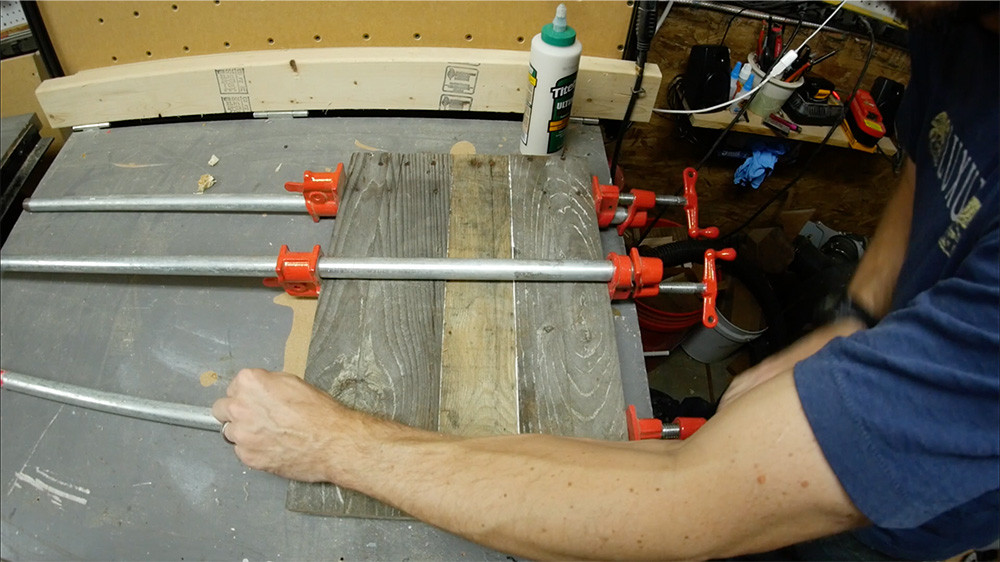 Gluing bottom pieces together for a solid serving tray base
Once the glue is dry, you can further refine the side and end pieces. Running them through a planer will smooth the faces and create a more polished surface. Alternatively, you can use an orbital sander to achieve a similar level of smoothness for your serving tray wood frame.
 Planing side and end pieces for smooth finish serving tray
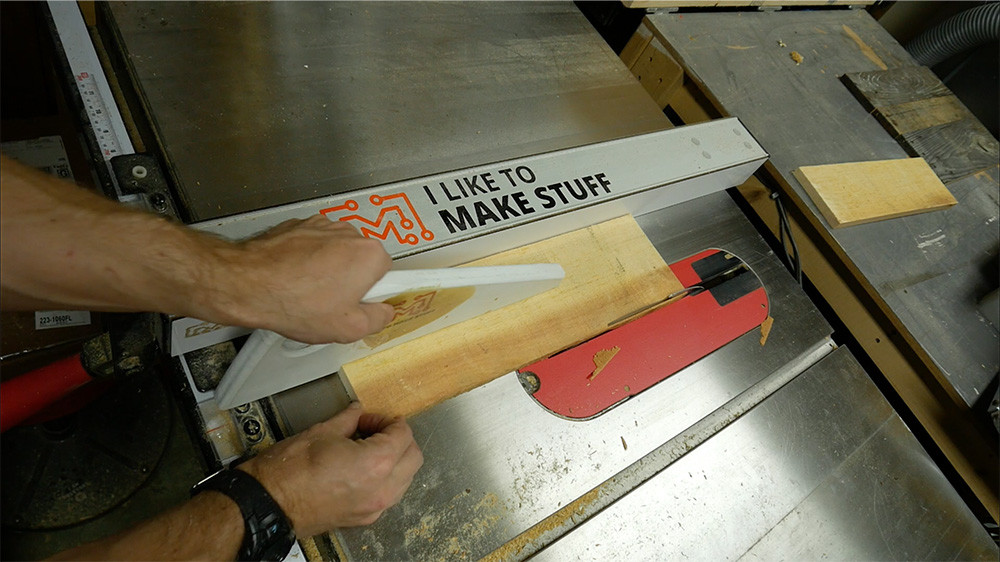
After the glued base panel has dried completely, use a sled on your saw to square off the edges. Place the already cut edge of your panel against the sled and trim the remaining sides to create a perfectly square base for your serving tray wood.
 Squaring off glued panel edges with a sled for tray base
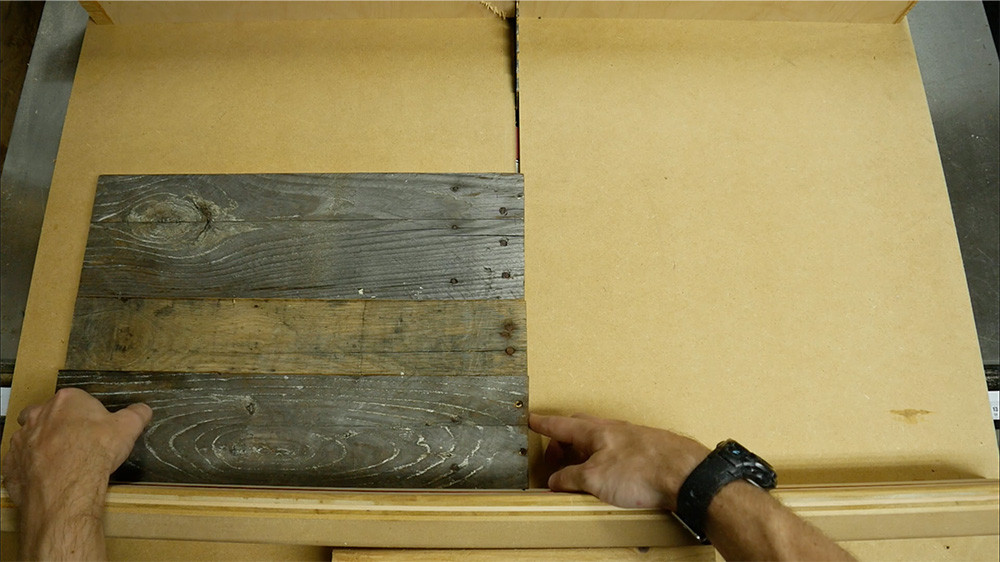
Sanding the top surface of the base panel is the next step. Sand just enough to remove any dirt and splinters, but avoid over-sanding, as you want to preserve the natural coloring and character of the pallet wood for your serving tray wood.
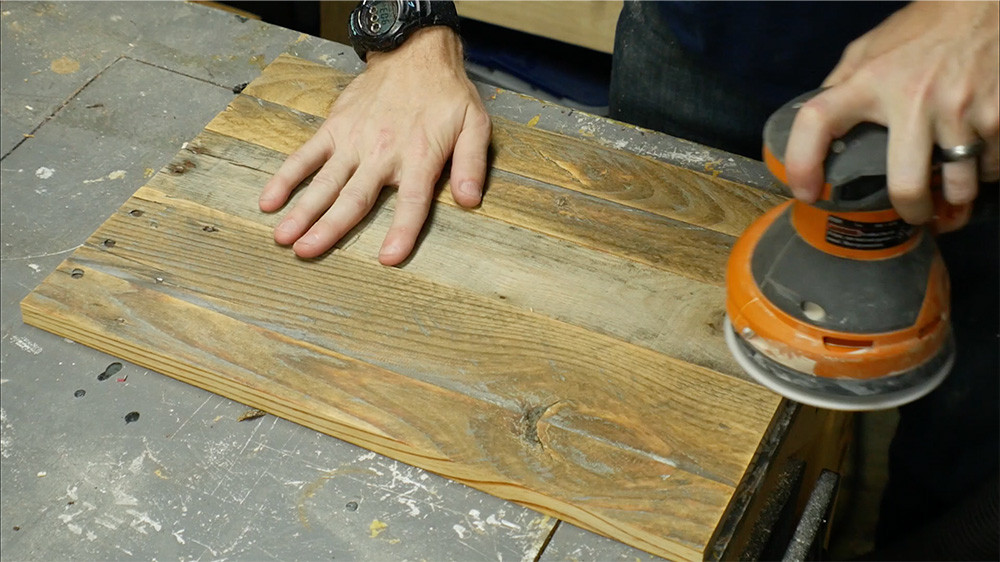 Sanding top surface of wood panel to refine serving tray
Fitting and Shaping the Side Pieces for the Tray Frame
To ensure a snug fit for the side pieces, set them against the prepared base panel and mark where they need to be cut. This will guarantee that the side pieces are an exact match for the base dimensions of your serving tray wood.
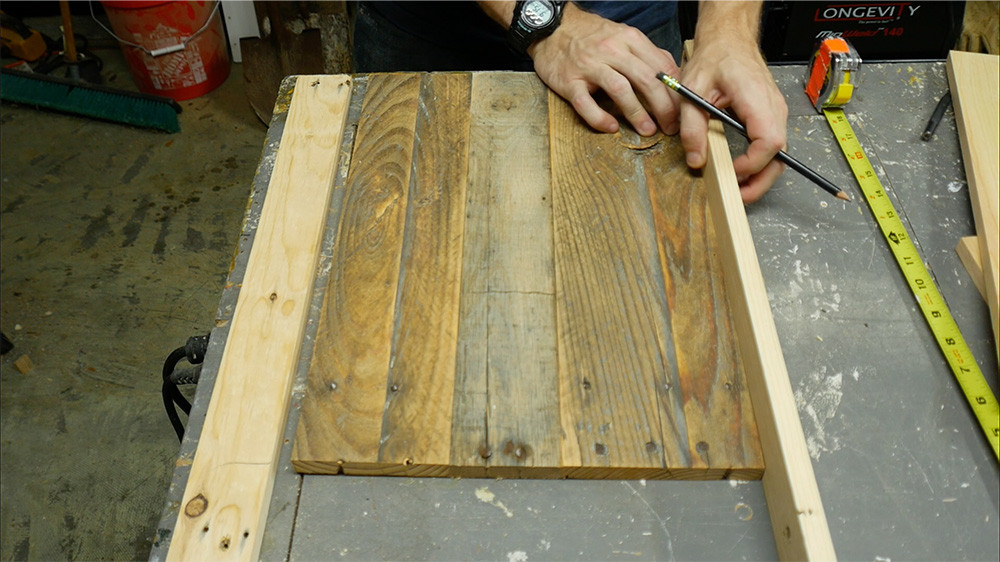 Marking side pieces against wood panel for exact fit
Cut the side pieces to the marked length using your miter saw. Precision here is key for a seamless frame around your serving tray wood.
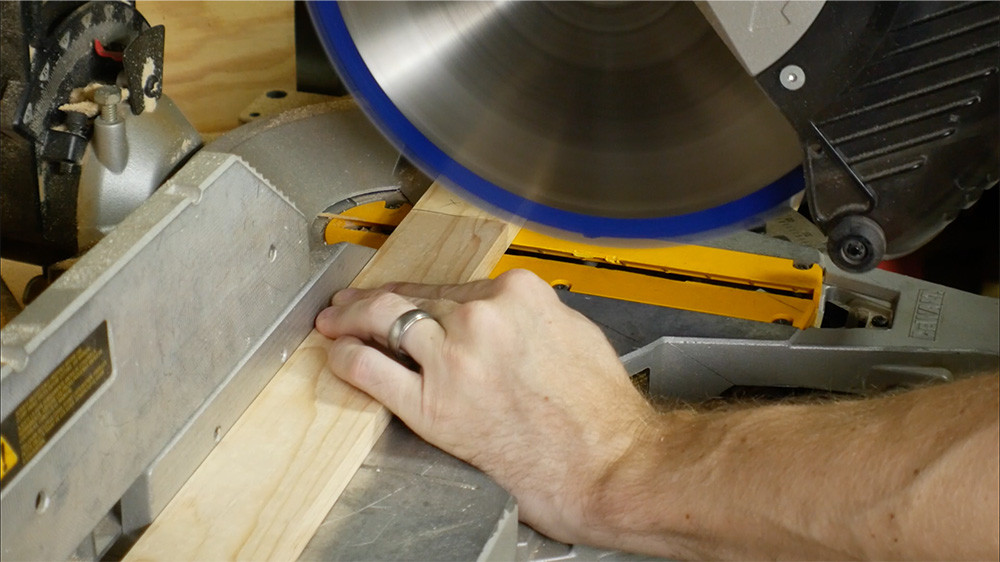 Cutting side pieces to marked length with miter saw
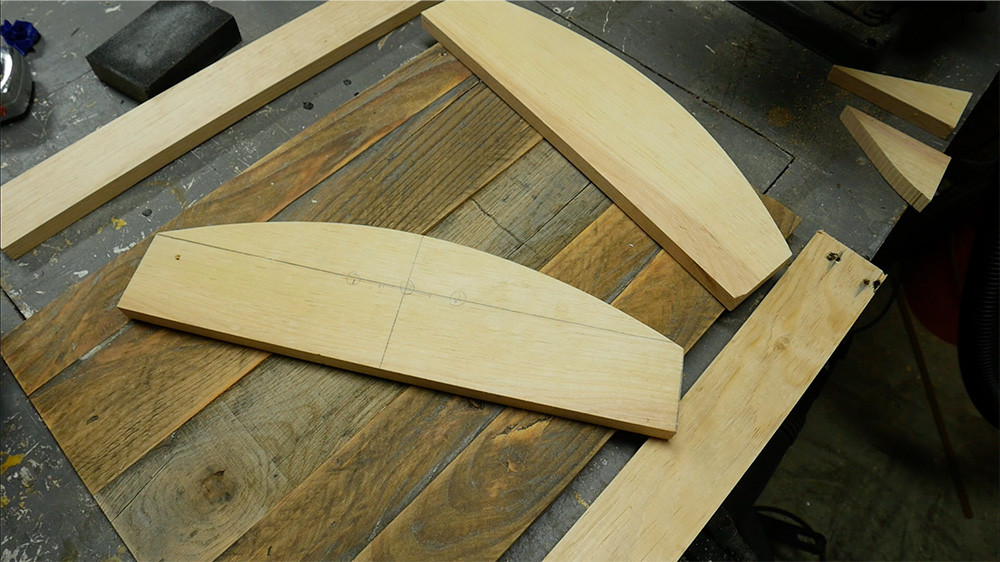
Place the side pieces in position around the base panel and measure the total width. This measurement is needed to determine the length of the end panels for your serving tray wood frame.
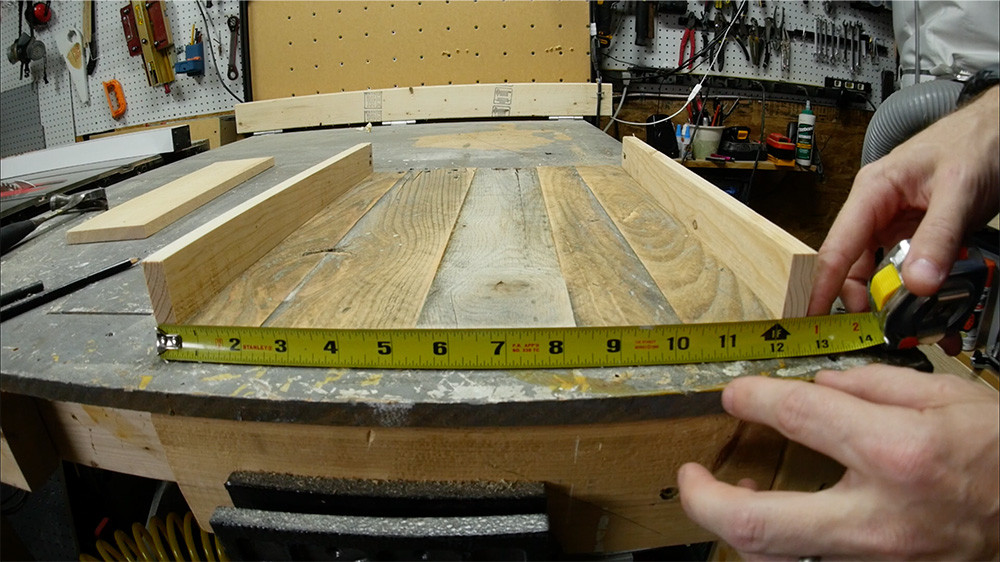 Measuring width for end panels of wooden serving tray
Mark the centerline on the end panels and then measure out the desired width and height. For a decorative touch, add two nails at the same height as the side panels. These nails will act as guides for creating a curved design on the end panels of your serving tray wood.
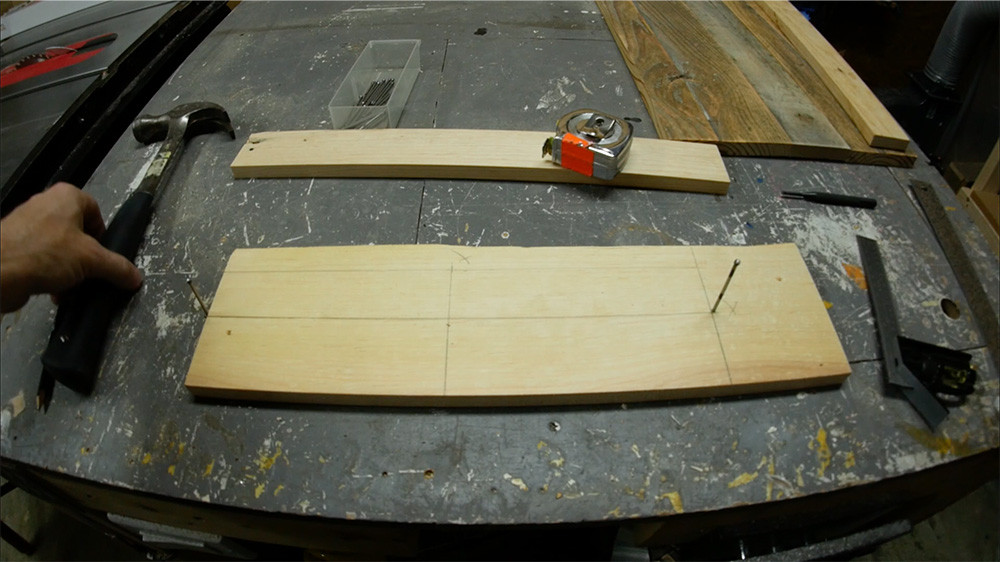 Marking end panels with center line and nail guides for curve
Using the nails as pivot points, bend a flexible ruler into an arc shape and trace this curve onto each end panel. This technique allows you to create consistent and elegant curves for your serving tray wood handles.
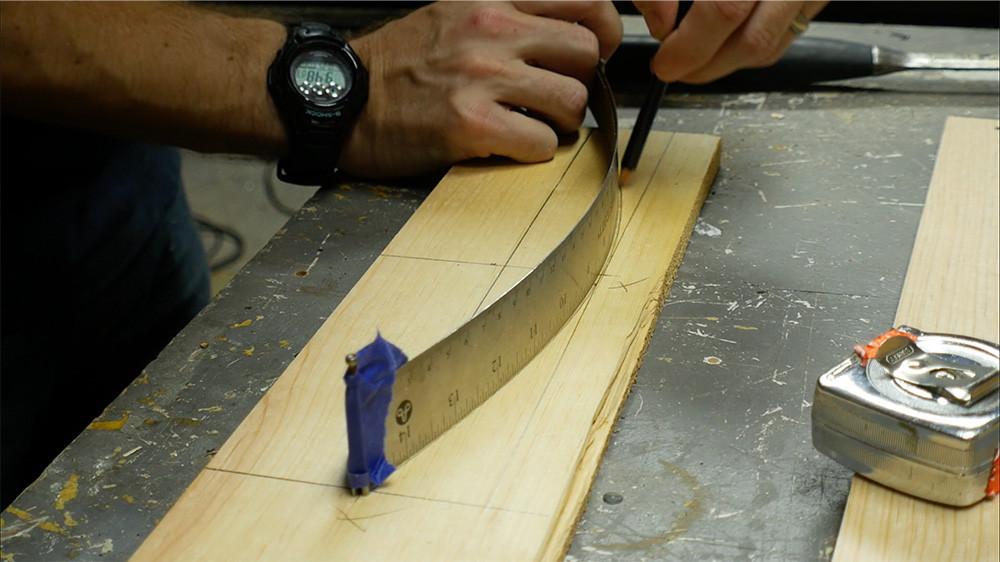 Bending flexible ruler for curved design on end panels
Cut out the curved shape on the bandsaw. If you don’t have a bandsaw, a jigsaw will work just as well for cutting the curves of your serving tray wood end panels.
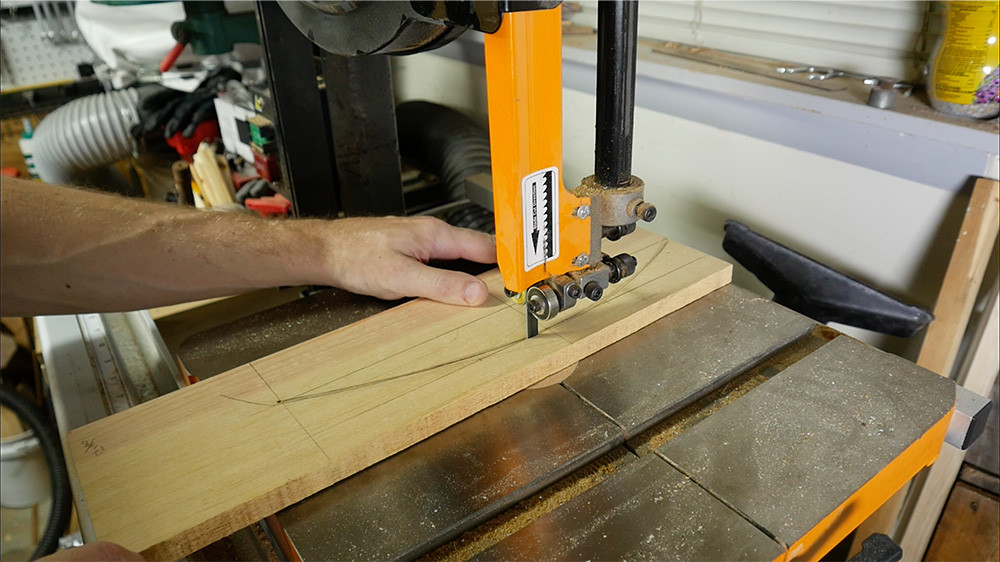 Cutting out curved shape on end panels with bandsaw
Square off the bottom edges of the curved end pieces on the miter saw. This ensures that the end panels will sit flush with the base and side pieces of your serving tray wood.
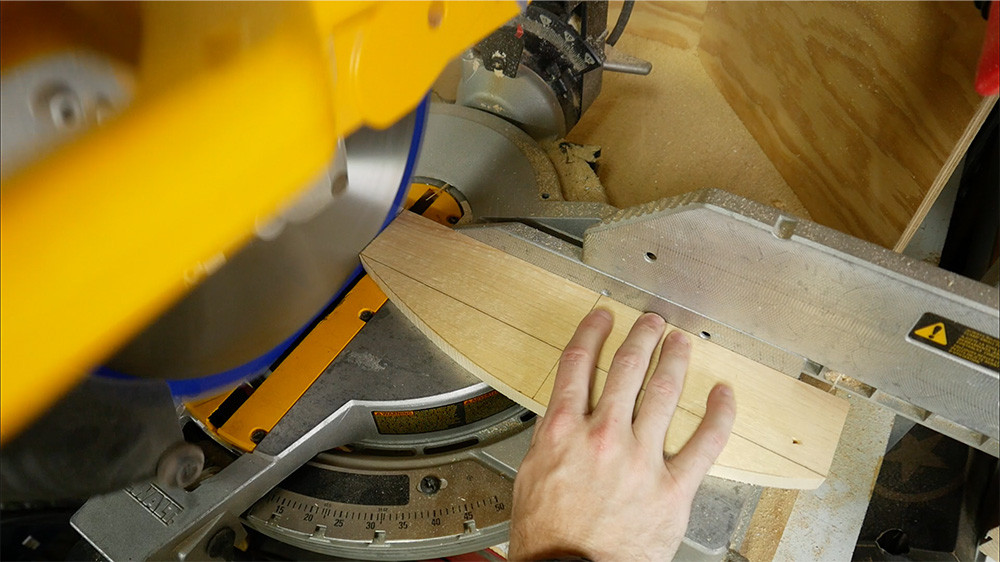 Squaring off bottom edges of curved end panels on miter saw
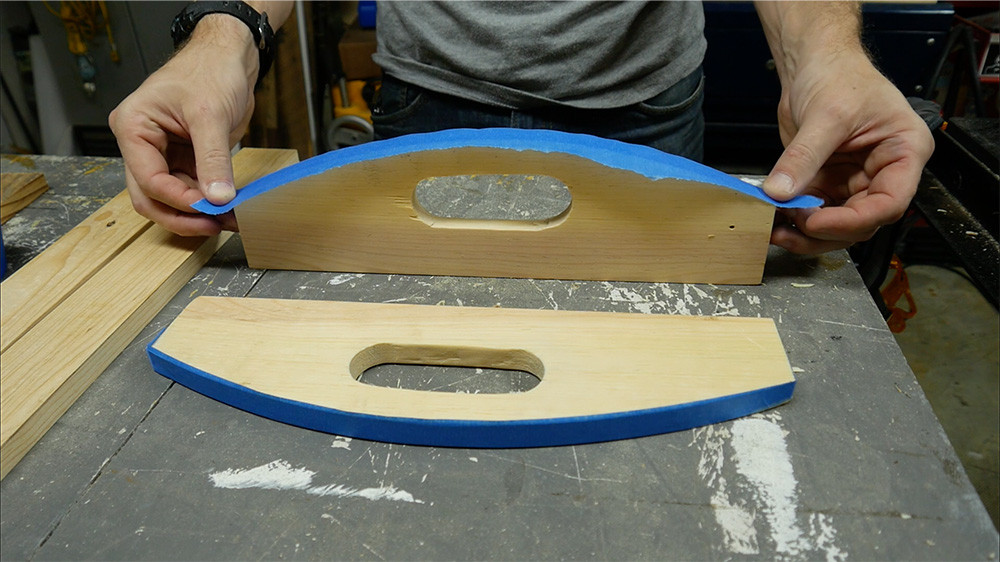
If the curved end pieces aren’t exactly identical, clamp them together and sand them until they match perfectly. This ensures symmetry in the handles of your serving tray wood.
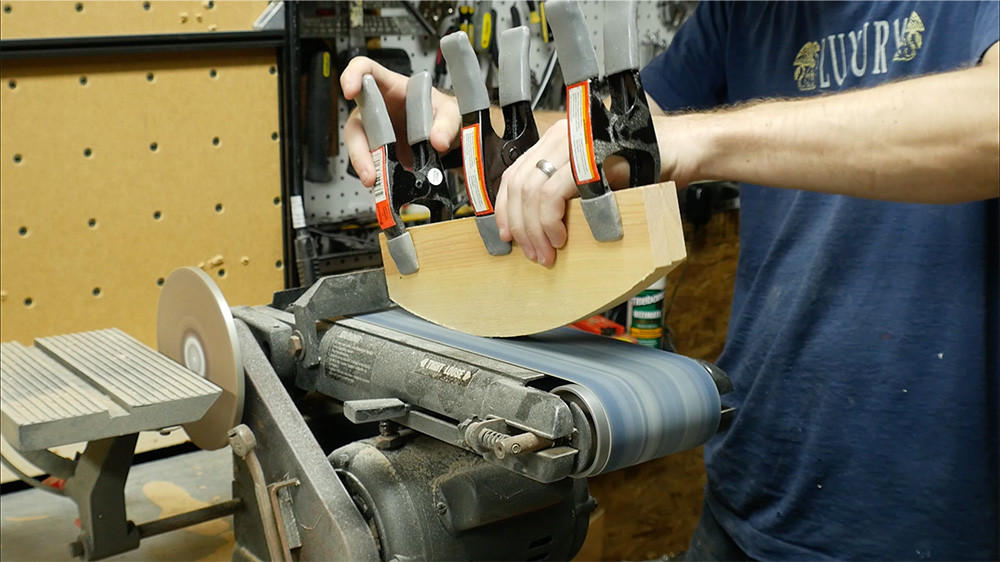 Sanding end panels together to ensure matching curved shapes
Creating Handle Openings in the End Panels
Mark the positions for the handle openings on the end panels. Mark a circle in the center and then two more circles 1 1/4 inches on each side of the center mark.
 Marking circles for handle openings on serving tray end panels
Using a 1 1/4 inch Forstner bit, drill out all three holes at each marked location. The holes should slightly overlap, creating the initial shape of the handle opening in your serving tray wood.
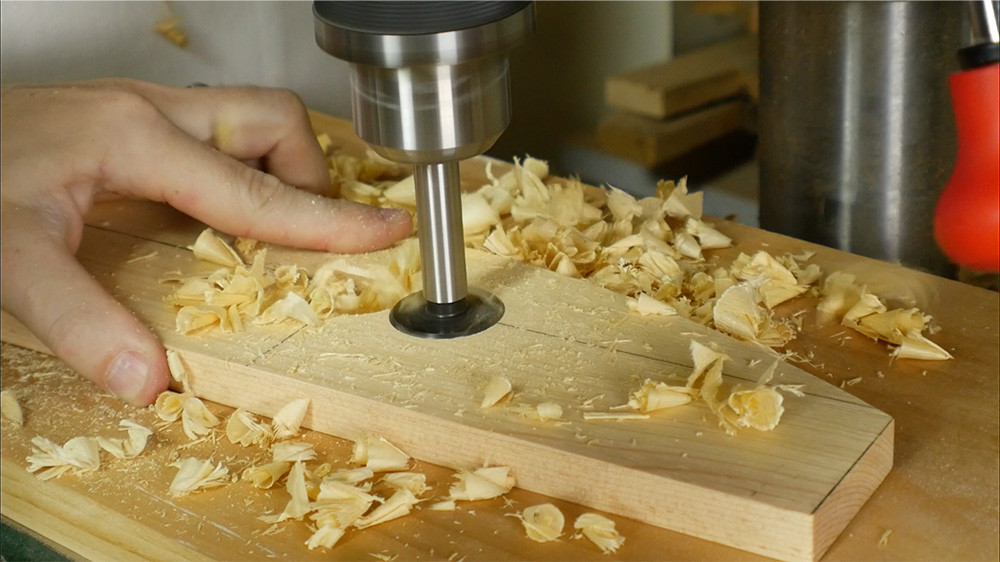 Drilling overlapping holes for handle openings with Forstner bit
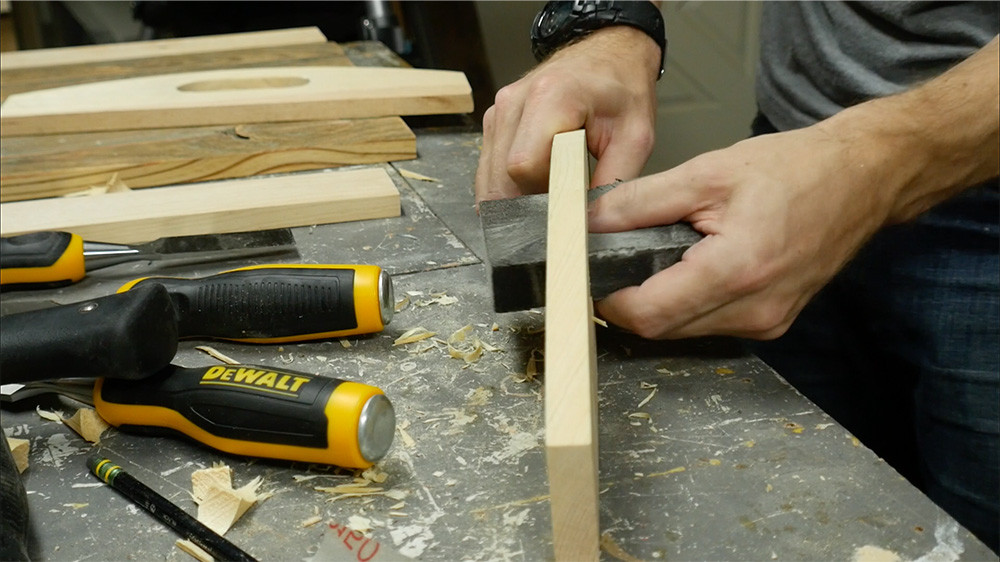
Clean out the remaining wood in the handle opening with a chisel. Refine the shape and smooth the edges to create comfortable and functional handles for your serving tray wood.
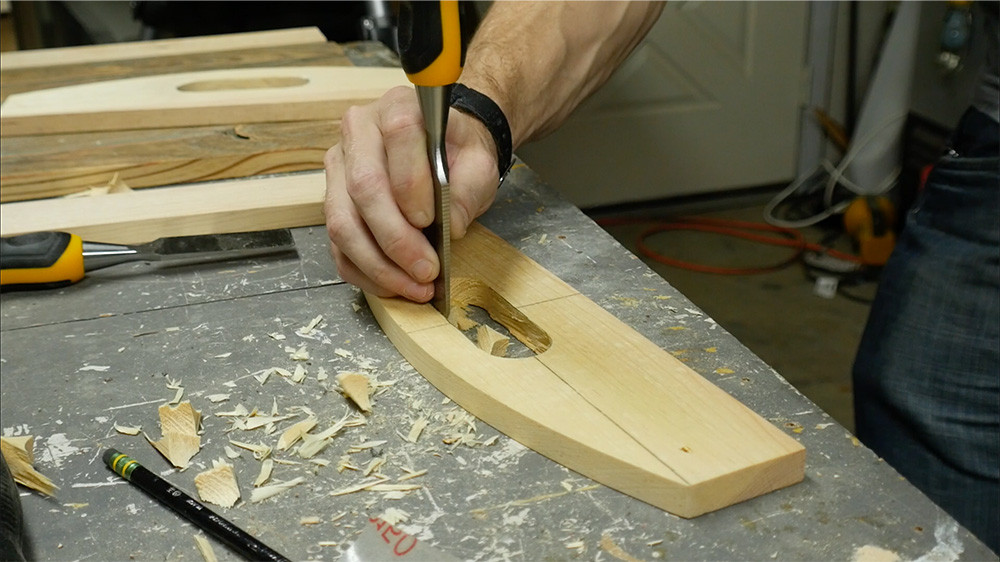 Cleaning out handle openings with a chisel for smooth edges
Use a flexible sanding block to smooth out the inside surfaces of the handle openings. This ensures a comfortable grip when carrying your serving tray wood.
 Smoothing inside handle openings with flexible sanding block
Painting and Finishing the Serving Tray
Apply blue painter’s tape to the outside of the panel and the inside of the handle openings. This masking will create clean paint lines and protect areas you don’t want painted on your serving tray wood.
 Applying painter's tape for clean paint lines on serving tray
Trim the tape to be flush with the inside face of the panels. Precise trimming is important for achieving sharp, clean paint edges on your serving tray wood.
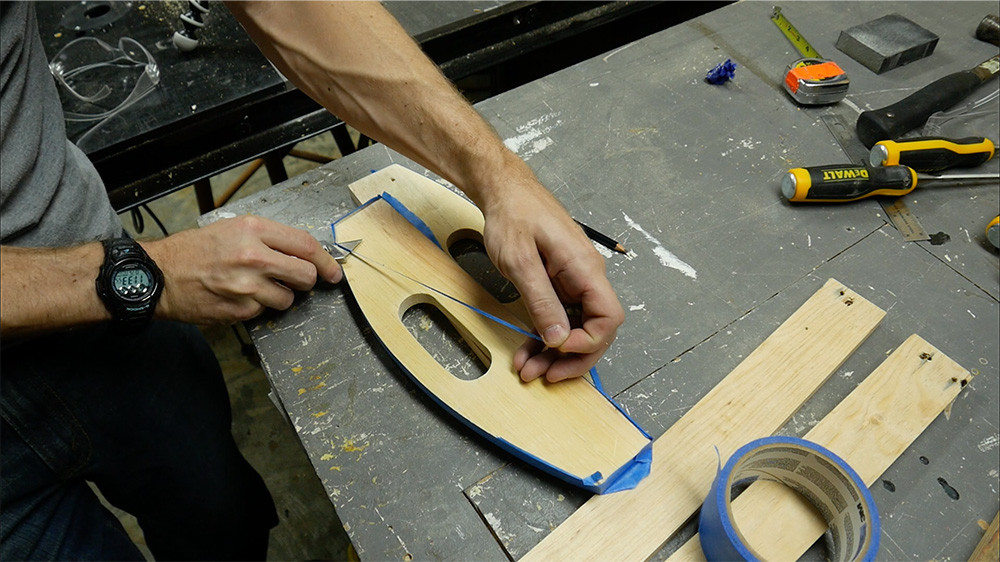 Trimming tape flush for sharp paint lines on wood panels
Ensure the tape is trimmed as closely and accurately as possible to prevent paint bleed-through and maintain crisp lines on your serving tray wood.
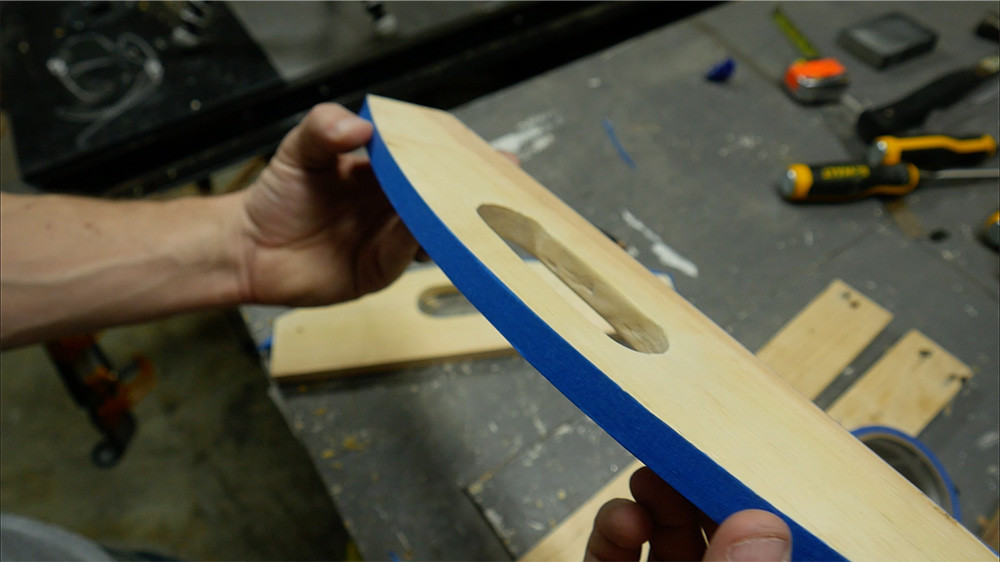 Close up of trimmed tape for precise paint application
Spray a coat of spray lacquer over all the taped pieces. This seals the edges of the tape and prevents paint seepage, ensuring clean and professional paint lines on your serving tray wood.
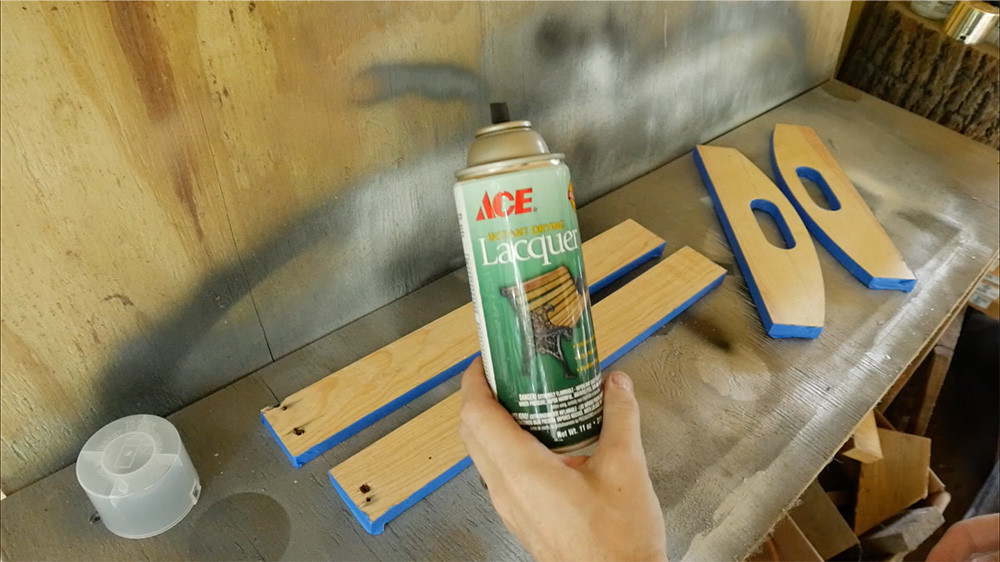 Spraying lacquer to seal tape edges and prevent paint seepage
Apply several thin coats of spray paint over the pieces, sanding lightly after the first coat to smooth out any raised wood grain. This multi-coat approach creates a durable and even paint finish for your serving tray wood.
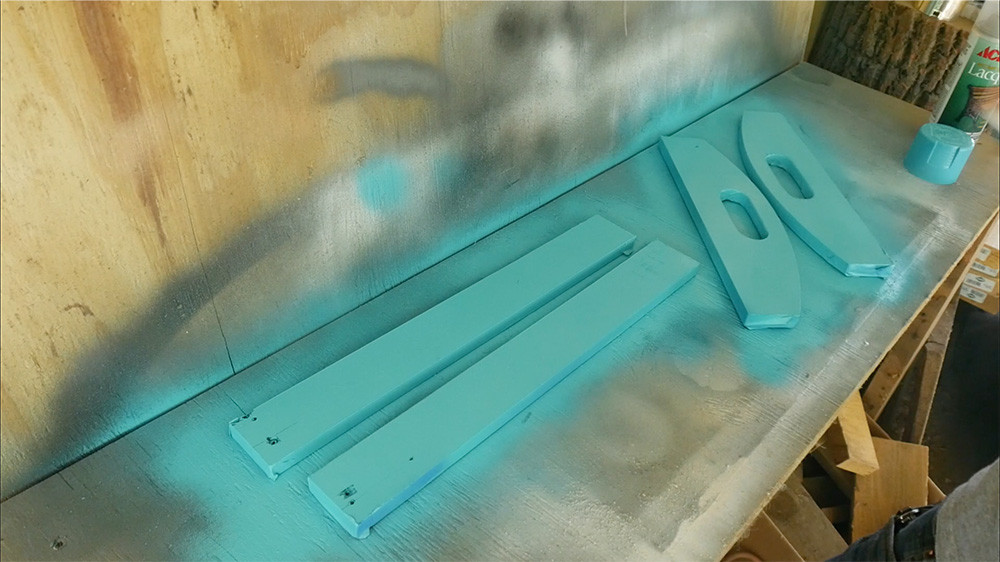 Spraying multiple thin coats of paint on wood pieces
Once the paint is dry and the tape is removed, you’ll see clean, sharp paint edges, adding a professional touch to your serving tray wood.
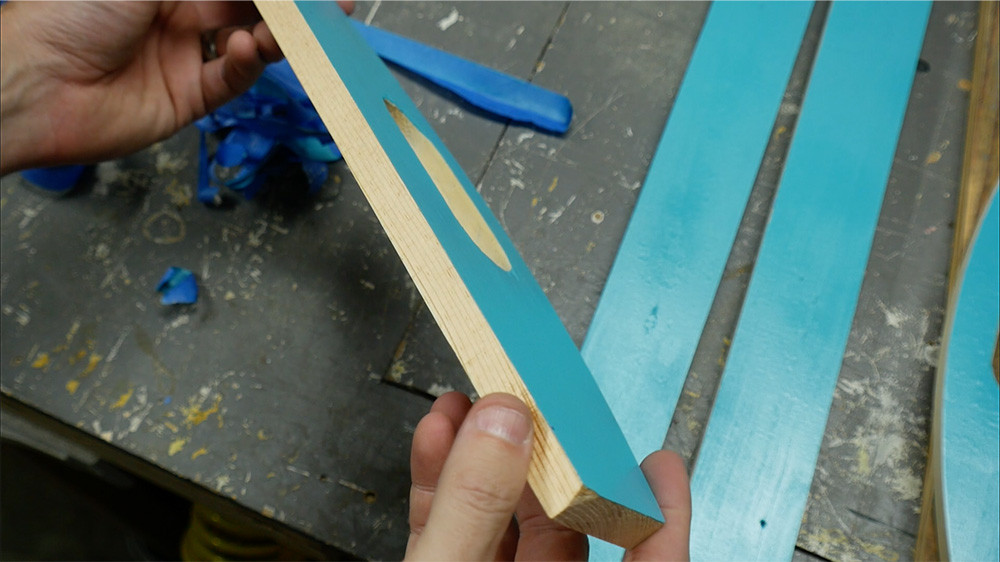 Clean and sharp paint edges after removing tape from wood pieces
Final Assembly and Finishing Touches
Position the painted side and end pieces around the base panel. Use a brad nailer to nail them together, securing the sides to each other and to the bottom panel. This assembles the frame of your serving tray wood.
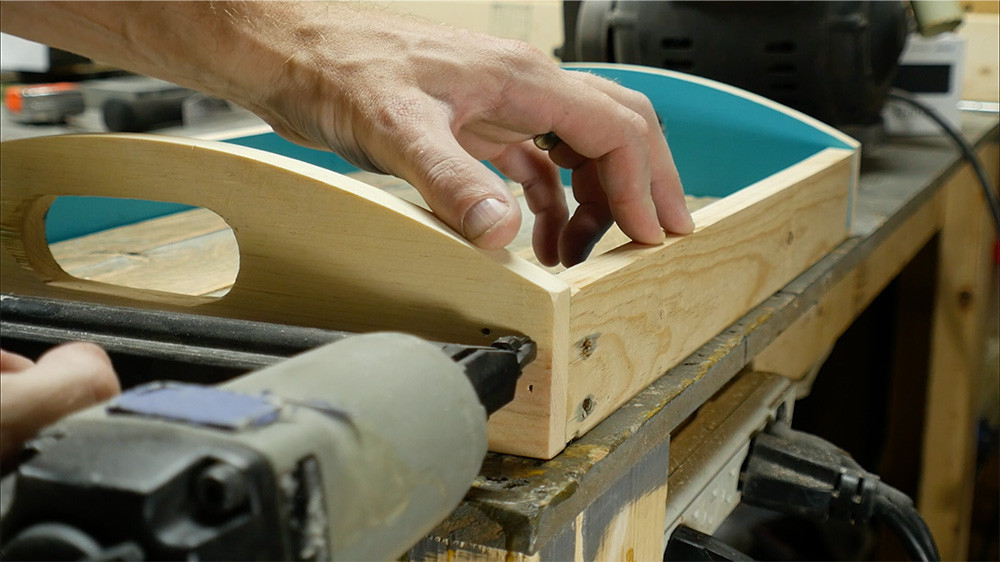 Nailing side and end pieces to base panel for tray assembly
Finish your serving tray wood with a few coats of spray lacquer. This protective topcoat will enhance the durability and appearance of your handmade tray, making it ready for serving and display.
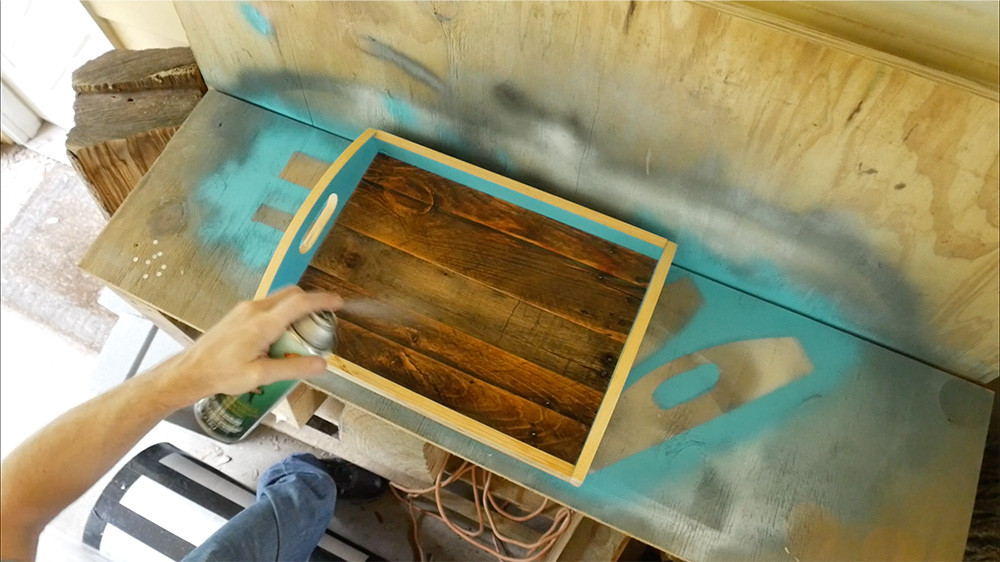 Finished wooden serving tray with protective lacquer coats
For a more detailed visual guide, be sure to watch the full video tutorial available online. Enjoy your newly crafted serving tray wood!
[