
Leaving the bulk of desktop computers behind for the sleek portability of laptops often presents a new challenge: the need for a reliable, always-on server for your home media. If you’re like me, you want something that not only functions perfectly but also looks good and doesn’t break the bank. My solution? A refurbished mini PC, a journey that involved some trial and error, but ultimately led to the perfect Mini Plex Server setup.
Smart Hardware on a Budget
Rediscovering the Power of Refurbished Hardware
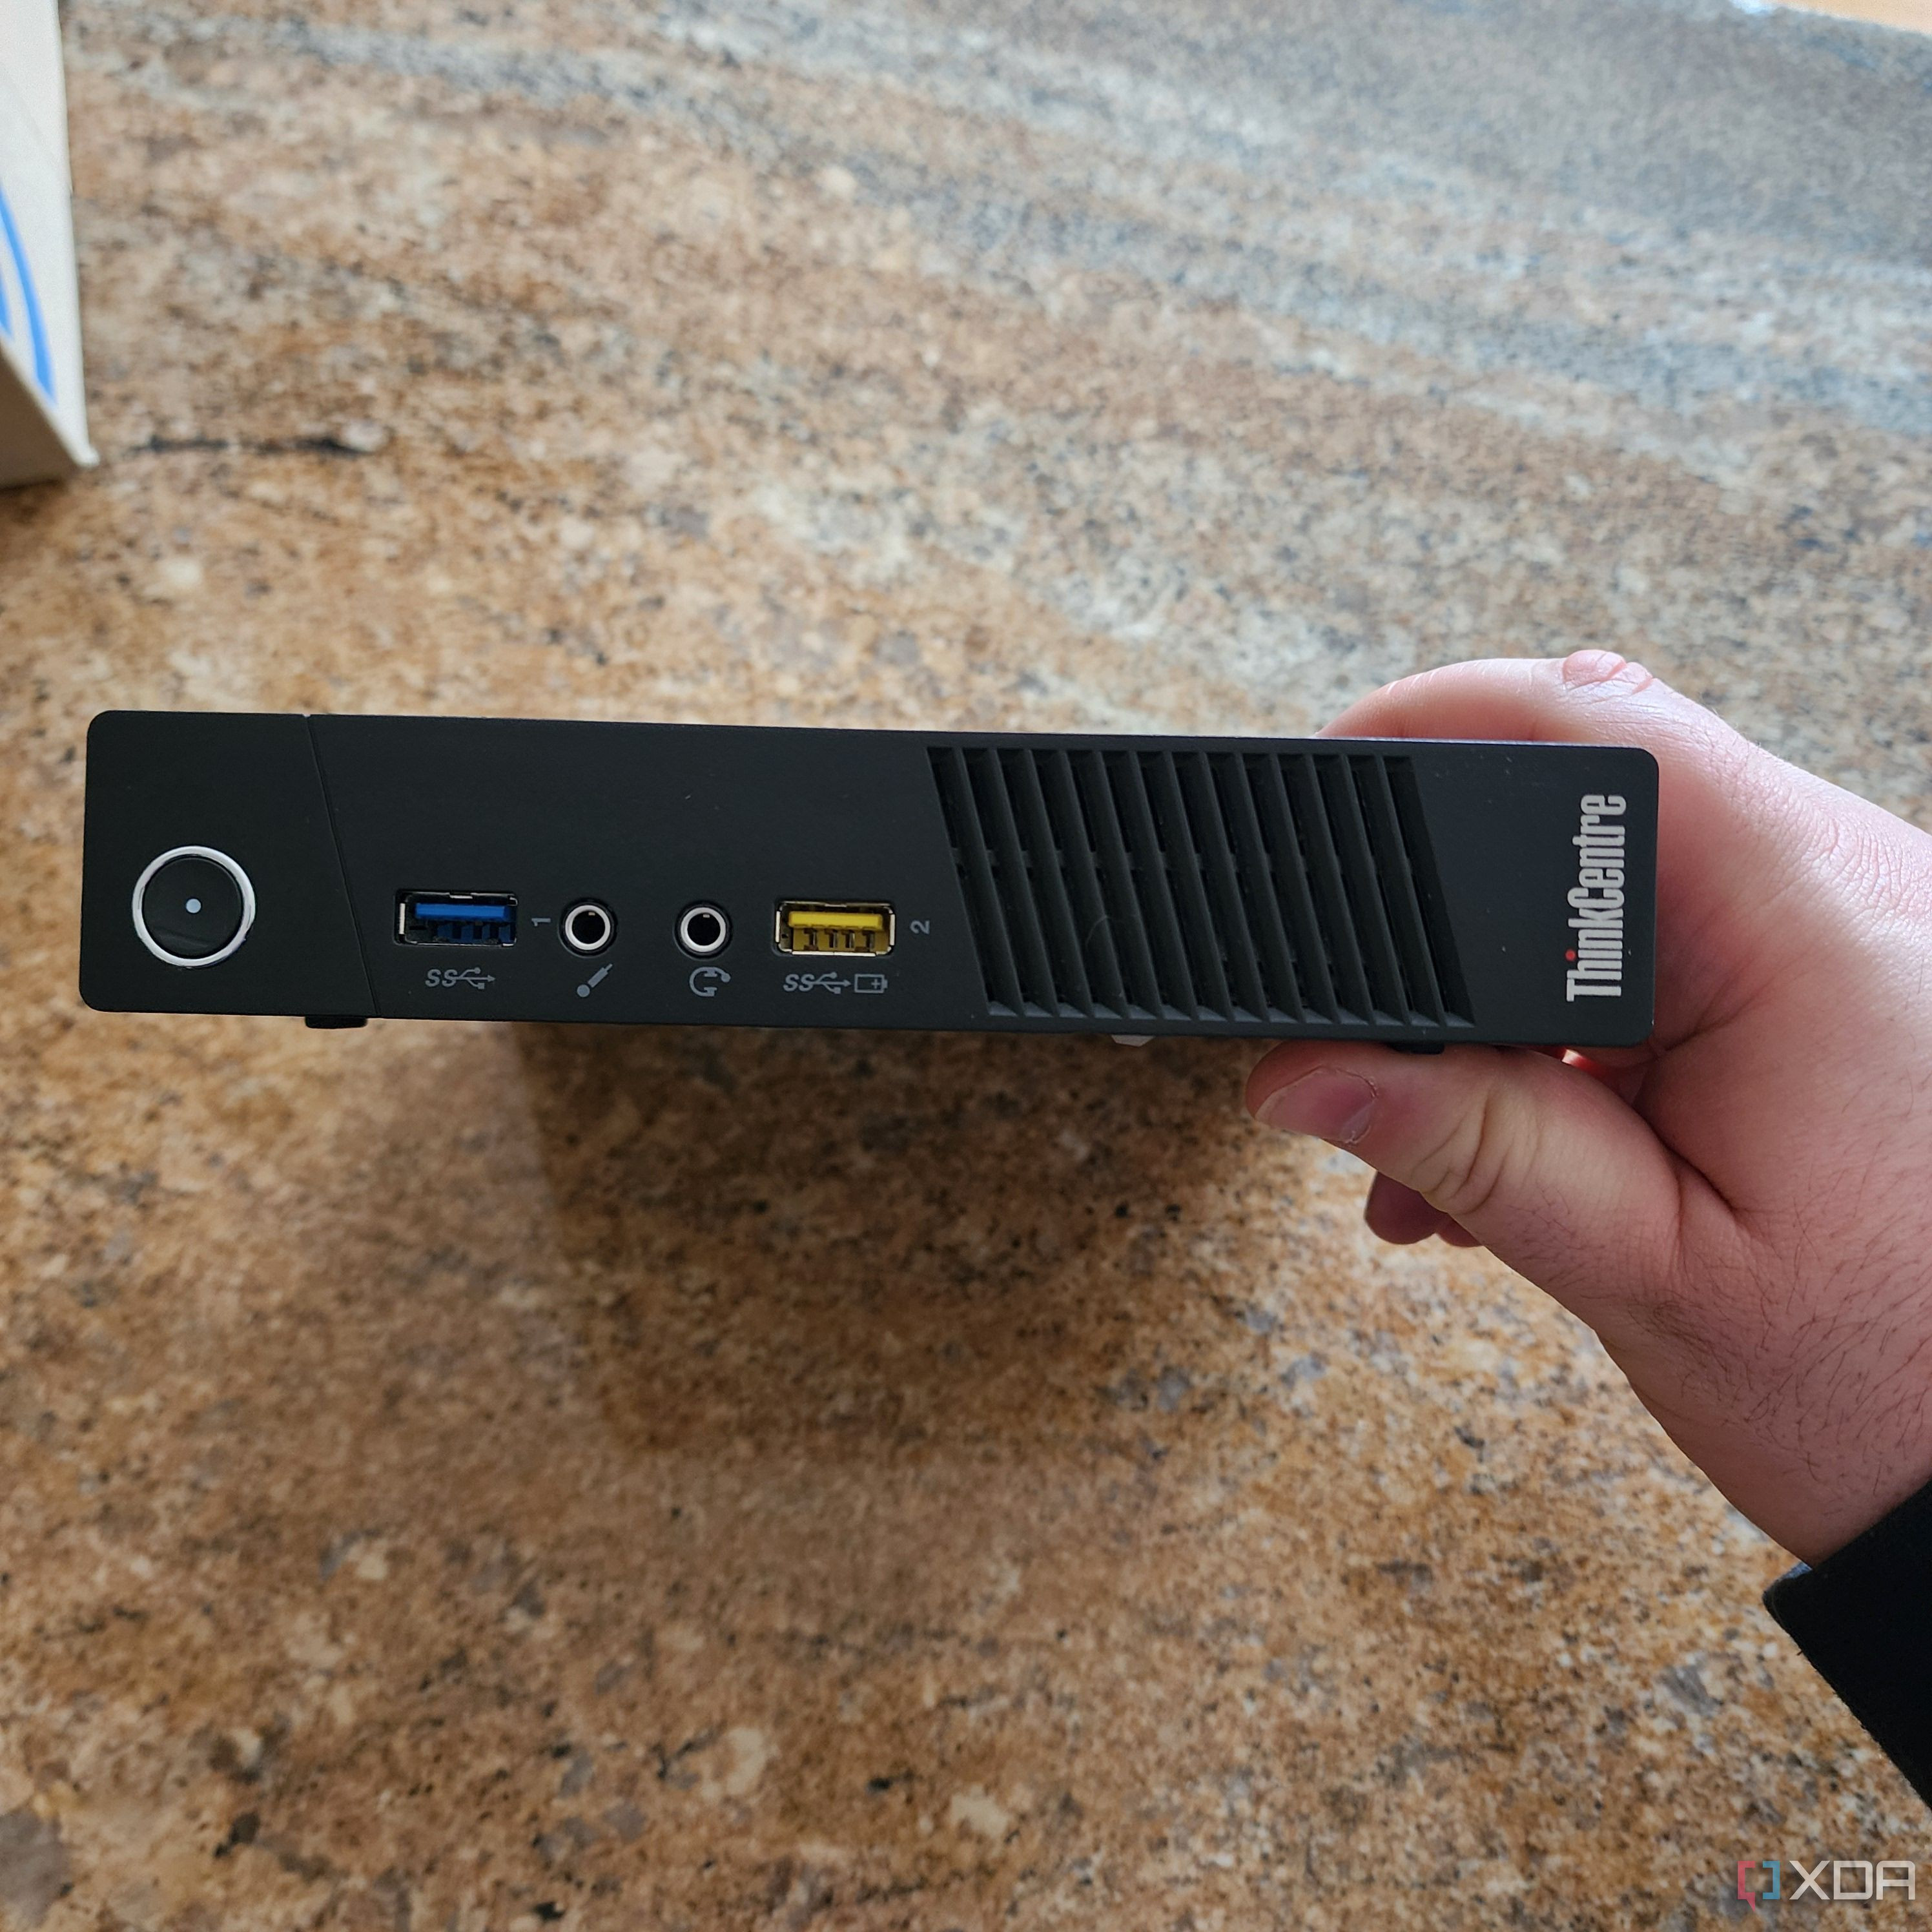 The front panel of a Lenovo mini PC, highlighting its compact design.
I’ve always been one to buy computers for specific tasks, but the idea of a dedicated, budget-friendly machine for a Plex server was new to me. The primary goal was to minimize expenses while ensuring enough processing power for smooth Plex operation. Purchasing a brand-new computer seemed overkill and financially impractical. It quickly became apparent that a refurbished mini PC was the sweet spot, offering the right balance of performance and affordability. The market is flooded with mini PC options these days, and many have been rigorously tested and reviewed.
For my personal mini Plex server project, I opted for the Lenovo ThinkCentre M73. This compact PC, though dating back over a decade with its Intel Haswell architecture, packs a punch for its age. My chosen model featured a dual-core, quad-thread CPU, 8GB of RAM, and a speedy 240GB SSD. These units are readily available for around $100, a price point that aligned perfectly with my budget. The only additional investment was a small Bluetooth adapter, and of course, the external hard drives for media storage.
The Lenovo ThinkCentre M73’s design is particularly convenient for a mini Plex server, especially with its two front-facing USB 3.0 ports. These make connecting powered USB hubs for external drives incredibly easy and accessible.
Initially, I was skeptical about whether an older dual-core CPU, typically found in commercial or office environments, could handle the demands of a Plex server. However, modern devices are surprisingly efficient. Most client devices like iPads or Apple TVs are more than capable of decoding media files, eliminating the need for server-side transcoding in many cases. Even with two simultaneous 1080p streams, the CPU usage barely exceeded 20%. To test its limits, I forced Plex to transcode a video to 20Mbps 1080p. While this pushed the CPU usage into the high 90s, playback remained smooth. As demonstrated below, disabling transcoding immediately reduced CPU load dramatically.
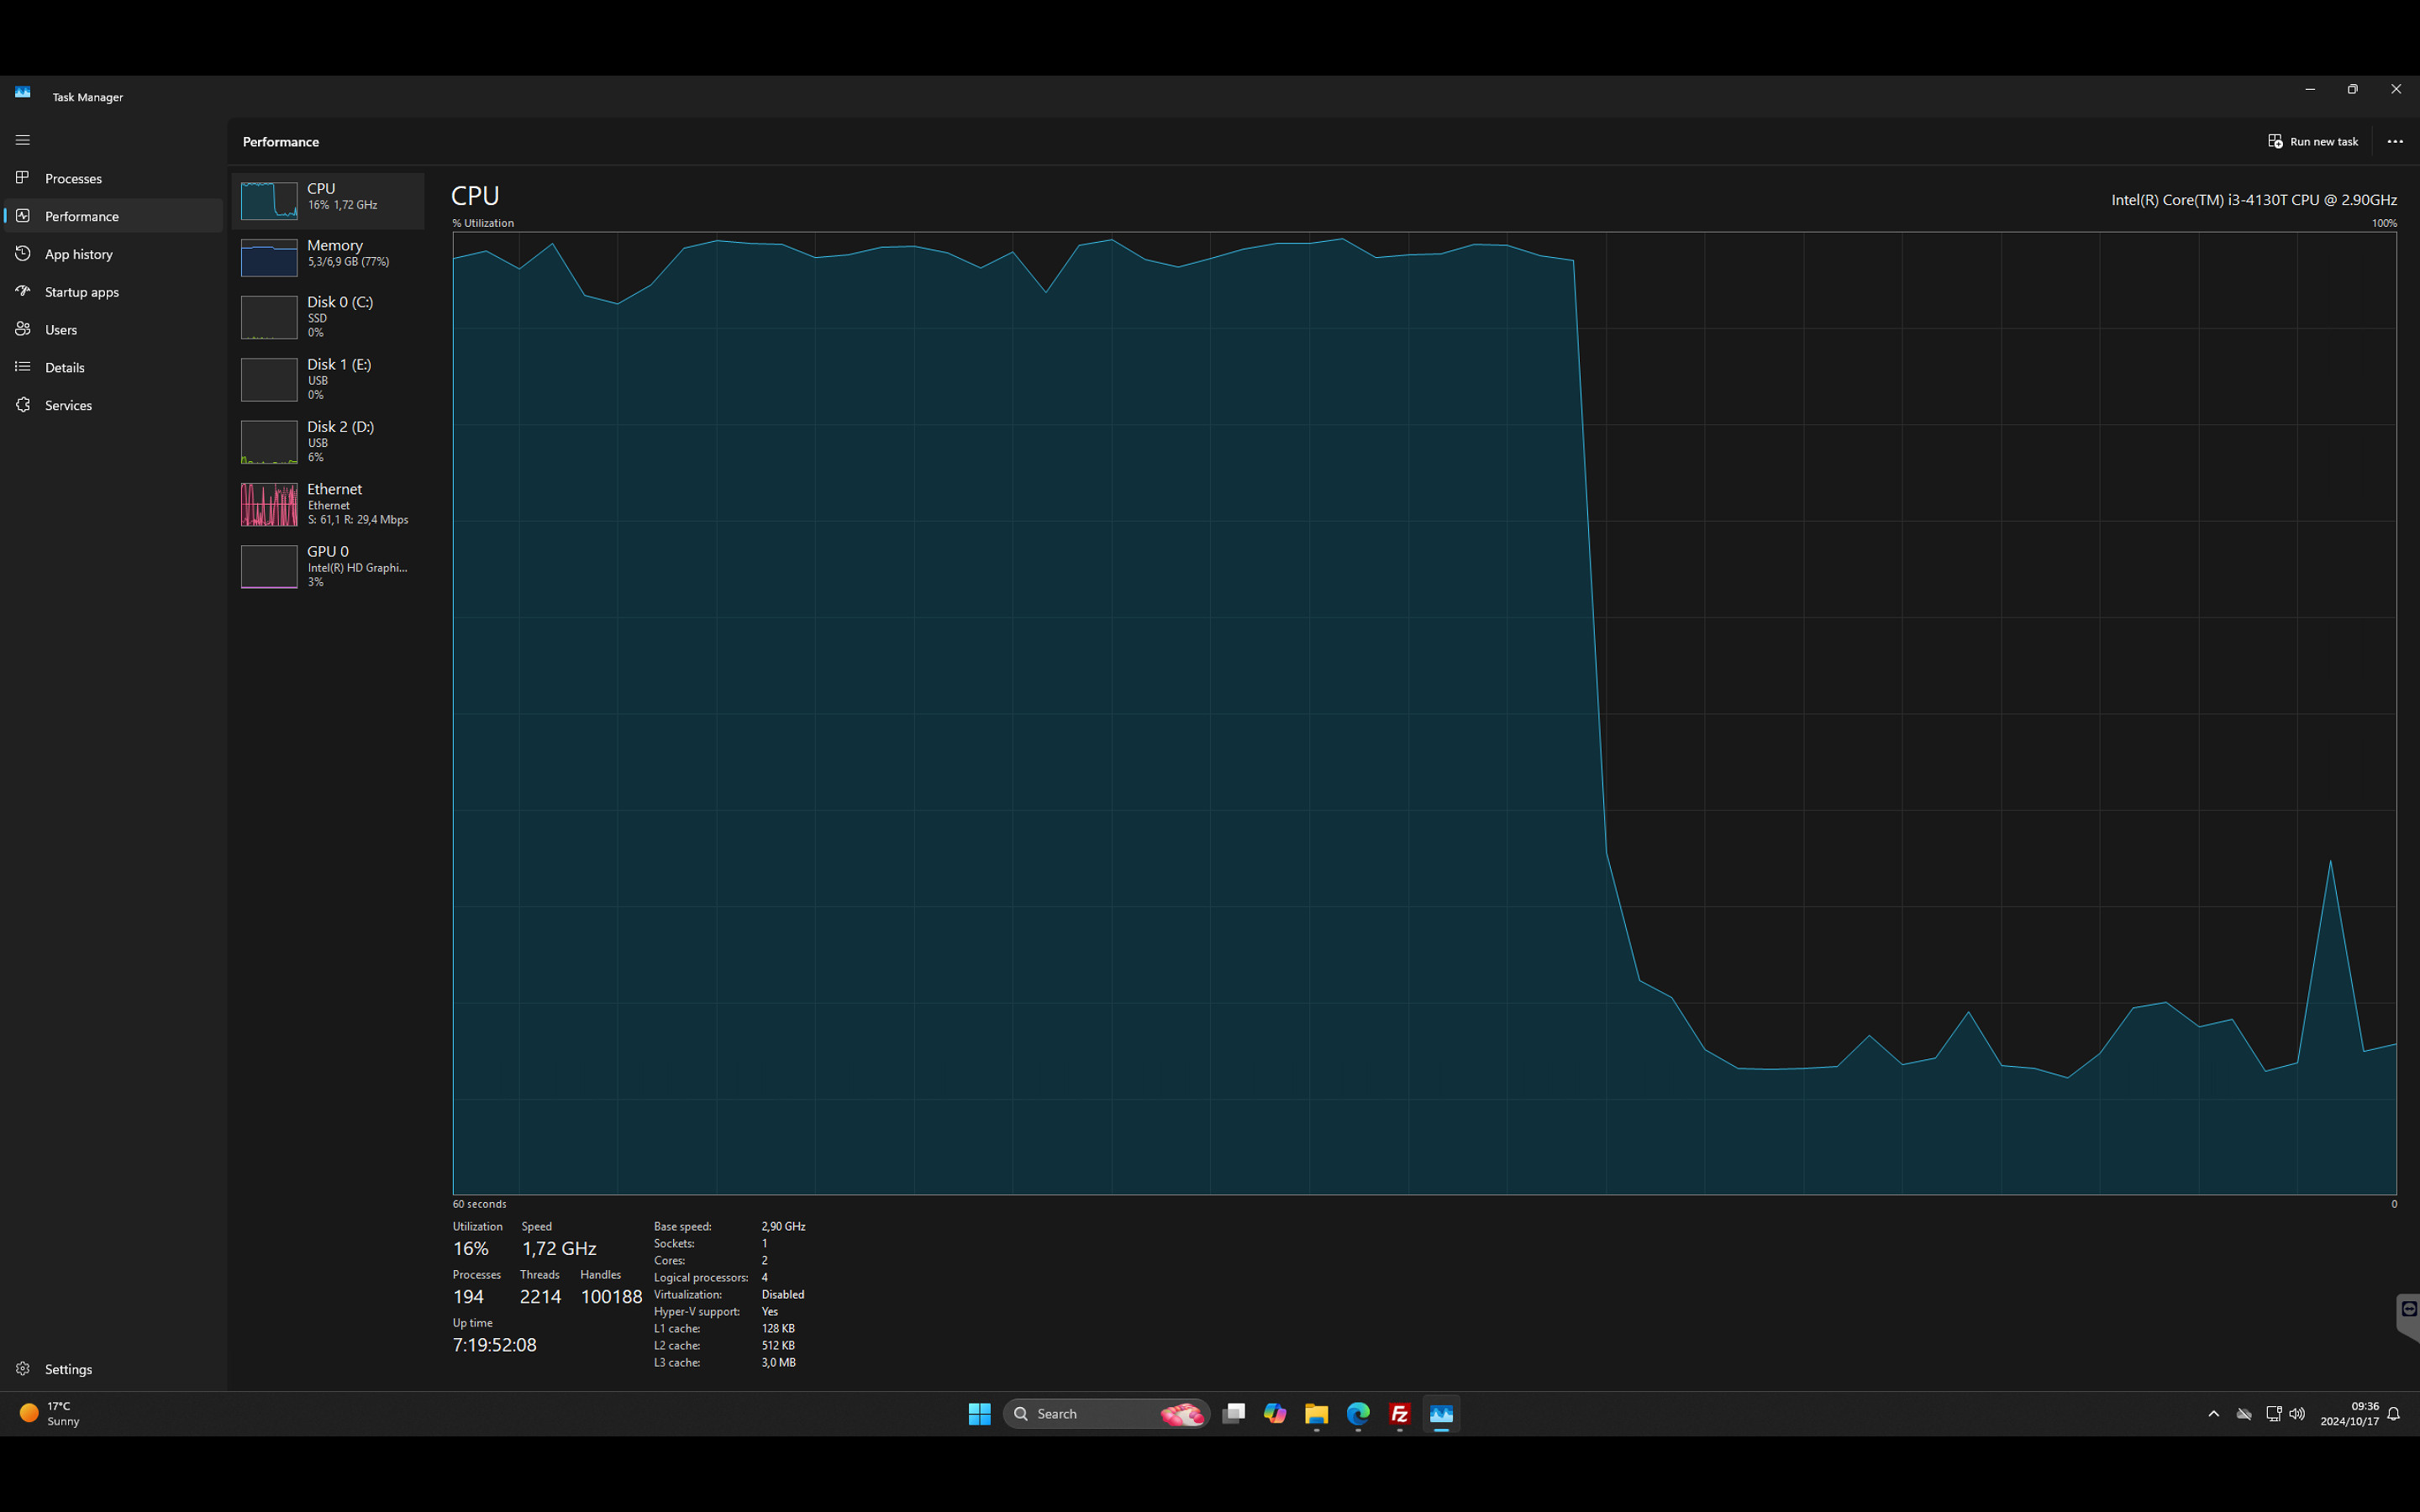 Windows performance monitor displaying CPU usage during and after Plex transcoding, illustrating the impact of transcoding on system resources.
While the integrated GPU in this system includes hardware acceleration for video, Plex’s hardware transcoding feature requires a Plex Pass subscription. Since transcoding wasn’t essential for my setup, I opted to skip the paid subscription.
For network connectivity, I connected my mini Plex server via Ethernet to my mesh network, allocating a dedicated 100Mbps bandwidth. This is more than sufficient, even for multiple concurrent streams within my home network.
Linux First, Then Windows
My initial plan was to install Linux on the mini PC. My Linux experience is a bit dated, going back to my university days. Considering this mini PC doesn’t meet the hardware requirements for Windows 11, Ubuntu seemed like the logical choice.
Ubuntu installation was straightforward, but I encountered a hurdle when trying to get Plex to recognize my USB drives. Plex operates under its own user, “plex,” which requires ownership of the mounted folders containing media files. I spent considerable time wrestling with mount configurations to grant Plex access to the external drives, but ultimately, I hit a wall. Finding clear, concise guides for this specific scenario proved challenging. My colleague, Dave McKay, a Linux expert, found my struggles so amusing that he created a helpful guide on using Linux USB drives with Plex, which can be found here: Plex Linux external drive guide.
Despite the availability of solutions, I decided to switch to Windows for a simpler setup process.
 A screenshot of the Plex interface on a PC, showcasing its user-friendly media server platform.
The Windows Path
Choosing the Right Windows Version
 Wallpaper collage from Windows XP, 10, and 11, representing different eras of the Windows operating system.
Switching back to Windows presented a choice: Windows 10 or pushing for Windows 11. While Windows 10 would work flawlessly, its impending end-of-life support made it a less future-proof option. Running an outdated OS on my Plex server could expose it to security vulnerabilities. While I could risk it, I decided to attempt installing Windows 11 first.
To bypass Windows 11’s compatibility checks, I used Rufus. This tool allows you to create a bootable USB drive from a Windows 11 ISO file and offers options to remove compatibility requirements, set up a local account, and more.
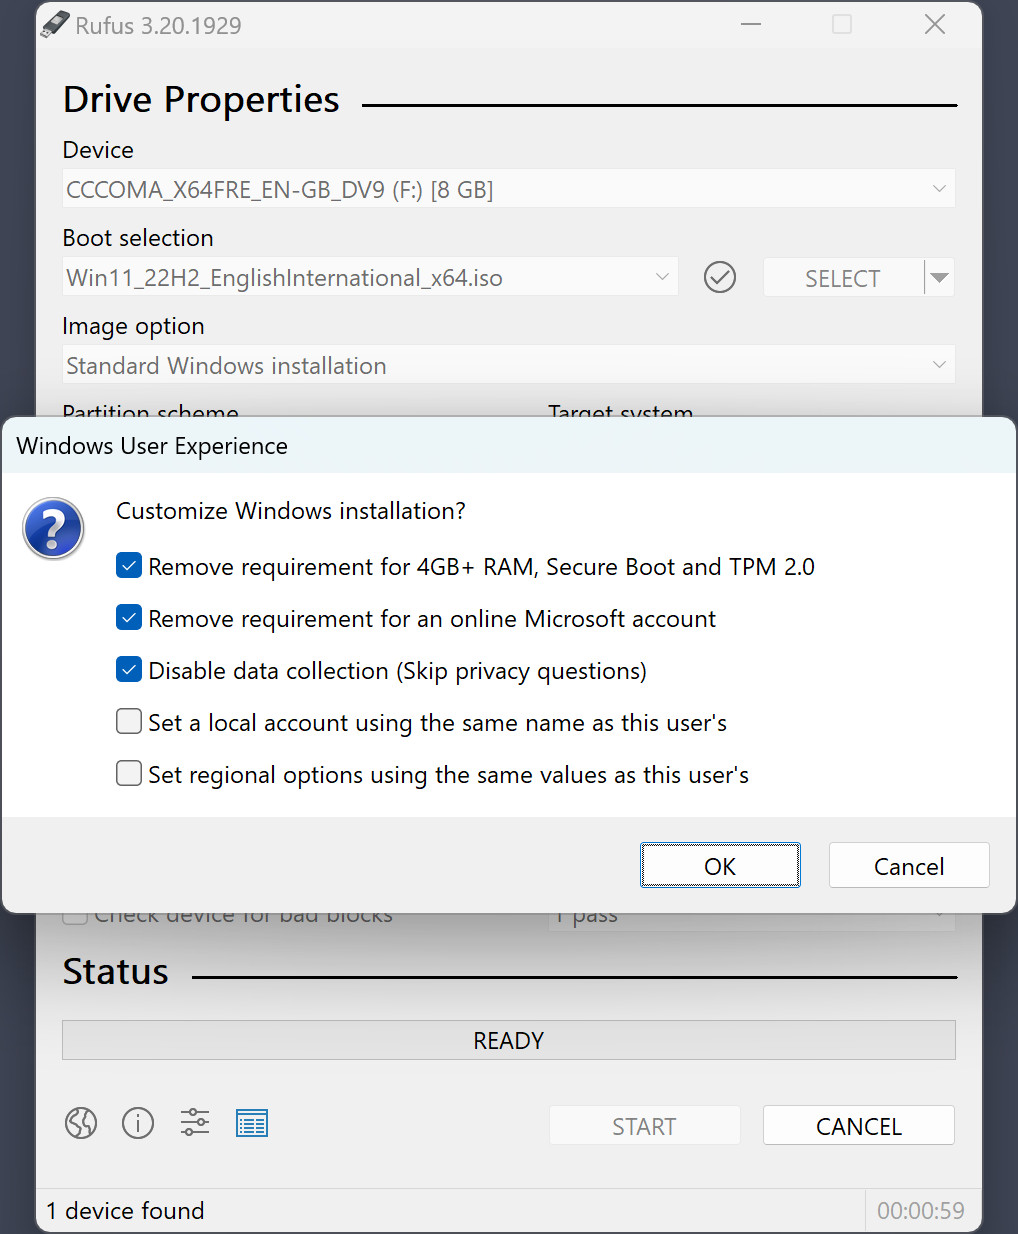 The Rufus user experience options menu, showing customization settings for Windows installation, including compatibility bypass.
Source: Rufus
With the Rufus-prepared USB drive, Windows 11 installation proceeded smoothly, and surprisingly, it activated. This suggests the mini PC came with a valid Windows OEM license.
The Windows 11 installation functioned as expected, with updates and core features working correctly. The only minor issue was the lack of a specific Windows 11 iGPU driver for this older CPU model. Taking a chance, I installed the Windows 10 driver for the iGPU – and it worked perfectly.
Finalizing the Mini Plex Server
The last steps were straightforward: installing Plex Media Server and adding my media libraries. Additionally, I installed TeamViewer for remote server management, simplifying file transfers and maintenance without needing physical access.
 A mini PC setup with external USB hard drives, illustrating a practical mini Plex server configuration.
This unassuming mini PC now efficiently streams my entire digital media collection throughout my home. Considering the minimal investment, it’s proven to be an excellent and cost-effective mini Plex server solution.