
Making delicious, creamy soft serve ice cream at home is simpler than you might think! This recipe for Quick and Easy Soft Serve Ice Cream, sometimes referred to as “ice cream in a bag,” requires no special equipment and is ready to enjoy in just about 5 minutes. While the precise origins of ice cream in a bag are a bit of a mystery, it’s believed to have started in the United States in the early 1900s. A 1907 issue of Popular Mechanics magazine featured a method for creating ice cream in a bag using a mixture of salt and ice, marking one of the earliest known mentions of this fun technique.
This is a fantastic recipe to get kids involved in the kitchen! And if you’re looking for more no-churn ice cream options, be sure to check out this delicious no-churn ice cream recipe as well.
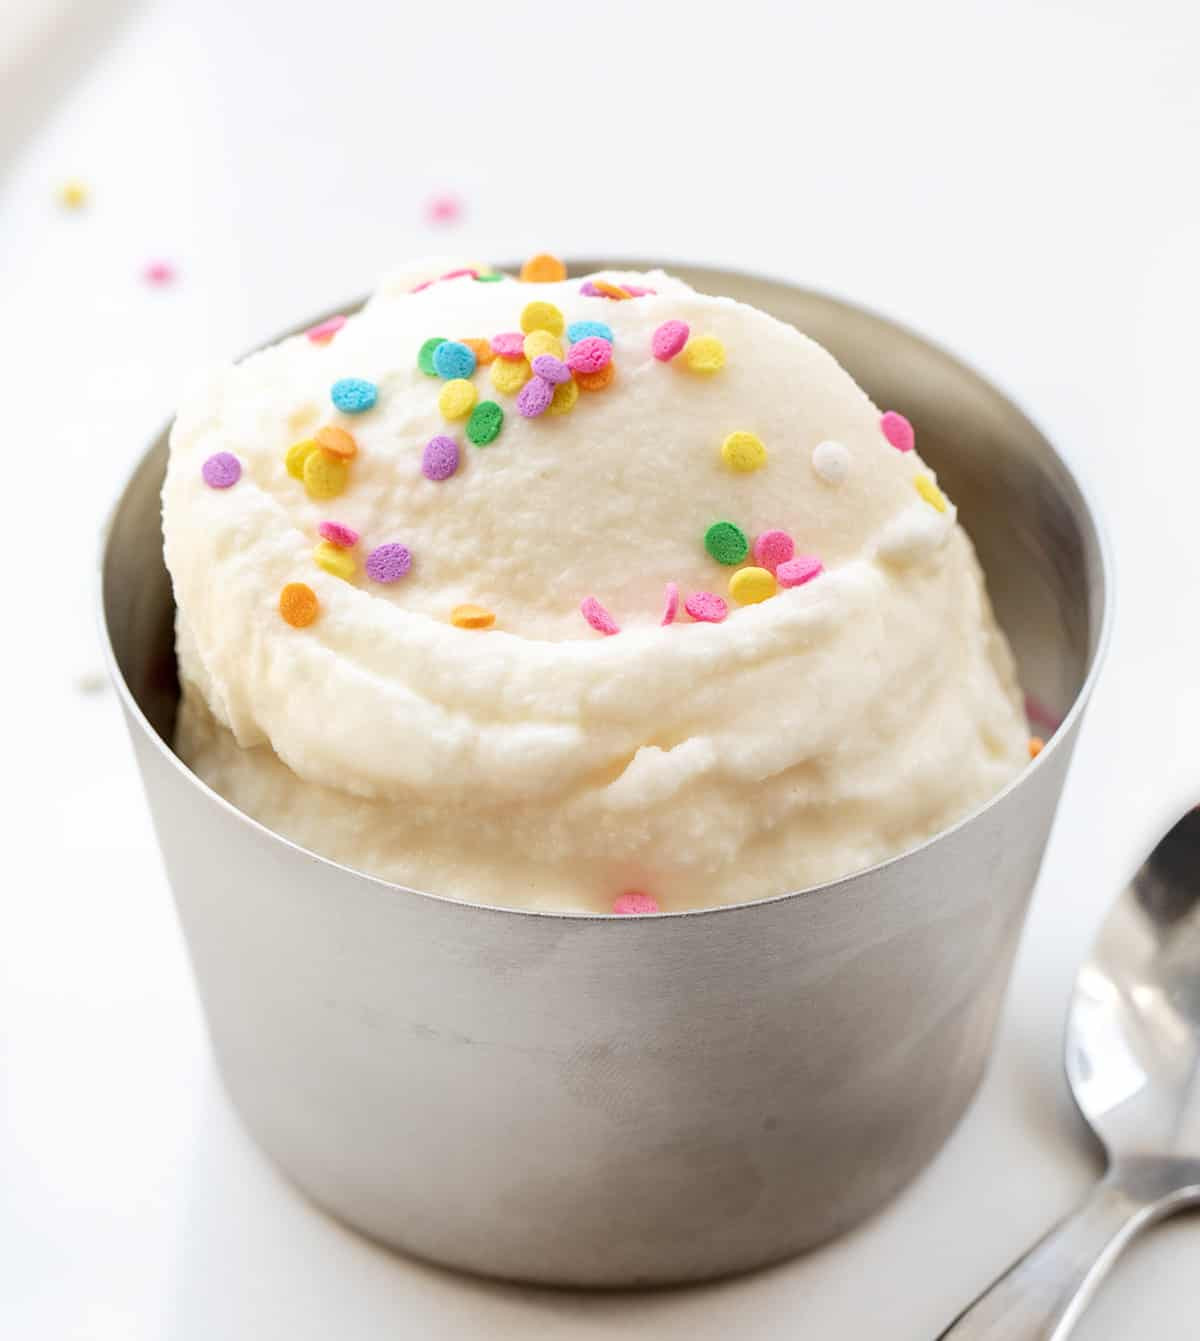 Metal Bowl filled with Vanilla Soft Serve Ice Cream topped with Sprinkles and a Spoon, placed on a white countertop.
Ingredients & Substitutions for Soft Serve Perfection
Heavy Cream: The key to creamy ice cream is fat, and heavy cream (or heavy whipping cream) is your best friend here. Its high-fat content delivers that rich, smooth, and luxurious texture we all crave in soft serve. For a lighter version, you could substitute half-and-half or whole milk. However, keep in mind that this will alter the final consistency, making it less thick and creamy.
Milk: Following the same principle as with heavy cream, whole milk is the preferred choice for the richest and creamiest soft serve. Using milk with a lower fat content will result in a less dense ice cream.
Sugar: Granulated sugar provides the necessary sweetness. It also dissolves easily, ensuring an even distribution of sweetness throughout your homemade soft serve.
Vanilla Extract: Vanilla extract is essential for that classic vanilla ice cream flavor. Use a good quality extract for the best taste.
Salt: Salt plays a crucial role in the ice cream making process. It lowers the freezing point of ice, creating a colder environment that’s necessary to freeze the cream mixture effectively. Without salt, the ice would melt too quickly to freeze the ice cream base. Rock salt, often called ice cream salt, is traditionally used, but can be harder to find. Kosher salt is an excellent and readily available alternative. You can also use Himalayan pink salt or Maldon sea salt. If using rock salt or Himalayan pink salt, double the amount specified in the recipe. Use the same amount as kosher salt if you opt for Maldon sea salt.
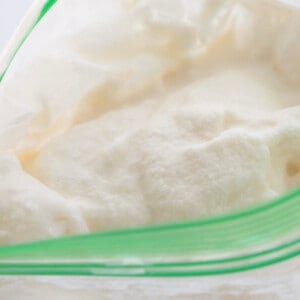
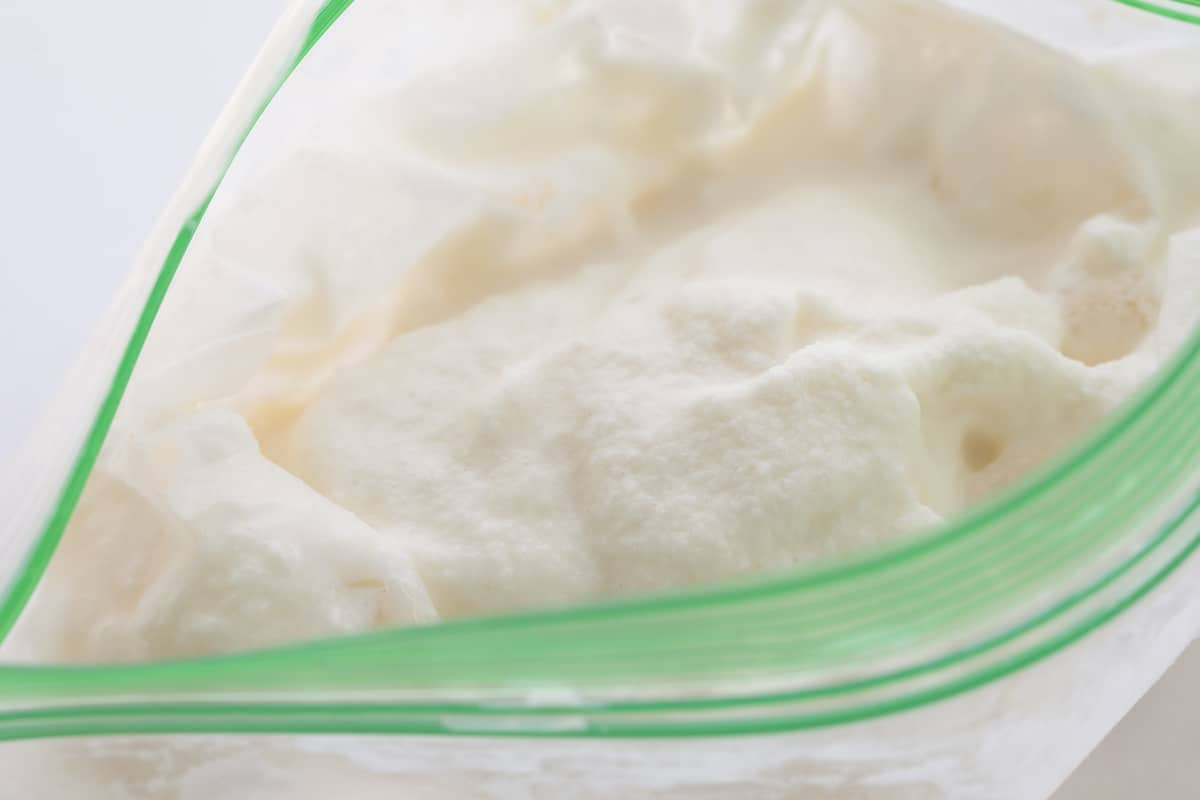 A close-up view of Soft Serve Ice Cream forming inside a plastic bag, after being shaken within a larger bag of salt and ice.
Adding Mix-Ins to Your Soft Serve Ice Cream
Absolutely! One of the best things about homemade soft serve is the ability to customize it to your liking. Get creative and add your favorite mix-ins! Chocolate chips, crushed cookies, pieces of fresh fruit, or chopped nuts all work wonderfully. For the best results, incorporate mix-ins before you begin shaking the mixture with the ice and salt. Alternatively, you can keep it simple and top your vanilla soft serve with classic ice cream toppings like chocolate syrup and caramel sauce after it’s made.
Can You Double This Soft Serve Recipe?
Unfortunately, doubling this recipe in a single batch is not recommended. Attempts to double the recipe using the bag method have resulted in longer freezing times and a less firm soft serve than desired. However, you can easily make multiple single batches, one after the other. Good news – you can even reuse the ice and salt mixture for subsequent batches!
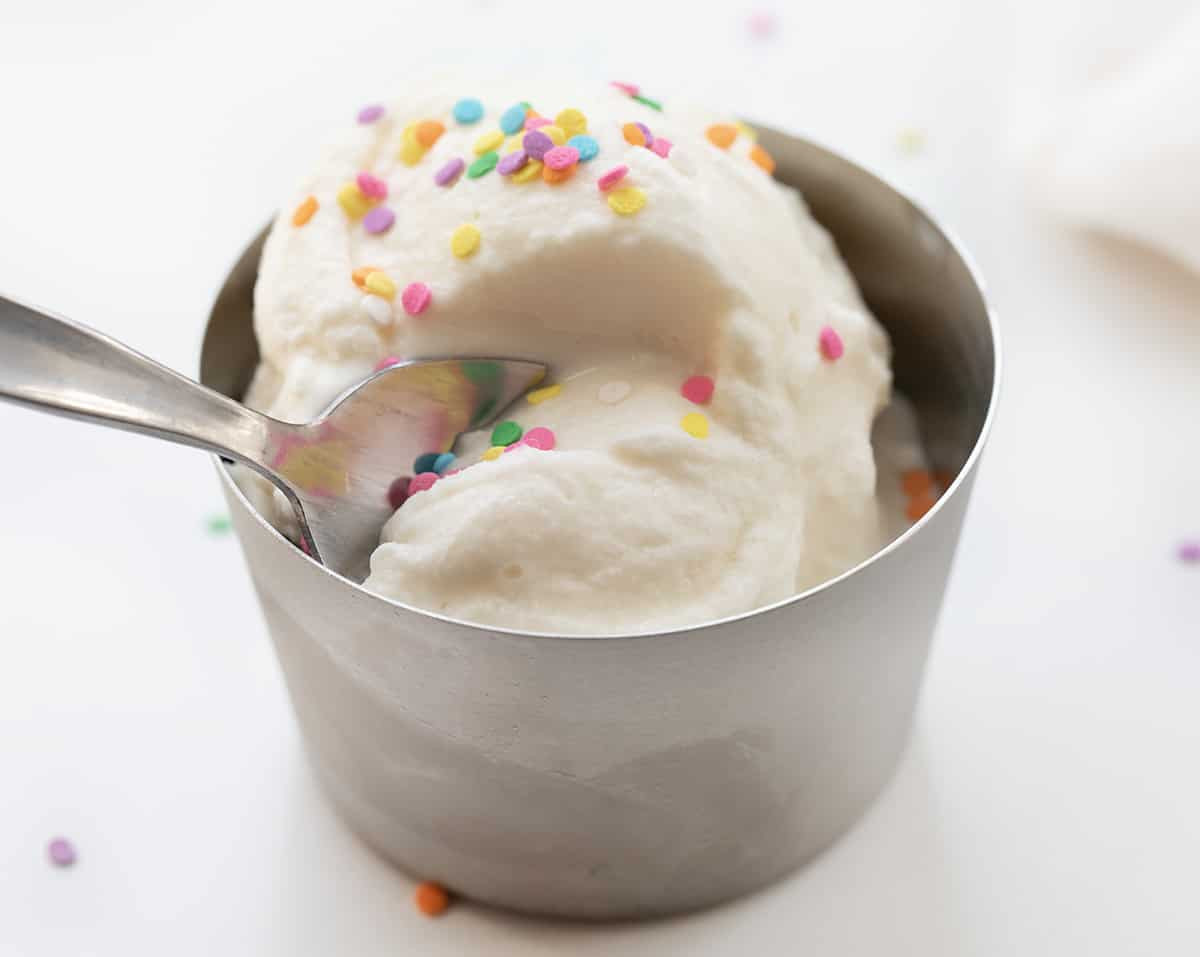 A spoonful of Vanilla Soft Serve Ice Cream being scooped from a metal dish, showcasing its creamy texture.
Best Way to Store Homemade Soft Serve Ice Cream
This recipe yields approximately one cup of soft serve, perfectly portioned for immediate enjoyment. Soft serve is at its absolute best and creamiest right after it’s made. While you can store leftover soft serve in the freezer, be aware that it will harden considerably and lose some of its signature creamy texture once frozen solid.
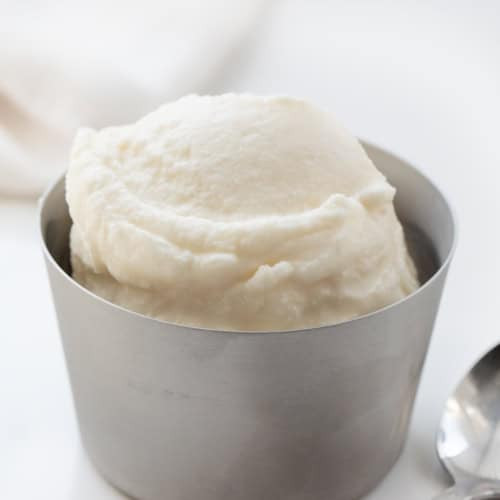 A scoop of creamy Vanilla Soft Serve Ice Cream in a metal bowl, placed on a white countertop with a spoon nearby, ready to be enjoyed.
5 from 1 vote
Quick and Easy Soft Serve Ice Cream Recipe
Prep Time: 10 minutes
Total Time: 10 minutes
This Quick and Easy Soft Serve Ice Cream recipe delivers smooth, creamy vanilla ice cream without any fancy equipment, ready in about 5 minutes! All it takes is a bit of arm power, and you’ll be enjoying delicious homemade soft serve in no time.
Ingredients
- ½ cup (119 g) heavy cream
- ½ cup (122.5 g) whole milk
- ¼ cup (50 g) granulated sugar
- 1 teaspoon vanilla extract
- 3 cups ice
- ⅓ cup (96 g) kosher salt, can also use Himalayan or rock salt
Instructions
-
In a sealable plastic bag, combine the heavy cream, whole milk, and vanilla extract.
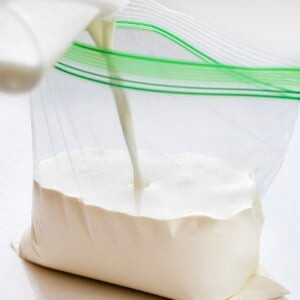 Pouring Milk and Heavy Cream into a Sealable Plastic Bag for homemade Soft Serve Ice Cream.
 -
Add the sugar to the bag. Seal the bag tightly (double-check the seal!) and shake briefly to ensure the sugar dissolves completely and is evenly distributed throughout the mixture.
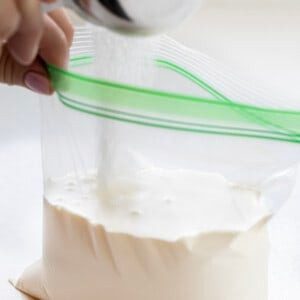 Adding Sugar to the Heavy Cream mixture in a plastic bag to prepare Soft Serve Ice Cream.
 -
Open the bag, remove as much air as possible, and reseal it securely.
-
In a separate, larger resealable plastic bag, add the ice and salt.
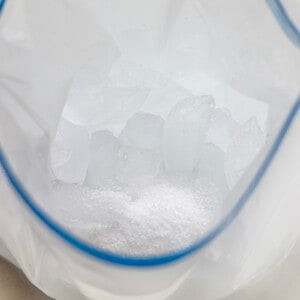 Preparing the Ice and Salt mixture in a bag, the chilling element for making Soft Serve Ice Cream in a bag.
 -
Place the bag containing the cream mixture inside the bag of ice and salt. Ensure both bags are firmly sealed.
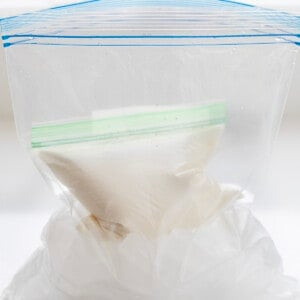 Enclosing the Cream Mixture bag within the Ice and Salt bag, the crucial step in the 'ice cream in a bag' Soft Serve method.
 -
Shake the bag vigorously over a sink for approximately 5 minutes. (Gloves or wrapping the bag in towels are recommended to protect your hands from the cold.) The salt will lower the ice temperature, causing the cream mixture to freeze and transform into soft serve ice cream.
-
Carefully remove the ice cream bag from the ice bag.
-
Check the soft serve’s consistency. If it has reached your desired thickness, it’s ready to serve. For a firmer ice cream, continue shaking for a bit longer.
 A close-up of the finished Soft Serve Ice Cream inside the plastic bag, showing the texture achieved after shaking in ice and salt.
 -
Scoop or pipe the soft serve into bowls or cones and serve immediately for the best taste and texture.
Video
[Video Placeholder – Original Article has a video here, consider embedding if possible]
Notes
Can I Double This Recipe? No, doubling the recipe in one go isn’t recommended. It takes longer and doesn’t freeze as well. Make multiple single batches instead, reusing the ice & salt mix.
Nutrition
Serving: 2 servings | Calories: 344kcal
Course: Dessert
Keyword: Quick and Easy Soft Serve Ice Cream
Servings: 1 cup
Calories: 344
Author: Amanda Rettke–iambaker.net
Did you make this recipe?
Share your creations! Post your photos on Instagram, mention @iambaker, and use the hashtag #YouAreBaker.
What the Test Kitchen had to say about this recipe:
 Autumn
“What a fun and easy way to make soft serve ice cream right at home! Just shake the bag and witness the magic unfold. This is definitely a cool activity to enjoy with your kids!”
 Elizabeth
“This recipe is such a fun treat to make! Plus, it’s incredibly creamy and delicious. The final soft serve feels like a well-deserved reward after the arm workout from all that shaking. I’m excited to make this many times this summer.”
 Bella
Bella
“You simply can’t go wrong with classic vanilla ice cream! All it takes is shaking the ingredients, and suddenly you have homemade ice cream! It’s a delightful and quick way to treat yourself or impress guests with a cold and delicious dessert.”
 Rachael
“Such an incredibly easy vanilla ice cream recipe, perfect for a personal serving, and ready in just 5 minutes! Minimal ingredients that most people already have on hand too. Definitely try this if you’re craving some soft serve ice cream!”
 Selena
“Just perfect, classic vanilla ice cream that’s ready to eat in absolutely no time! I especially love that you don’t need any special equipment to make this!”