
Minecraft, the globally acclaimed sandbox game, continues to captivate millions with its boundless creativity and immersive virtual worlds. Its enduring popularity stems from the freedom it offers – the ability to build, explore, and most importantly, connect with other players. The true heart of Minecraft’s social experience lies in its multiplayer functionality, allowing you to team up, compete, and collaborate with friends and fellow gamers in shared digital landscapes.
To dive into this vibrant multiplayer world, you’ll need one essential piece of information: the Minecraft server address. Think of it as the unique key to unlocking a specific online world where you and others can play together. Understanding how to find your Minecraft server address is the first step towards countless hours of collaborative building, thrilling adventures, and unforgettable moments with the Minecraft community.
This article will provide a detailed, step-by-step guide on how to find your Minecraft server address, ensuring you can easily join your friends or explore new online communities. We’ll also cover the basics of setting up your own Minecraft server on a Windows system, giving you the power to host your own adventures.
Understanding the Minecraft Server Address
In the realm of Minecraft multiplayer, the server address is paramount. It’s essentially the internet address (IP address) of the server hosting the Minecraft world you wish to join. This address acts as a digital compass, directing your game client to the precise location of the server, allowing you to connect and play with others.
Different Minecraft servers operate with varying levels of accessibility. Some public servers openly broadcast their IP addresses, inviting anyone to join, while private servers might require applications or membership within specific communities to gain access. Regardless of the server type, knowing how to find the Minecraft server address is crucial for joining the multiplayer fun.
With the correct Minecraft server IP address, you can seamlessly connect to your chosen server and immerse yourself in a shared gaming environment. This connectivity is what fuels the dynamic Minecraft gaming experience, fostering player interaction, teamwork on ambitious projects, and exciting competitive challenges within the expansive Minecraft universe.
Step-by-Step Guide: How to Locate Your Minecraft Server Address
If you’re wondering, “What is my Minecraft server IP?” you’re in the right place. Many new Minecraft players find themselves puzzled when trying to locate their server’s IP address after setting up a server on their computer. Fortunately, finding your Minecraft server address is a straightforward process. Here’s how to find your Minecraft server IP address on a Windows operating system:
Step 1: Open the Run Command Window
The Run command in Windows is a quick way to execute commands. Press the Windows key + R simultaneously to open the Run dialog box. You’ll see a small window appear, ready for your command.
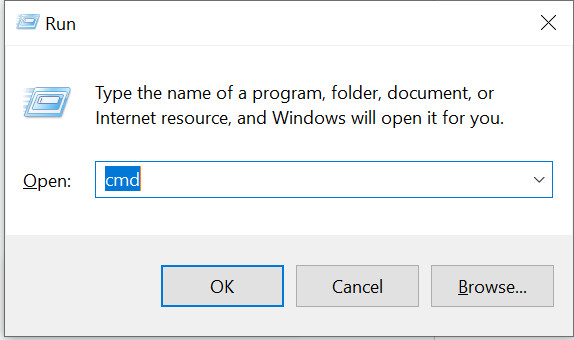 Open Run command to find Minecraft server address
In the Run window’s text field, type “cmd” (short for command prompt) and press Enter or click “OK”. This will launch the Command Prompt, a text-based interface that allows you to interact with your Windows system using commands.
Step 2: Use the “ipconfig/all” Command to Find Your Minecraft Server IP
In the Command Prompt window, you’ll see a blinking cursor. Type the command ipconfig /all (make sure there’s a space between “ipconfig” and “/all”) and press Enter.
> ipconfig /allThis command will execute and display a wealth of network configuration information, including details about your IP addresses, network adapters, and more.
<img alt="Use ipconfig/all command to reveal Minecraft server IP address in Command Prompt" src="https://lh4.googleusercontent.com/SYfhVfKvHWLqcX8A-JoaJ3BSISM3ntncg43ouCr3-0vpiL6LTa-SPy5_405-hIoFXp9dCGD9USFY-hrT3TBytv0bCrQlCmOhRiiz9vjqy0zOvwuGoMa7Ue6ywtMM3623fMaN-YeqBl-HNJRH6YzUhw"></img>Look through the output for “IPv4 Address”. This IPv4 address is your Minecraft server’s IP address. If you’re connected to the internet via an Ethernet cable (wired connection), you’ll typically find this address listed under the “Ethernet adapter Ethernet” section. For Wi-Fi connections, look under “Wireless LAN adapter Wi-Fi”.
You can keep the Command Prompt window open if you plan to proceed with setting up your Minecraft server. Otherwise, feel free to close it.
Now that you know how to find your server address, let’s explore how to set up your own Minecraft server on a Windows machine.
Setting Up a Minecraft Server on Windows: A Simple Guide
Hosting your own Minecraft server on Windows is easier than you might think. Here’s a step-by-step guide to get you started:
Prerequisites for Minecraft Server Setup
Before you begin, ensure your system meets these basic requirements:
- Operating System: A computer running Windows (Windows 10 or later recommended).
- RAM: At least 4GB of RAM is recommended for a smooth server experience, especially with multiple players. More RAM is beneficial for larger servers and more players.
- Internet Connection: A stable internet connection with sufficient bandwidth is crucial for hosting a server, especially for multiplayer gaming. Unlimited bandwidth is ideal to avoid data overage charges.
Steps to Install a Minecraft Server on Windows
Follow these steps to install and configure your Minecraft server on Windows:
Step 1: Install Java
Minecraft servers require Java to run. If you don’t have Java installed or need to update it, download the latest Java version from the official Java website.
Official Java Download Website
Download the appropriate Java installer (.exe file) for your Windows system. Once downloaded, run the installer and follow the on-screen instructions. Click “Install” during the installation process.
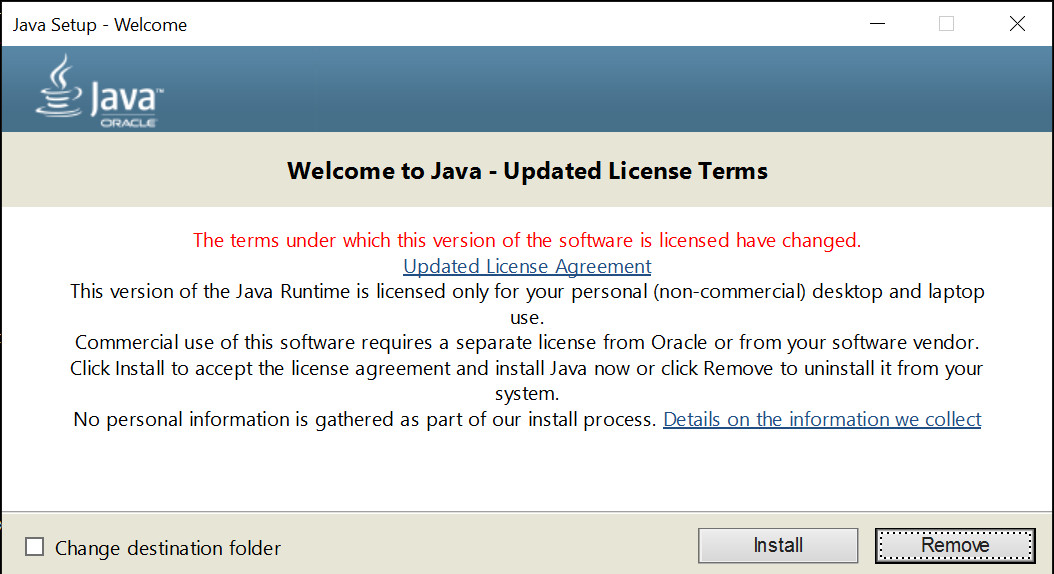 Java installation process for Minecraft server setup
After Java is installed, restart your computer to ensure the changes are properly applied.
Step 2: Download the Minecraft Server Software
Next, download the Minecraft server software from the official Minecraft website. Look for the download link for the “minecraft_server.jar” file. This file contains the server software you’ll need.
Official Minecraft Server Download Page
A .jar file (e.g., minecraft_server.1.20.1.jar) will be downloaded to your computer, usually to your Downloads folder. Create a new folder named “Minecraft Server” (or any name you prefer) and move the downloaded .jar file into this folder. This will keep your server files organized.
Step 3: Run the Minecraft Server .jar File
Navigate to the “Minecraft Server” folder you created and double-click the .jar file (e.g., minecraft_server.1.20.1.jar). Alternatively, you can right-click the file and select “Run as administrator”.
Running the .jar file for the first time will extract necessary server files and create several new files and folders within your “Minecraft Server” directory. These files are essential for configuring and running your server.
Step 4: Configure Server Properties and Accept EULA
Among the newly created files, you’ll find eula.txt and server.properties.
First, open eula.txt with a text editor (like Notepad). Read the Minecraft End User License Agreement (EULA). To accept the EULA and proceed with server setup, change the line eula=false to eula=true, save the file, and close it.
Next, open server.properties with a text editor. This file contains numerous server settings you can customize. Key settings include:
server-port=25565: This sets the default port for your server (25565 is the standard Minecraft port). You can change this if needed.max-players=20: Sets the maximum number of players allowed on your server. Adjust this based on your server’s resources and desired player capacity.gamemode=survival: Sets the default game mode (survival, creative, adventure, spectator).difficulty=easy: Sets the game difficulty (peaceful, easy, normal, hard).
Explore the server.properties file to customize other settings according to your preferences. Save the file after making changes.
Step 5: Allow Server Access Through Windows Firewall
After running the Minecraft server .jar file and configuring settings, Windows Firewall might prompt a security alert. Click “Allow access” on the popup window to grant the Minecraft server access through your Windows Firewall. This is crucial for allowing players to connect to your server from outside your local network.
After completing these steps, your Minecraft server should be up and running! You’ll see a Command Prompt window appear with server statistics and logs.
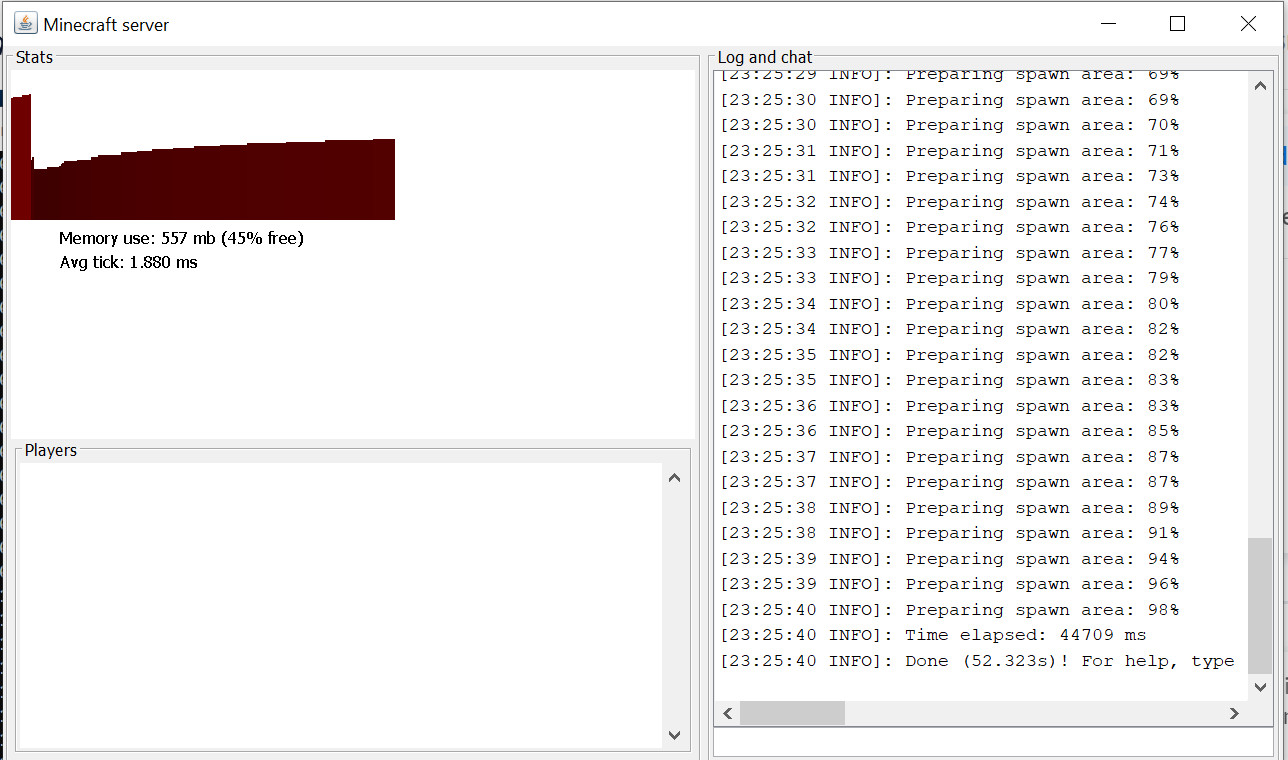 Minecraft server stats window after successful setup
Running the Minecraft Server via Command Line (Optional)
For more control, you can also run your Minecraft server directly from the Command Prompt. Open Command Prompt, navigate to your “Minecraft Server” folder using the cd command (e.g., cd Minecraft Server), and then use the following command to start the server:
> java -Xmx1024M -Xms1024M -jar minecraft_server.1.20.1.jar nogui<img alt="Running Minecraft server using command line in Windows" src="https://lh3.googleusercontent.com/xAItxVgWzG1gwgAlYEvBUOQznCm9i_bzxvW3ZLxBnfe4Atm7FpGpzJc6oaXVdbBCHD7RIW5ytjLiUr-PHyQHi_wmaOuo-GZeBoNEcu3zQ7a-PlYxjh99d6ODpsJ2pp2MBvb1mF5_adp8jj7GmQ_6Ow)Replace minecraft_server.1.20.1.jar with the actual name of your server .jar file if it’s different. The -Xmx1024M -Xms1024M part allocates 1GB of RAM to the server (adjust these values as needed based on your server’s RAM and player load). The nogui option runs the server without a graphical user interface, which can be more resource-efficient for some server setups.
How to Join Your Minecraft Server and Play Multiplayer with Friends
Once your server is running, you need to share your Minecraft server address (IP address) with your friends so they can join. Here’s how to connect to your server and play Minecraft multiplayer:
- Launch Minecraft: Open the Minecraft game client on your computer.
- Click “Direct Connect”: On the Minecraft main menu, find and click the “Direct Connect” button.
- Enter Server Address: In the “Server Address” field, type in your Minecraft server IP address that you found earlier.
- Click “Join Server”: Click the “Join Server” button to connect to your server.
After these steps, your friends who have your server address can also follow the same process to join your Minecraft world. Congratulations! You’re now ready to enjoy Minecraft multiplayer with your friends on your own server.
Key Factors to Consider When Choosing a Minecraft Server in 2023
If setting up your own server isn’t for you, or you’re looking for a more robust and readily available multiplayer experience, consider joining an existing Minecraft server. When choosing a Minecraft server in 2023, keep these factors in mind:
- Uptime: Opt for servers with high uptime (98-99% or better) to minimize server downtime and ensure consistent gameplay.
- Player Base: Consider the server’s player population. A good balance between an active and manageable player base creates a lively and enjoyable environment without overcrowding.
- Hosting Costs and Plans: Evaluate the server’s hosting plans and any associated costs, including potential donations or premium features. Ensure they fit your budget.
- Technical Support: Prioritize servers that offer 24/7 technical support, ideally through multiple channels like phone and email, for prompt assistance with any server-related issues.
- Server Locations: Choose a server host with multiple server locations worldwide. This minimizes network latency (ping) and ensures a smoother, lag-free gaming experience, especially for players geographically distant from the server.
- Hardware Performance: Look for hosting plans that utilize powerful server hardware. This translates to faster loading times, reduced lag, and better overall server performance, especially with many players online.
- Community and Support: Seek servers with active and helpful player communities. A strong community can provide assistance, guidance, and enhance your overall gaming experience.
By carefully considering these factors, you can select the best Minecraft server to match your needs and preferences for an optimal multiplayer adventure.
Conclusion
This guide has provided you with the essential knowledge and step-by-step instructions on how to find your Minecraft server address and how to set up your own server on Windows. Whether you’re aiming to host your own world for friends or join a vibrant online community, understanding server addresses is fundamental to unlocking the full potential of Minecraft multiplayer.
For those seeking readily available multiplayer experiences, numerous comprehensive Minecraft server lists are available online, catering to diverse player preferences and interests.
If you have any further questions or encounter any issues, feel free to leave a comment below. Happy crafting and enjoy your Minecraft multiplayer adventures!