When the Raspberry Pi Zero, the most compact single-board computer in the Raspberry Pi lineup, was released, my immediate thought was to experiment with it as a Minecraft server. Despite its modest specifications, I wondered if careful optimization could transform it into a functional server.
Initial online research offered limited encouragement. Many critiques focused on the Pi Zero’s 512MB of RAM and 1 GHz processor as insufficient. While these are indeed constraints, the Raspberry Pi Zero has proven capable of remarkable feats with dedicated effort – including hosting a Minecraft server.
However, it’s important to acknowledge certain limitations from the outset.
Charting the Course: Skyblock
Given the hardware limitations, I quickly narrowed my options to two approaches: A) utilizing an older, less demanding version of Minecraft or B) selecting a Minecraft game mode inherently easier to run. Opting for the latter, I decided to build a server around the Skyblock game mode.
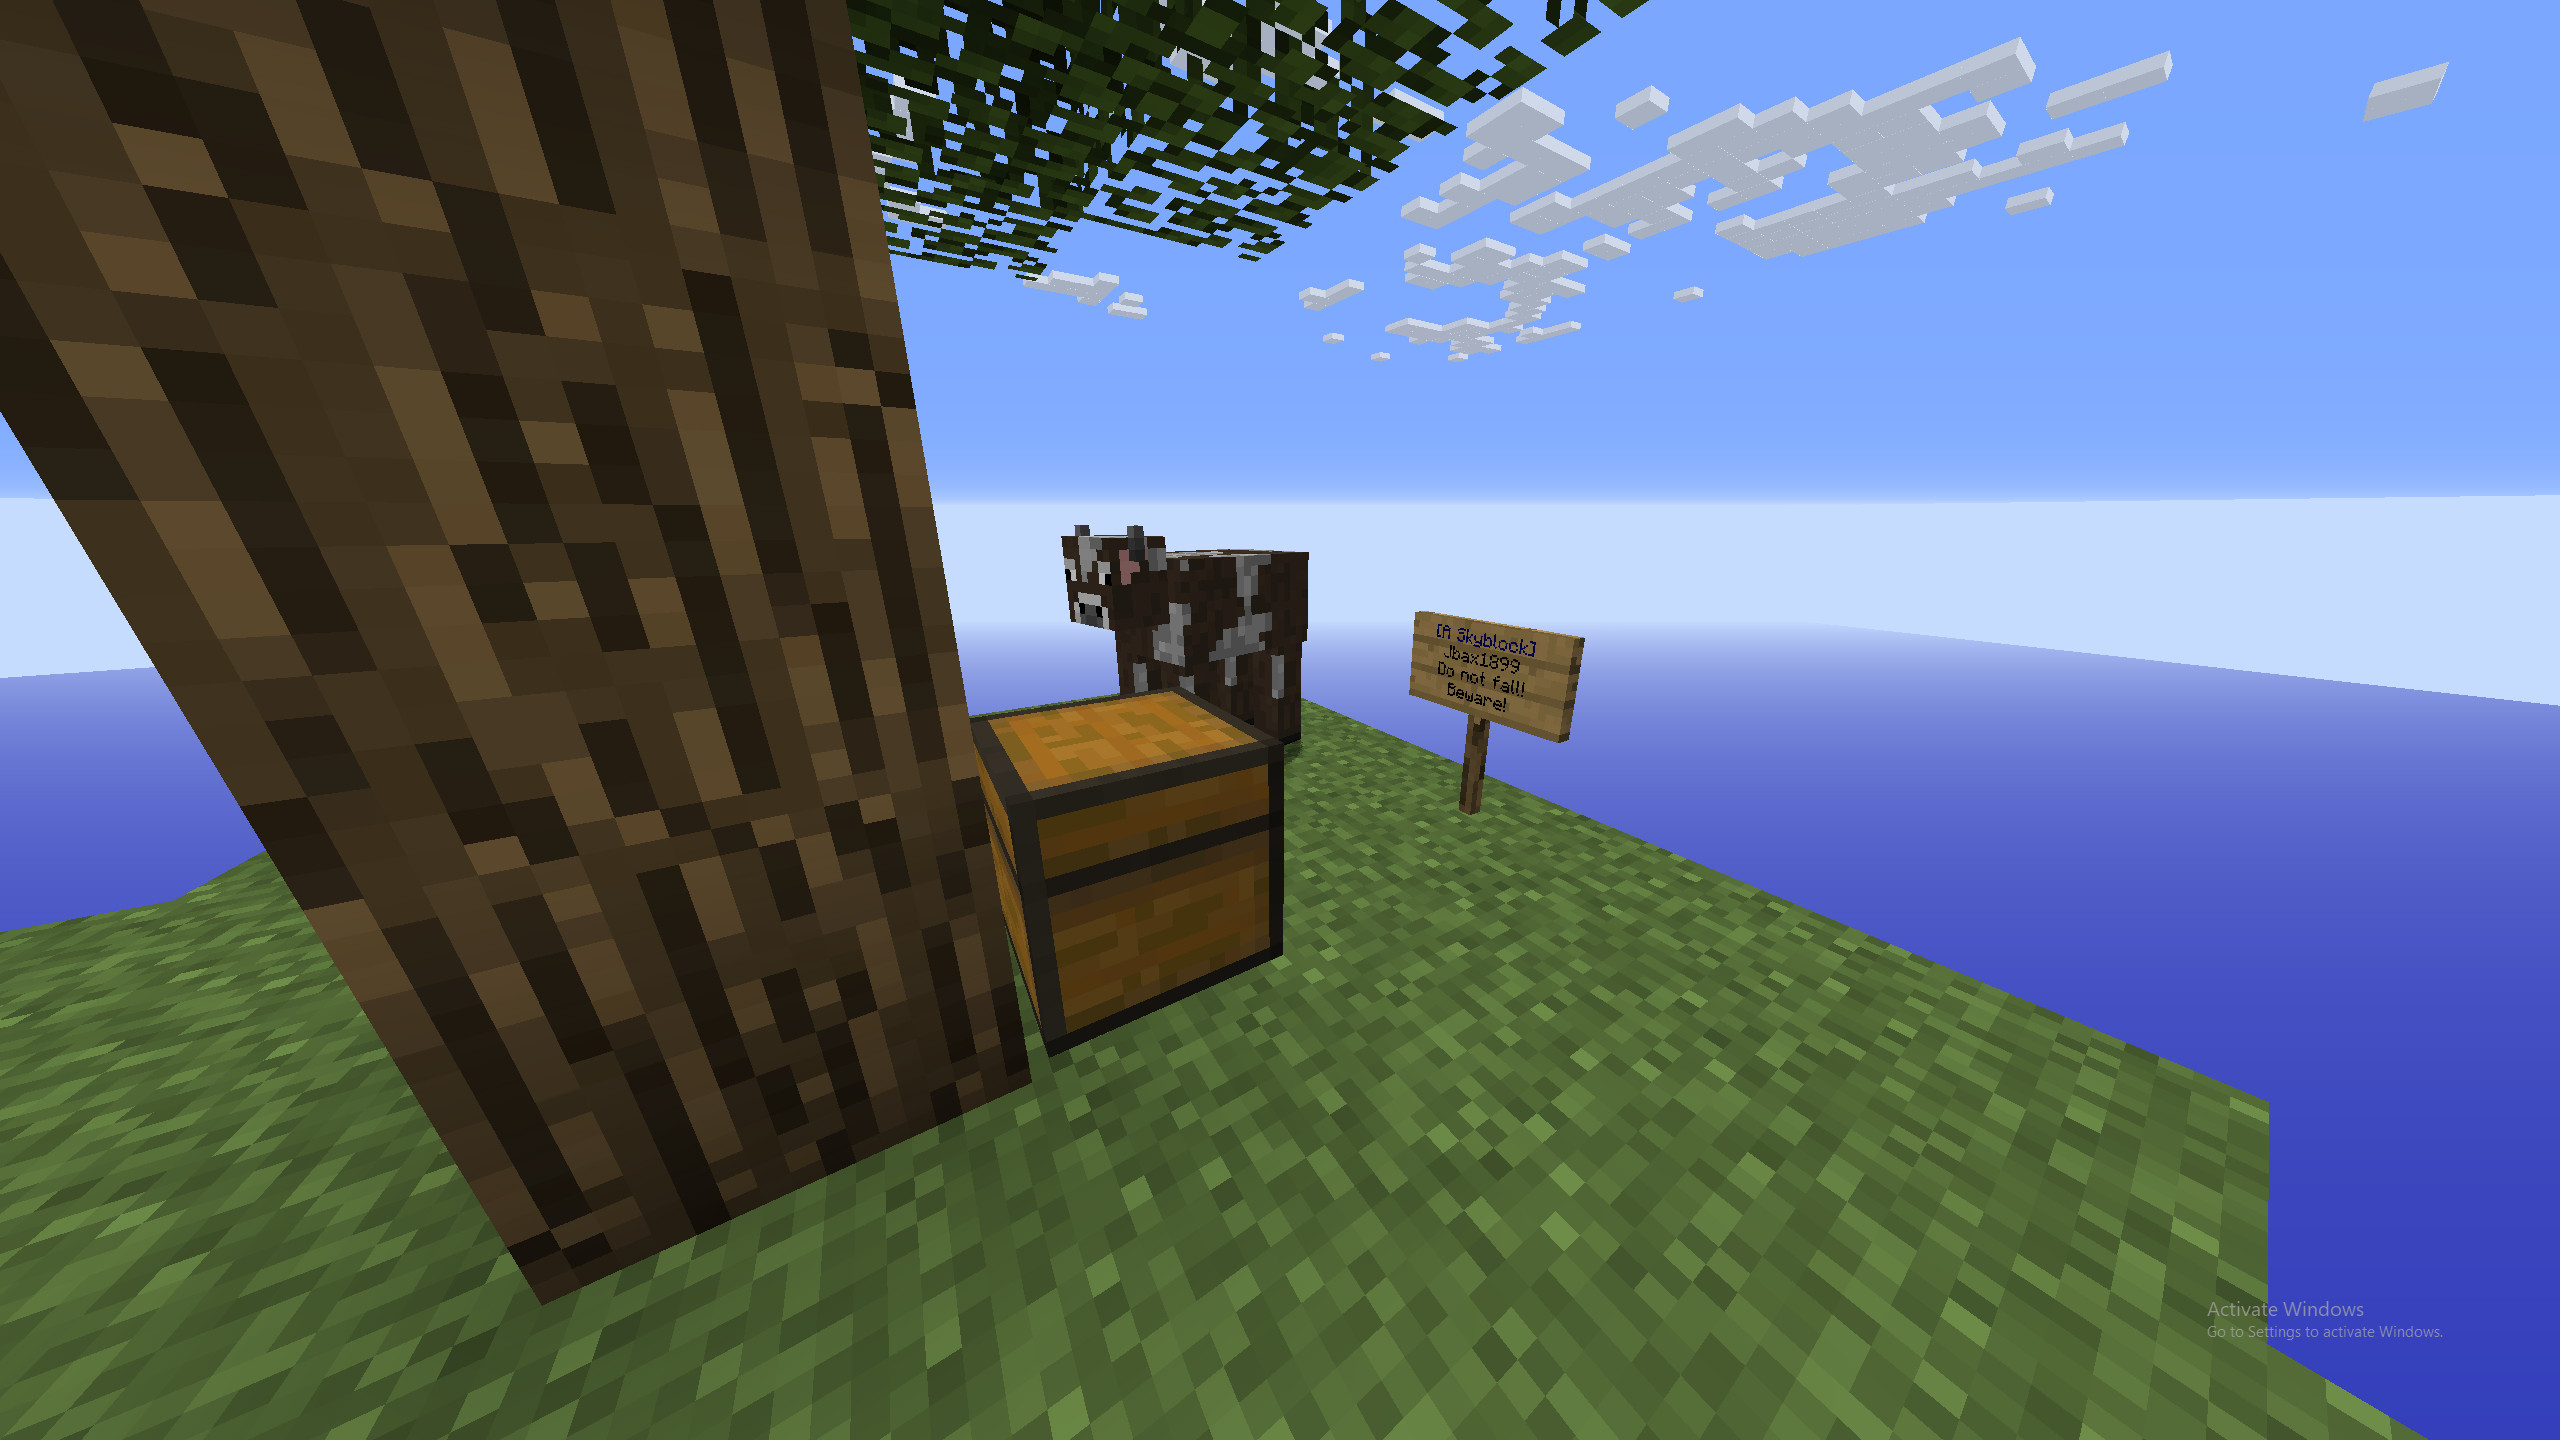 A player standing on a small Skyblock island in Minecraft, surrounded by water and with limited resources.
Image: A Minecraft player begins their adventure on a newly generated Skyblock island.
Skyblock starts players on a small, resource-scarce island, challenging them to generate more resources and expand their territory. This mode is well-suited for low-spec servers due to the minimal blocks and entities that need rendering. Although it might slightly impact performance, I chose to use the ASkyBlock plugin, rather than a custom world file. This plugin allows multiple players to easily create individual islands and interact within the Skyblock environment.
Assembling Your Raspberry Pi Zero Server
Here’s a list of the components I used for this project:
- Raspberry Pi Zero (original model)
- Micro-SD card (at least 16GB recommended)
- 5V, 1000mA USB power adapter
- Micro-USB cable
- Economical micro-USB to Ethernet adapter (bandwidth demands will be low for a small server)
- Ethernet cable
Begin by installing Raspbian (now Raspberry Pi OS) onto your micro-SD card. Insert the SD card into your Raspberry Pi Zero, connect the power supply and Ethernet cable, and power it on.
Next, enable SSH on your Raspberry Pi. SSH provides the most convenient way to interact with the Pi remotely. Once SSH is enabled, use a program like PuTTY on your computer to log in to your Raspberry Pi.
Setting Up the Minecraft Server Software
I’ll outline the general steps for setting up a standard Minecraft (PaperMC) server, without going into excessive detail on each step.
On your Windows PC, download and execute BuildTools. Git needs to be installed on your system for BuildTools to function.
Next, download and run Spigot. I opted for version 1.12.2, considering it a solid compromise between feature richness and manageable performance demands on limited hardware.
Finally, download and run PaperMC. PaperMC is a more optimized fork of Spigot, and we will use the PaperMC jar file to run the server. PaperMC’s performance enhancements are crucial for maximizing the performance of our Raspberry Pi Zero server.
Now, create a .bat file to launch the server on your Windows machine for testing. Start the server, accept the Minecraft End User License Agreement (EULA), and restart the server. It should now load completely. You can test local access to the server in-game using the IP address “localhost”.
Initially, you’ll spawn into a default Minecraft world. However, we are creating a Skyblock server. To achieve this, navigate to the server files and delete the “world” folder. Replace it with a completely empty map; a superflat world consisting only of an air layer. Within this empty world, I constructed a small platform for players to spawn onto. With the base world prepared, we are ready to integrate the ASkyBlock plugin.
Plugin Configuration for Skyblock
To enhance the server experience, I incorporated several plugins:
While only ASkyBlock is strictly necessary for the Skyblock game mode, the additional plugins simplified server management and added useful features.
Using ASkyBlock is straightforward. Once players join the server, they can use the command /island to generate their personal Skyblock island. The plugin also offers options to create islands close to friends for cooperative gameplay.
With the server software configured and plugins installed, the next critical step is optimizing the server to run smoothly on the Raspberry Pi Zero’s limited resources.
Optimization Strategies for Raspberry Pi Zero
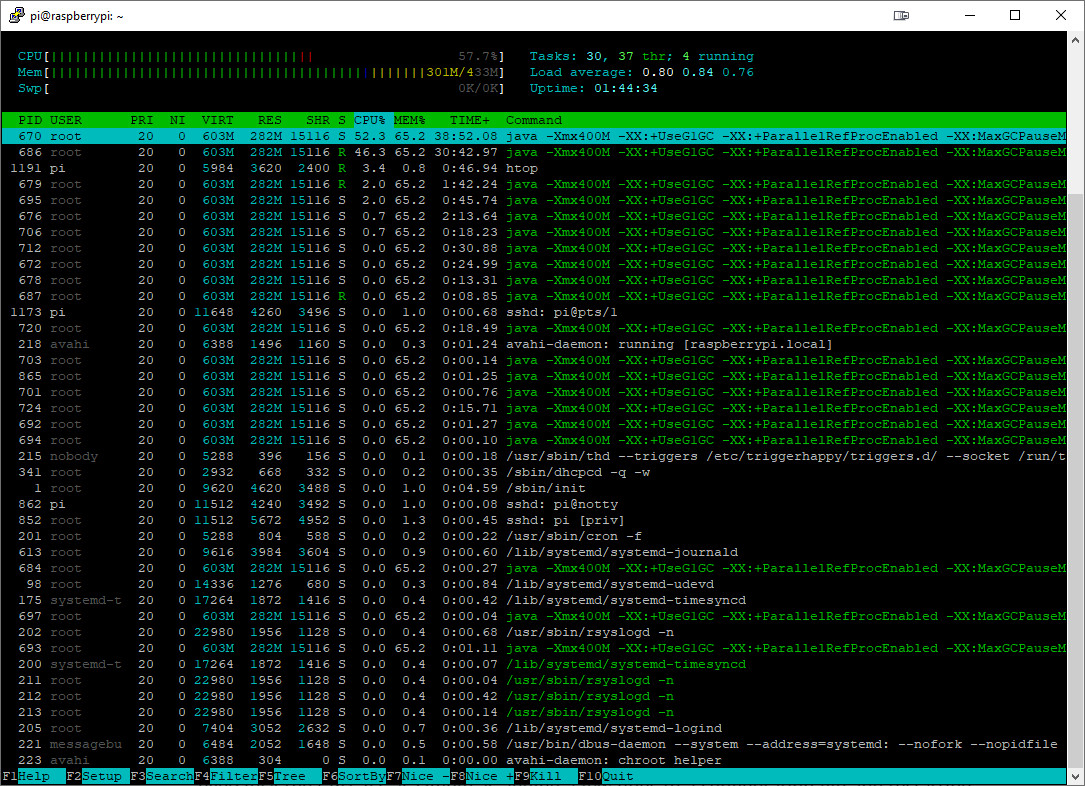 A PuTTY window showing the htop command running on a Raspberry Pi Zero, displaying system resource usage.
Image: Monitoring Raspberry Pi Zero server performance using the htop command in a terminal window.
The server’s configuration files are the first place to focus optimization efforts. Standard server settings are unsuitable for the Pi Zero’s hardware. We need to significantly reduce resource usage.
I consulted a comprehensive guide on Spigot server optimization and implemented recommendations categorized as having “Medium” or “High” performance impact. A particularly effective change was reducing the view-distance in the server.properties file to a minimal value of 3. While this severely limits visible range in a typical Minecraft world, it is less detrimental in Skyblock. I also restricted the max-players setting to 5.
Implementing JVM startup flags, as detailed in the optimization guide, is also crucial. I allocated precisely 400MB of RAM to the server process using the argument -Xmx400M. This is also the point to create the startup script (start.sh for Linux) that will be used to launch the server on Raspbian.
Performance-enhancing plugins like ClearLagg can further optimize server performance, but I found them unnecessary in my setup after the initial configuration tweaks.
For a marginal performance gain, overclocking the Raspberry Pi Zero’s CPU is an option. This involves adding a few lines to a configuration file and rebooting. Proceed with caution! Overclocking carries a risk of hardware damage. Research thoroughly and understand the potential risks before attempting to overclock.
I used this tutorial for overclocking. To quantify the performance improvement, I ran a benchmark before and after overclocking.
Benchmark command:
sysbench --test=cpu --cpu-max-prime=2000 runBenchmark Results (No Overclock):
Test execution summary:
    total time:                          54.4052s
    total number of events:              10000
    total time taken by event execution: 54.3295
    per-request statistics:
         min:                                  2.47ms
         avg:                                  5.43ms
         max:                                 45.62ms
         approx.  95 percentile:           12.90ms

Threads fairness:
     events (avg/stddev):           10000.0000/0.00
     execution time (avg/stddev):   54.3295/0.00
Benchmark Results (Overclocked):
Test execution summary:
    total time:                          48.6731s
    total number of events:              10000
    total time taken by event execution: 48.5755
    per-request statistics:
         min:                                  2.24ms
         avg:                                  4.86ms
         max:                                 22.65ms
         approx.  95 percentile:           12.61ms

Threads fairness:
     events (avg/stddev):           10000.0000/0.00
     execution time (avg/stddev):   48.5755/0.00
Repeating these tests consistently yielded approximately a 10% performance increase with overclocking. This modest gain can be worthwhile for minimal effort.
Launching the Minecraft Server
With the Raspberry Pi Zero configured and the server software optimized, we are ready to launch the Minecraft server.
Transfer the entire server folder to your Raspberry Pi Zero. Using SSH and a program like WinSCP simplifies this file transfer over your local network.
Access the server folder on your Pi using a PuTTY session. Locate the start.sh script created earlier and execute it using the command sudo bash start.sh. The server should start up, although it may take several minutes for the initial startup process to complete.
Friends can join your server using your public IP address. To enable external connections, you need to configure port forwarding on your router. Forward Minecraft’s default port, 25565, to the local IP address of your Raspberry Pi Zero. If you have a domain name, you can link it to your home IP address, allowing players to connect using a domain instead of a numerical IP.
Occasionally, the server might fail to start due to perceived RAM limitations, displaying an OutOfMemoryError.
Exception in thread "main" java.lang.OutOfMemoryError
        at java.io.FileInputStream.readBytes(Native Method)
        at java.io.FileInputStream.read(FileInputStream.java:233)
        at com.destroystokyo.paperclip.Paperclip.getBytes(Paperclip.java:170)
        at com.destroystokyo.paperclip.Paperclip.checkJar(Paperclip.java:181)
        at com.destroystokyo.paperclip.Paperclip.run(Paperclip.java:67)
        at com.destroystokyo.paperclip.Main.main(Main.java:14)
If this occurs, simply re-run the startup command. Repeating the command usually resolves the issue.
Final Thoughts on a Raspberry Pi Zero Minecraft Server
 A Minecraft player happily playing on a Skyblock island, showcasing the successful Raspberry Pi Zero server setup.
Image: A Minecraft player enjoying the Skyblock experience on a server hosted by a Raspberry Pi Zero.
The Raspberry Pi Zero, while not a powerhouse, is surprisingly capable of running a small Minecraft server. While it won’t support dozens of concurrent players, it can comfortably handle a few players, especially in the resource-light Skyblock mode. With only a single player online, the server typically hovered around 70% CPU usage. If CPU usage becomes consistently too high, further reduce server settings in the configuration files.
Given the limited resources, anticipate occasional server crashes. Implementing a script to automatically detect server downtime and restart the server is highly recommended for improved reliability. Ideally, configure this script to launch on Raspberry Pi reboot for persistent server availability.
It is truly impressive that a device as small as a thumb drive, with a few peripherals, can host a functional Minecraft server. With careful optimization, the compromises made are minimal and shouldn’t significantly detract from player enjoyment in a Skyblock environment.
If you have a Raspberry Pi Zero gathering dust, this project is a worthwhile experiment.
In a future project, I plan to explore a similar server setup using an old smartphone, so stay tuned for that!
Thank you for reading!