
Creating a personalized touch for your home entertaining has never been easier or more stylish. With just a few simple steps and readily available materials, you can design your very own Drink Serving Tray that’s not only functional but also a beautiful piece of décor. This DIY project is inspired by the creativity of crafting icon Martha Stewart, and it’s perfect for adding a unique, handmade element to your next gathering.
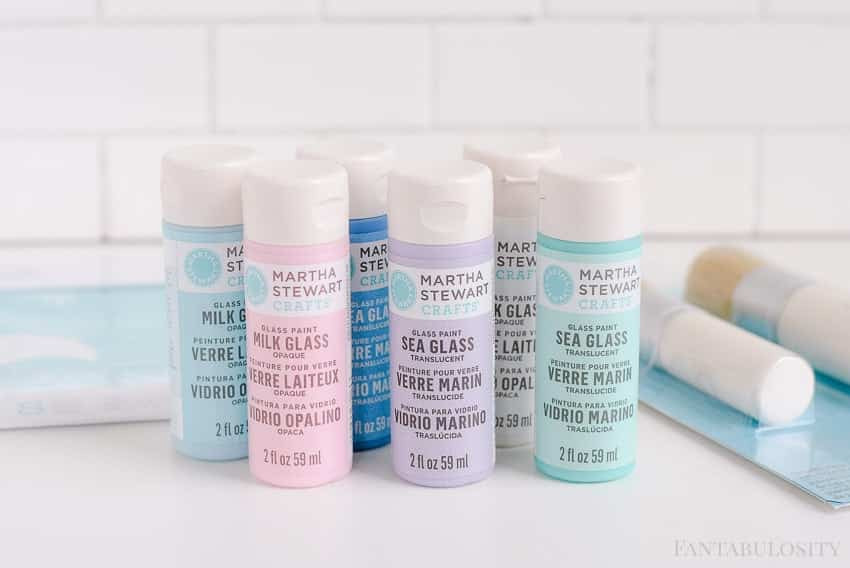 Materials for DIY stencil drink serving tray
This guide will walk you through the process of making a stenciled drink serving tray. It’s a fantastic project for both beginners and seasoned crafters, allowing you to customize your serving ware to perfectly match your style and occasion. Whether you’re aiming for a chic, minimalist design or something more vibrant and whimsical, a DIY drink serving tray is a wonderful way to express your creativity.
Step-by-Step Tutorial: Creating Your Stenciled Drink Serving Tray
This tutorial focuses on using stencils and paint to create a decorative drink serving tray. The beauty of this project lies in its simplicity and the endless possibilities for customization.
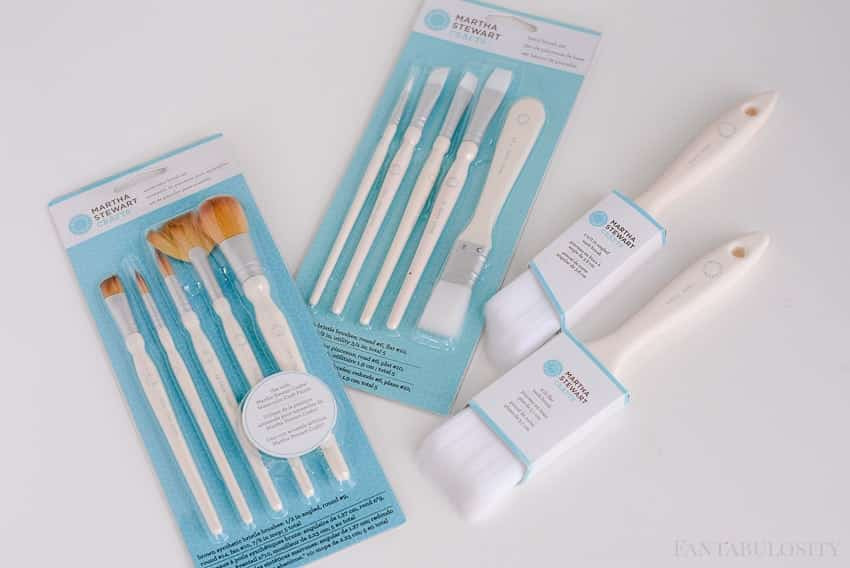 Martha Stewart Paint and stencil brush for DIY drink tray
Materials You’ll Need:
- Serving Tray: Choose a plain white platter or tray as your base. Ceramic, melamine, or even wood trays work well.
- Acrylic Paints: Select colors that complement your décor or the theme of your tray. For a vibrant look, consider Martha Stewart Crafts® Soft Gel Watercolor Paint in Pink Dahlia, as used in the original project. Acrylic paints are ideal for adhering to most tray surfaces.
- Stencil Brushes: A set of stencil brushes in various sizes will help you achieve clean and precise stenciling. Martha Stewart Crafts® large stencil brush set is a great option for even coverage and detailed work.
- Adhesive Stencil: Opt for an adhesive laser-cut stencil for ease of use and to prevent paint bleed. Adhesive stencils, like Martha Stewart Crafts® Adhesive Laser-Cut Stencils, are particularly helpful for beginners as they stay in place.
- Painter’s Tape: Use painter’s tape to secure your stencil further if needed, and to protect any areas you don’t want to paint.
- Paper Towels and Paper Plate: These are essential for dabbing excess paint off your brush and for holding your paint while you work.
 Flamingo stencil and paint for DIY serving tray
Instructions:
-
Prepare Your Tray and Stencil: Begin by cleaning your serving tray to ensure a smooth surface for painting. Peel the stencil from its backing paper carefully. Position the stencil on your tray where you want your design to be. Centering the design often creates a balanced and visually appealing drink serving tray. The adhesive backing should keep it in place.
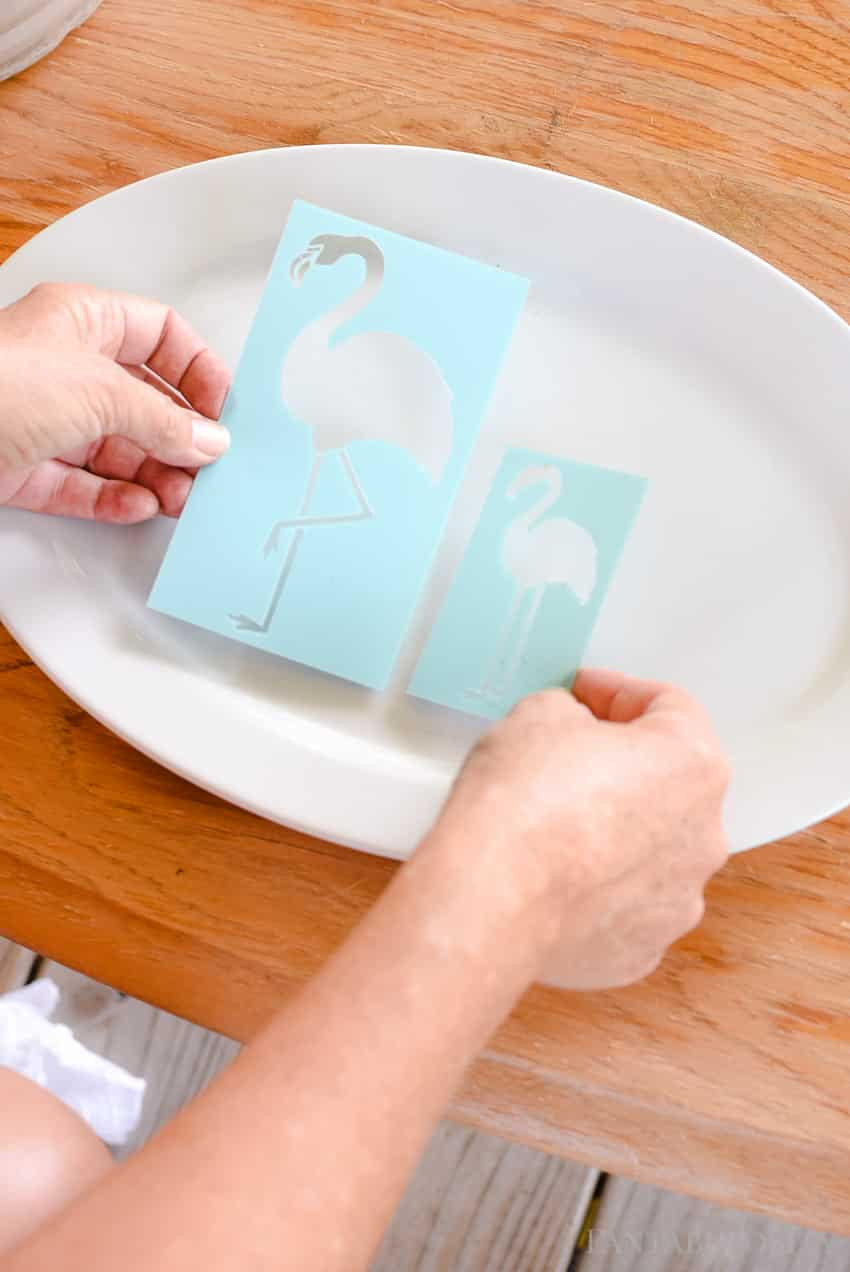 Applying flamingo stencil to white serving tray
 -
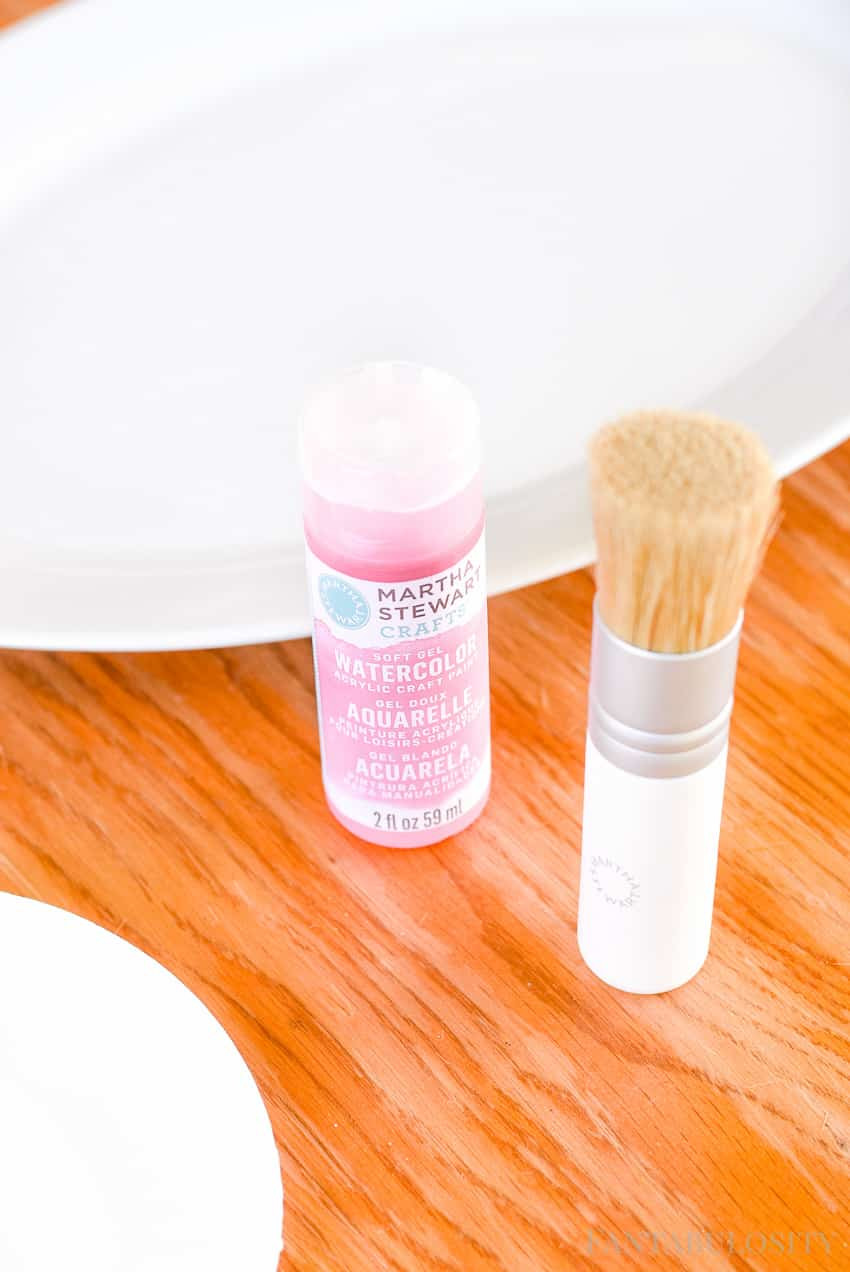
Prepare Your Paint: Dispense a small amount of your chosen acrylic paint onto a paper plate. Remember, a little paint goes a long way in stenciling. To prevent accidents, you can tape the paper plate to your work surface, especially if you’re crafting outdoors.
 Pink acrylic paint on paper plate for DIY tray
 -
Load Your Stencil Brush: Gently dab the stencil brush into the paint. The key to successful stenciling is to use very little paint. After dabbing, blot the brush generously on a paper towel. Use a swirling motion to work the paint into the bristles, ensuring even distribution and removing excess paint. This technique is crucial to prevent paint bleeding under the stencil and achieve crisp lines on your drink serving tray.
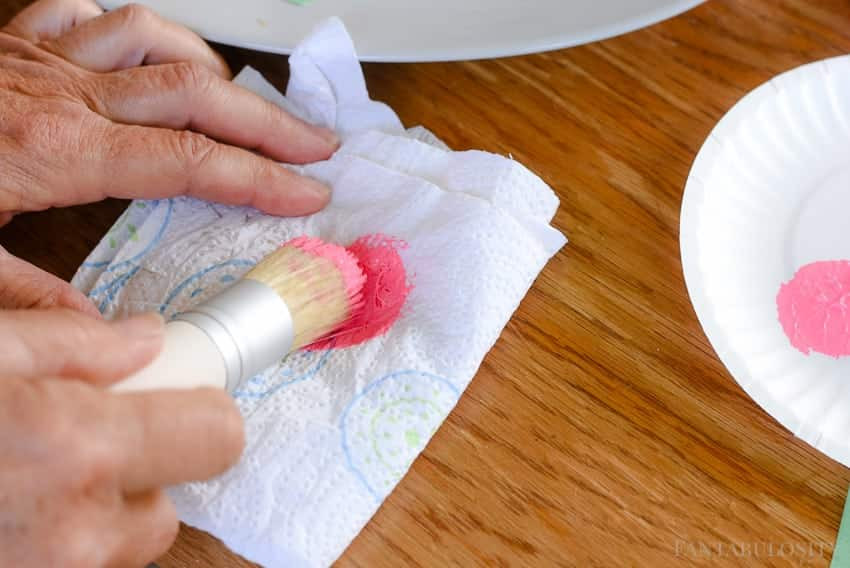 Dabbing paint onto stencil brush for flamingo design
 -
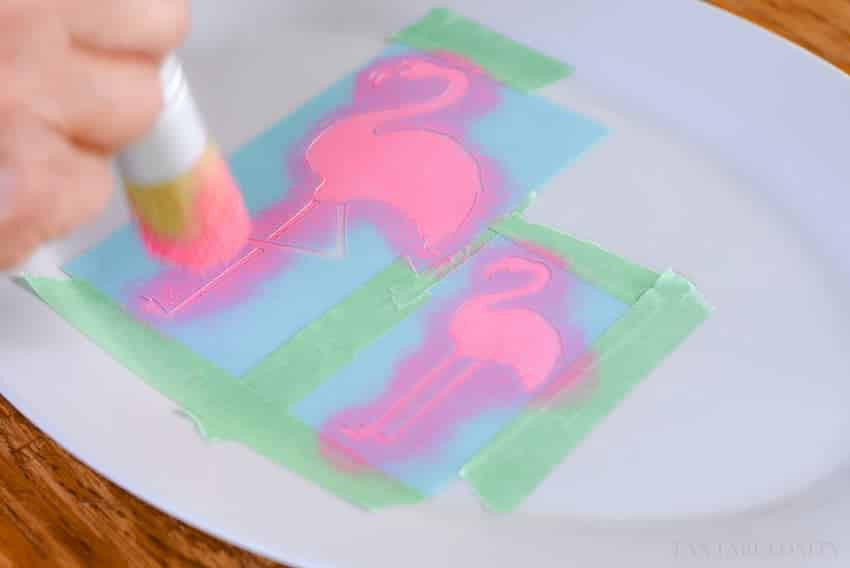
Apply Paint to the Stencil: Using a dabbing motion, apply the paint onto the stencil cut-outs. Hold the brush perpendicular to the surface and gently tap over the open areas of the stencil. Avoid brushing strokes, as they can push paint under the stencil edges. Repeat dabbing until you achieve your desired color intensity. For a more opaque look, you may need to apply a couple of light layers, allowing each layer to dry slightly before applying the next.
 Painting flamingo stencil on serving tray
 -
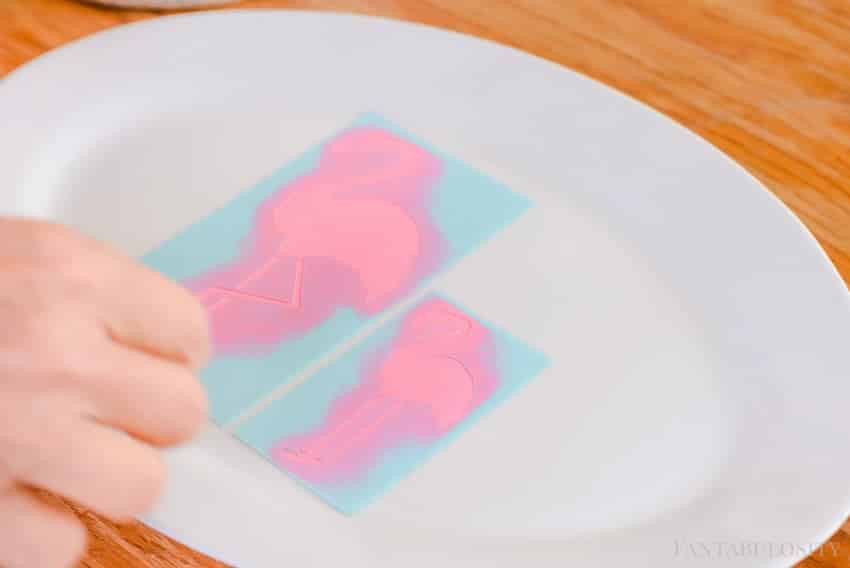
Reveal Your Design: Once you’re satisfied with the paint coverage, carefully peel off the stencil. Lift it straight up to avoid smudging the fresh paint. Admire your stenciled design! If there are any minor imperfections, you can touch them up with a fine-tipped brush once the paint is completely dry.
 Close-up of pink flamingo stencil design on tray
 -
Allow to Dry: Let the paint dry completely according to the paint manufacturer’s instructions. Drying times can vary depending on the type of paint and the thickness of application.
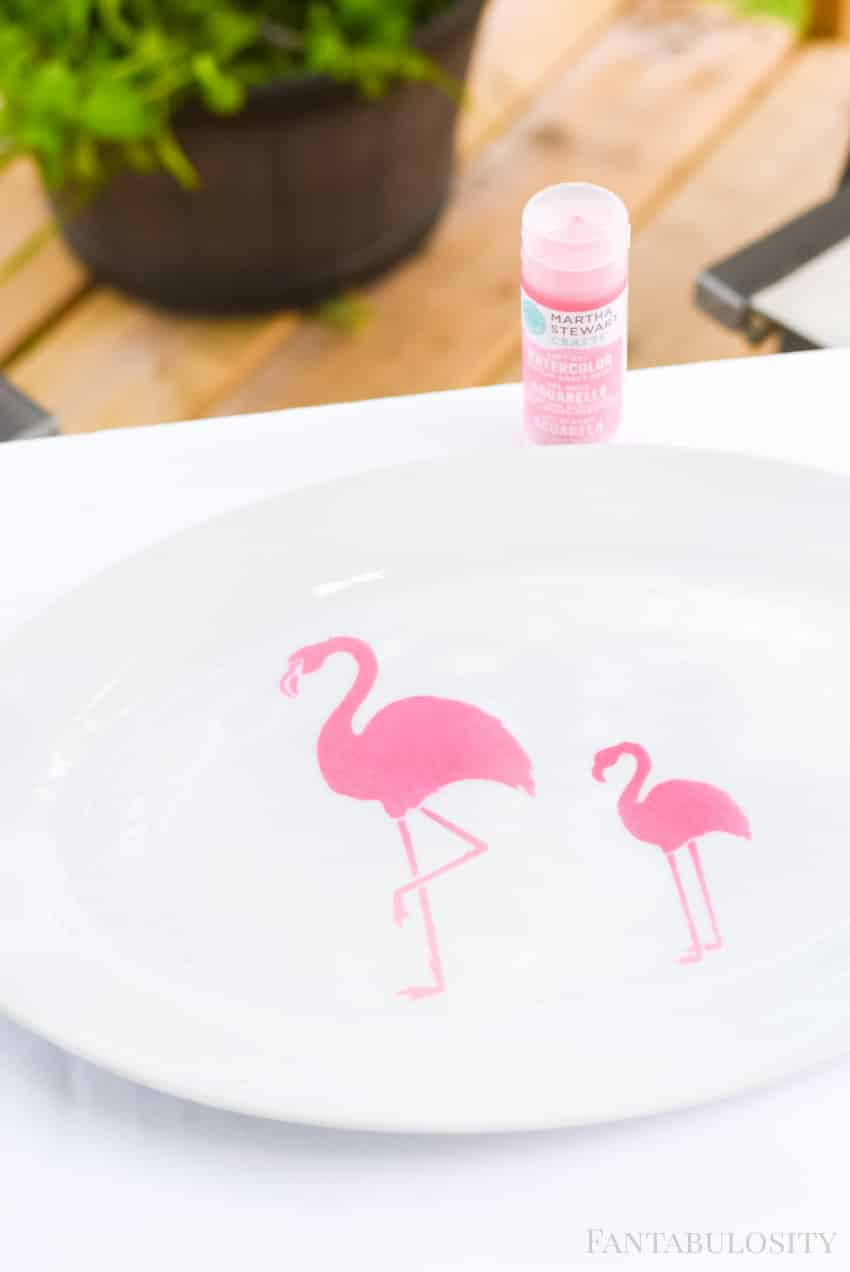
 Finished flamingo stencil drink serving tray
 -
Finishing Touches (Optional): For added durability and to protect your design, especially if you plan to use your drink serving tray frequently, consider sealing it with a clear, food-safe sealant. However, remember that acrylic paints are generally not dishwasher or food safe directly. Handwashing is recommended.
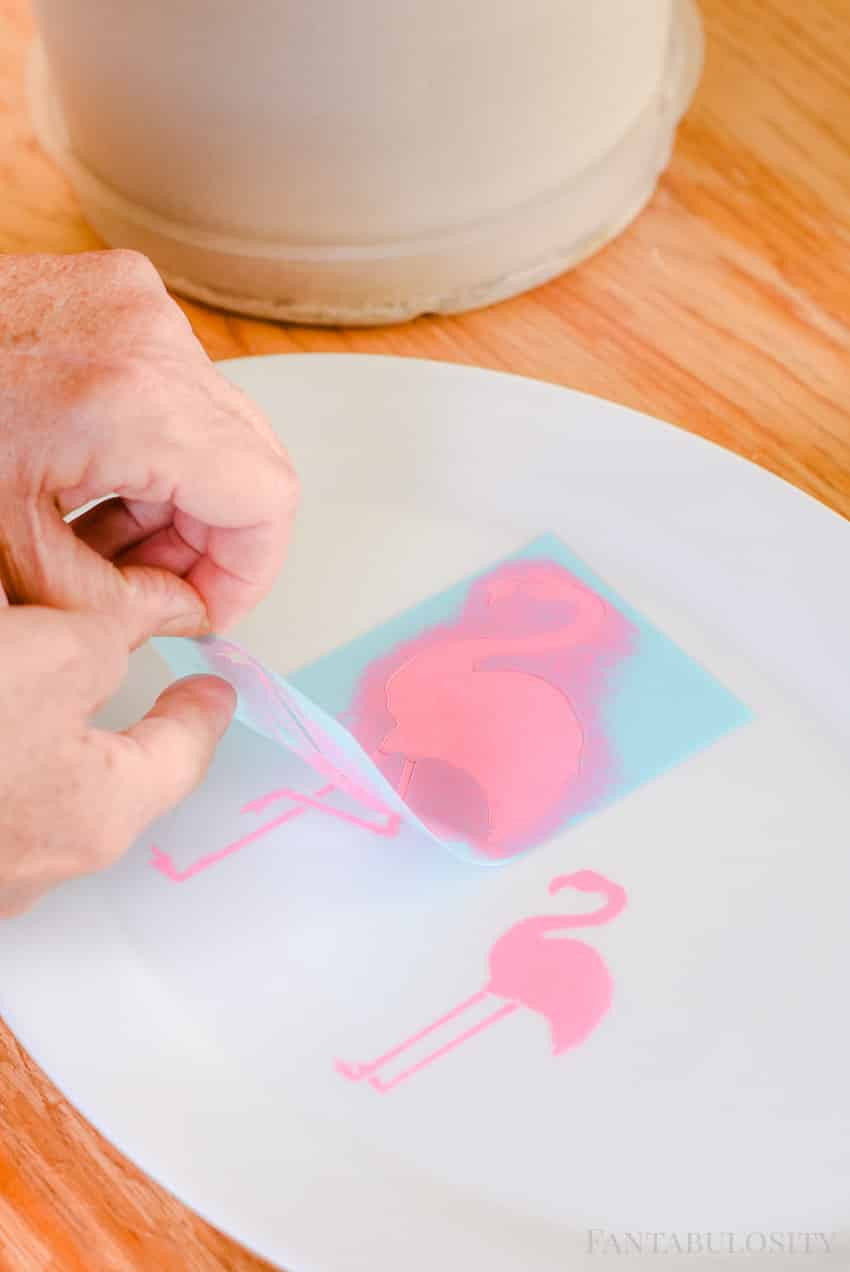 Removing stencil from DIY painted tray
Customization Ideas for Your Drink Serving Tray
The possibilities for customizing your drink serving tray are endless! Here are a few ideas to spark your creativity:
- Themed Trays: Create trays for specific occasions. Think holiday-themed stencils, nautical designs for summer, or elegant floral patterns for afternoon tea.
- Monogrammed Trays: Personalize your tray with a monogram or initial for a sophisticated touch, making it a perfect personalized gift.
- Geometric Patterns: Use geometric stencils for a modern and stylish drink serving tray that fits seamlessly into contemporary homes.
- Nature-Inspired Designs: Leaves, trees, or animal silhouettes can bring a touch of the outdoors to your serving ware.
- Color Combinations: Experiment with different color palettes. Consider metallic paints for a touch of glamor, or pastel shades for a soft, vintage feel.
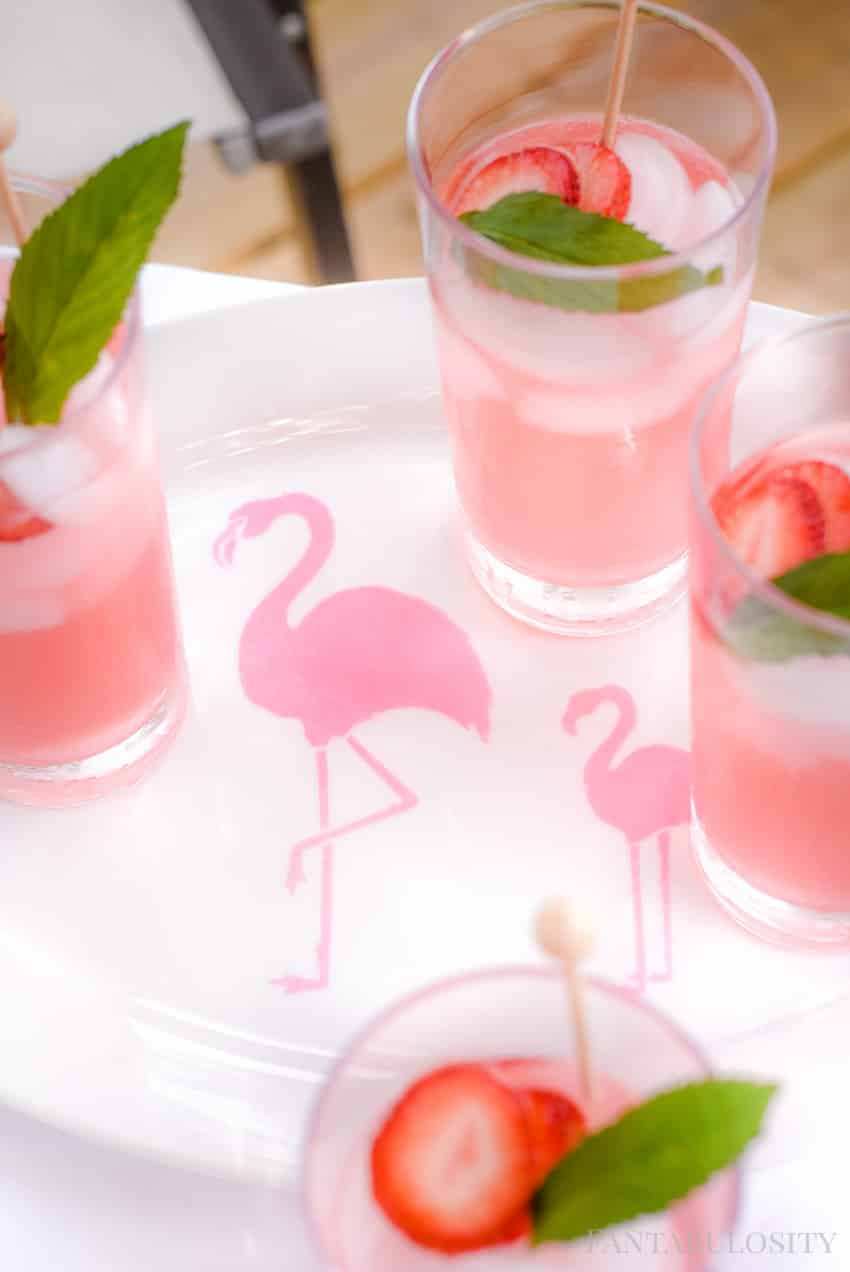
 Pink flamingo design on DIY drink serving tray
Why DIY a Drink Serving Tray?
Making your own drink serving tray is not only a fun and rewarding craft project but also offers several benefits:
- Personalization: Create a unique piece that perfectly matches your personal style and home décor.
- Cost-Effective: DIY projects can often be more budget-friendly than buying ready-made items, especially for custom designs.
- Handmade Charm: A handmade drink serving tray adds a personal and thoughtful touch to your entertaining, impressing your guests with your creativity.
- Relaxing Activity: Crafting is a great way to unwind and de-stress. Enjoy the process of creating something beautiful with your own hands.
 Martha Stewart paint used for DIY serving tray craft
So, gather your supplies and start crafting your own stunning drink serving tray today! It’s a fantastic way to enhance your home entertaining and showcase your personal style. Let your creativity flow and enjoy the process of making something beautiful and functional.
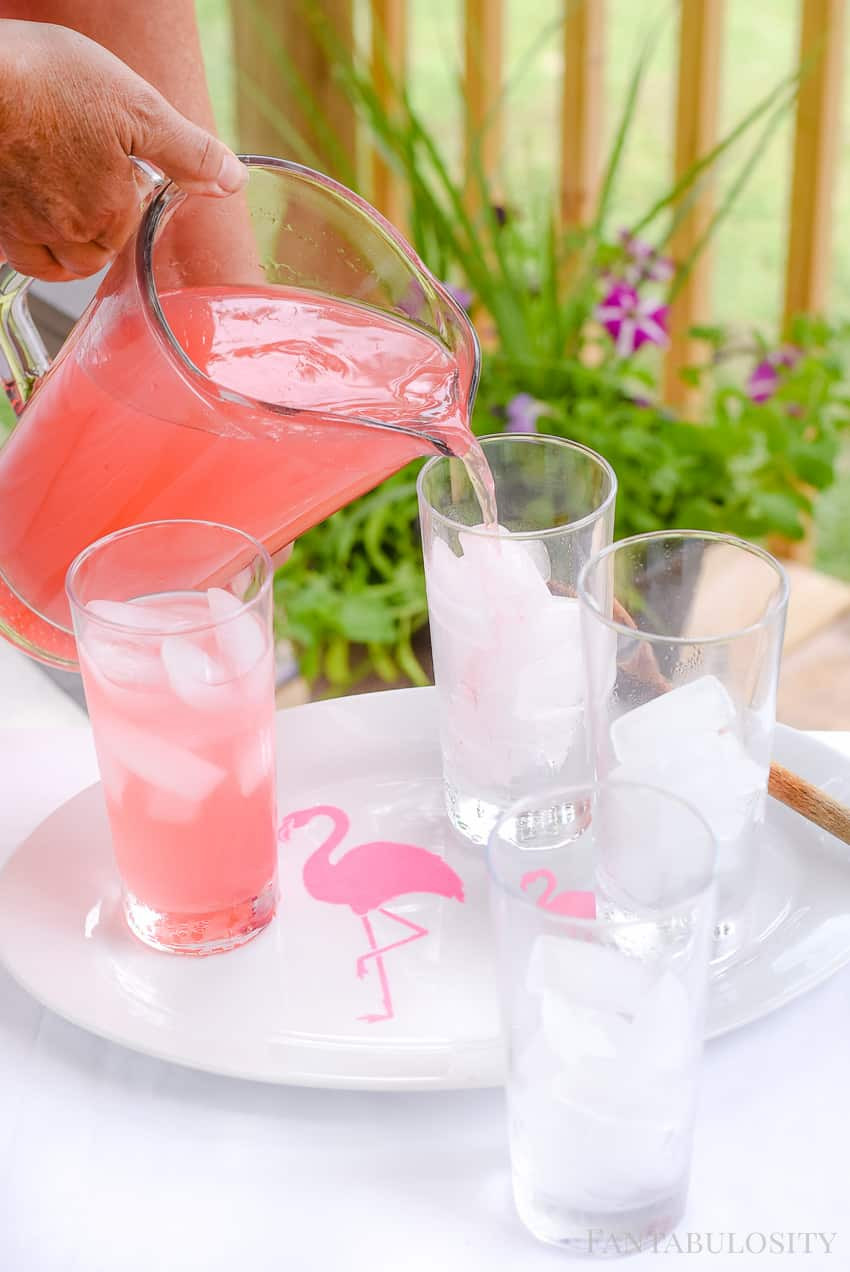
 Cute DIY flamingo drink serving tray made with Martha Stewart products
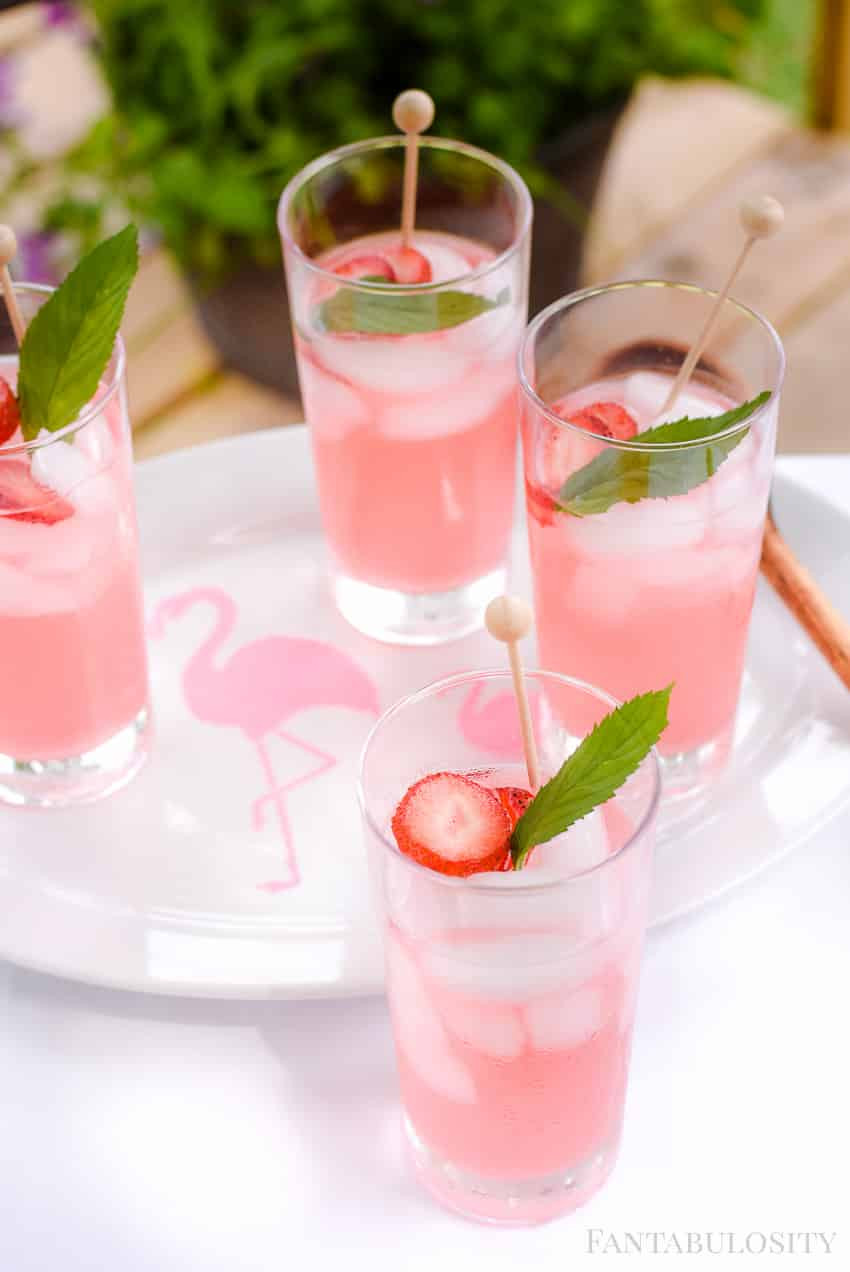
 Flamingo drink serving tray DIY project using stencils and paint