Are you tired of endless group chats that quickly become disorganized and overwhelming? Or perhaps you’re looking for a dedicated online space for your community, friends, or gaming group? Discord servers offer a fantastic solution, providing structured and versatile communication hubs. If you’re new to Discord and want to learn how to discord create a server, you’ve come to the right place.
This guide will walk you through the simple steps of setting up your own Discord server, explaining what makes servers so useful, and how to tailor them to your specific needs. Let’s dive in and transform your communication experience!
Understanding What a Discord Server Is
Before we jump into the creation process, let’s clarify what exactly a Discord server is. Imagine a digital clubhouse – that’s essentially what a Discord server is. It’s a dedicated space within the Discord platform where communities gather to communicate via text, voice, and video.
Think of it like hosting a gathering at your home. Different groups might be chatting in various rooms – some discussing the latest games in the living room, others planning an event in the kitchen, while some might be just hanging out in the garden. A Discord server organizes these different “rooms” into channels, allowing for focused conversations and easier navigation.
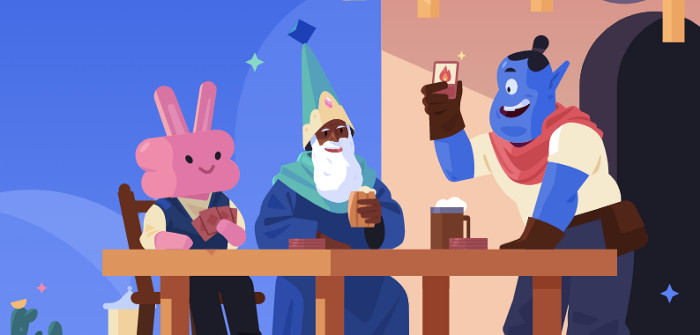 Friends chatting in different rooms representing different channels in a Discord server
Discord servers are incredibly versatile and are used for a wide array of purposes, from gaming communities and study groups to fan clubs and professional teams. They offer a centralized platform to connect with people who share your interests, regardless of geographical location.
Step-by-Step Guide: How to Make Your Own Discord Server
Creating a Discord server is a straightforward process that can be done in minutes. Here’s a step-by-step guide to get you started:
-
Download or Open Discord: If you haven’t already, download the Discord application for your desktop or mobile device from discord.com/download. Alternatively, you can access Discord directly through your web browser at discord.com/login.
-
Initiate Server Creation: Once you are logged into your Discord account, look for the green “+” (Plus) button located on the left-hand side of the application. This button is your gateway to creating a new server. Click on it to begin.
-
Choose a Server Template or Create Your Own: Discord will prompt you to choose what kind of server you want to create. You can select from pre-designed templates tailored for different communities like “Gaming,” “Friends,” “Study Group,” or “Creators.” These templates come with pre-set channels to get you started quickly. For this guide, we’ll proceed with the “Friends” template, but feel free to explore others or choose “Create My Own” for a completely customized setup.
 Animated GIF showing the process of selecting the "Friends" template when creating a Discord server
 -
Name Your Server and Add an Icon: The next crucial step is naming your server. Choose a name that is relevant to your community and easy to remember. For example, if your server is for a book club, you might name it “Bookworms’ Haven.” You can also upload a server icon to personalize it further. Don’t worry, you can always change the server name and icon later if needed. Let’s name our example server “Gamer’s Den.”
-
Server Creation Complete! Congratulations, you’ve just created your Discord server! You will now be taken to your new server, ready to be customized and populated with your community.
Inviting Friends to Your New Discord Server
With your server set up, it’s time to invite your friends and community members to join. Discord provides several easy ways to invite people:
-
The “Invite Your Friends” Button: Right after creating your server, you’ll likely see a prominent “Invite Your Friends” button in the middle of the chat window. Clicking this will open the invite options.
-
Server Drop-Down Menu Invite Option: If you don’t see the initial button, or want to invite more people later, you can access the invite option through the server’s drop-down menu. Click on the server name at the top-left corner, and in the dropdown menu, you will find the “Invite People” option.
 Animated GIF showing how to invite friends to a Discord server using the server drop-down menu
 -
Creating an Invite Link: Both methods will allow you to either directly invite friends from your Discord friend list or create a shareable invite link. You can copy this link and send it via any messaging platform, email, or social media to invite people outside of your immediate Discord friends. You can also customize the invite link to expire after a certain time or number of uses for added security.
Once your friends accept the invite, they’ll instantly join your server and can start participating in the channels.
Navigating Text and Voice Channels within Your Server
Once people join your server, they will interact through Text Channels and Voice Channels. These are the fundamental building blocks of communication within a Discord server.
-
Text Channels: These are text-based chat rooms, similar to group chats you might be familiar with. They are organized under categories and are used for sending messages, sharing files, posting images, and engaging in written conversations. Each text channel has a specific name, indicating its topic or purpose. For instance, a channel named
#generalis typically for general server-wide announcements and casual chat, while a#gaming-discussionchannel would be dedicated to gaming-related topics. You can mention individuals using “@username” to notify them directly.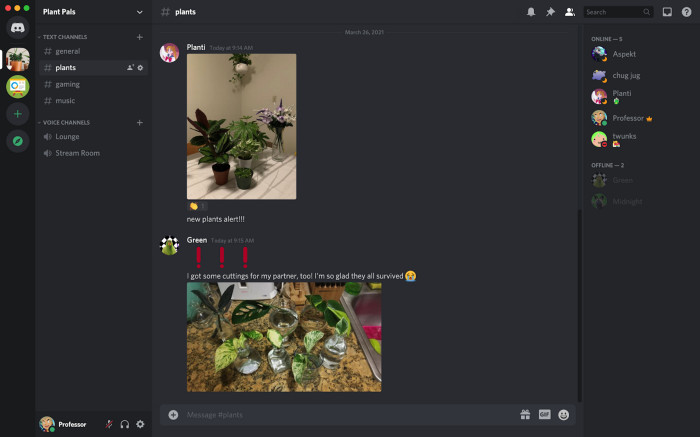 Screenshot of a Discord text channel named #plant-talk with example messages
 -
Voice Channels: Voice channels are where real-time audio conversations take place. Unlike traditional calls, joining a voice channel in Discord is more like entering a virtual room. Users can join and leave voice channels freely without “ringing” or disturbing others. Simply click on a voice channel to join and start talking using your microphone. Voice channels are perfect for live discussions, gaming sessions, virtual hangouts, and more.
Within voice channels, you also have the option to enable video chat and screen sharing, allowing for richer interaction and collaboration. Discord supports a large number of participants in voice and video calls, making it ideal for both small groups and larger communities.
Customizing Your Server: Adding and Managing Channels
As your server grows and your community evolves, you’ll likely want to add more channels to organize conversations and cater to different interests. Here’s how to add and manage channels:
-
Creating New Channels: To create a new channel, navigate to the server’s drop-down menu (click on the server name at the top-left) and select “Create Channel.” Alternatively, on mobile, swipe right to access the channel list, tap the server name, and choose “create channel.”
 Animated GIF showing the process of creating a new text channel in a Discord server
 -
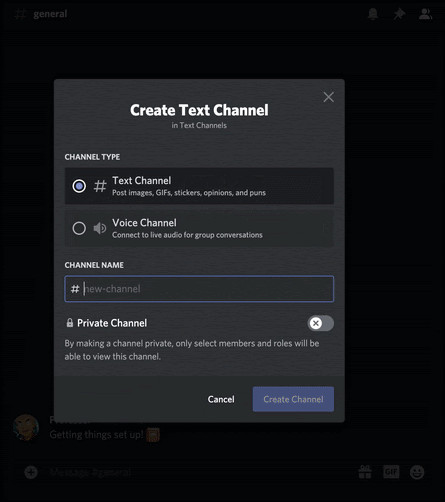
Channel Type and Naming: A pop-up menu will appear, asking you to choose between a “Text Channel” or “Voice Channel.” Select the desired type and give your new channel a descriptive name relevant to its topic. For example, you might create a text channel called
#memesor a voice channel for “Music Lounge.” -
Channel Management Tips: Start with a manageable number of channels to avoid overwhelming new members. You can always add more channels as needed. Consider organizing channels into categories for better structure. While you can delete channels, remember that deleted channels and their content are permanently removed, so exercise caution before deleting. Sometimes, keeping inactive channels for archival purposes might be preferable.
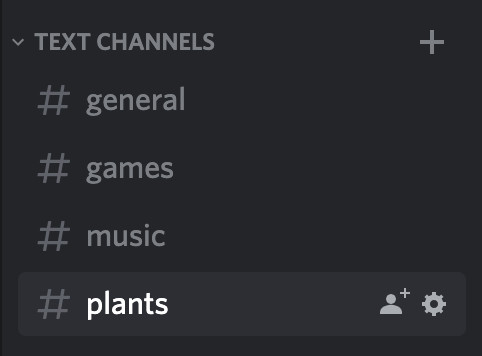 Illustration emphasizing the importance of starting with a small number of channels and expanding as needed in a Discord server
Controlling Access: Creating Private Channels
In certain situations, you might want to create channels that are only accessible to specific members or groups within your server. Discord allows you to create Private Channels to achieve this level of control.
-
Creating a Private Channel: When creating a new channel, you will see an option to make it a “Private channel.” Toggle this option on and click “Next.”
 Animated GIF showing the option to make a channel private during creation in Discord
 -
Setting Permissions: You will then be prompted to select which members or roles you want to grant access to the private channel. Choose the specific individuals or roles that should be able to view and participate in this channel.
-
Managing Permissions Later: If you need to adjust permissions for a private channel after it’s created, you can right-click on the channel (or long-press on mobile), select “Edit Channel,” and navigate to the “Permissions” tab. Here, you can modify who has access to the channel at any time.
Private channels are excellent for moderators-only discussions, VIP access areas, or any content that should be restricted to a select group of members.
Welcome to Your Discord Server Community!
Congratulations! You’ve successfully learned how to discord create a server and understand its fundamental features. Now you can start building your online community, connect with friends, and enjoy organized and engaging conversations on your very own Discord server. Experiment with different channel types, explore server settings, and tailor your server to perfectly fit the needs of your community.
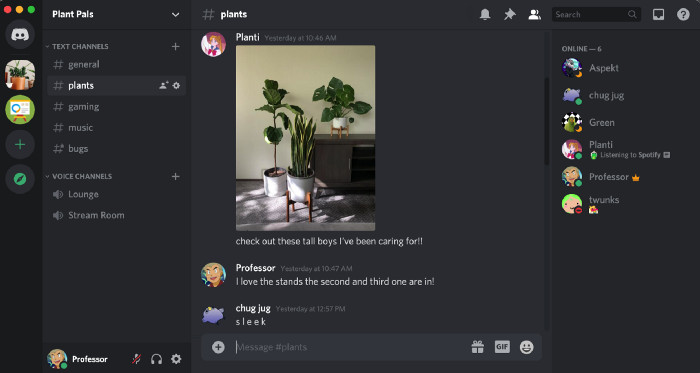 Image depicting a sleek and well-organized Discord server interface
If you found this guide helpful, share it with others who might benefit from creating their own Discord servers. For further information and advanced customization options, be sure to explore Discord’s comprehensive Help Center. Happy server building!