Thanksgiving is a cherished holiday, overflowing with family, gratitude, and of course, a magnificent feast. Among the stars of the Thanksgiving table, soft, fluffy rolls hold a special place. For many, including us, a perfect dinner roll is non-negotiable for a truly satisfying Thanksgiving Day dinner. If the holiday rush leaves you short on time, store-bought Brown And Serve Rolls might seem like a convenient shortcut. But what if you could enjoy the ease of brown and serve with the unmatched flavor of homemade? Today, we’re excited to share a homemade brown and serve rolls recipe that gives you the best of both worlds: the unbeatable taste of from-scratch rolls with the make-ahead convenience you need during busy holidays.
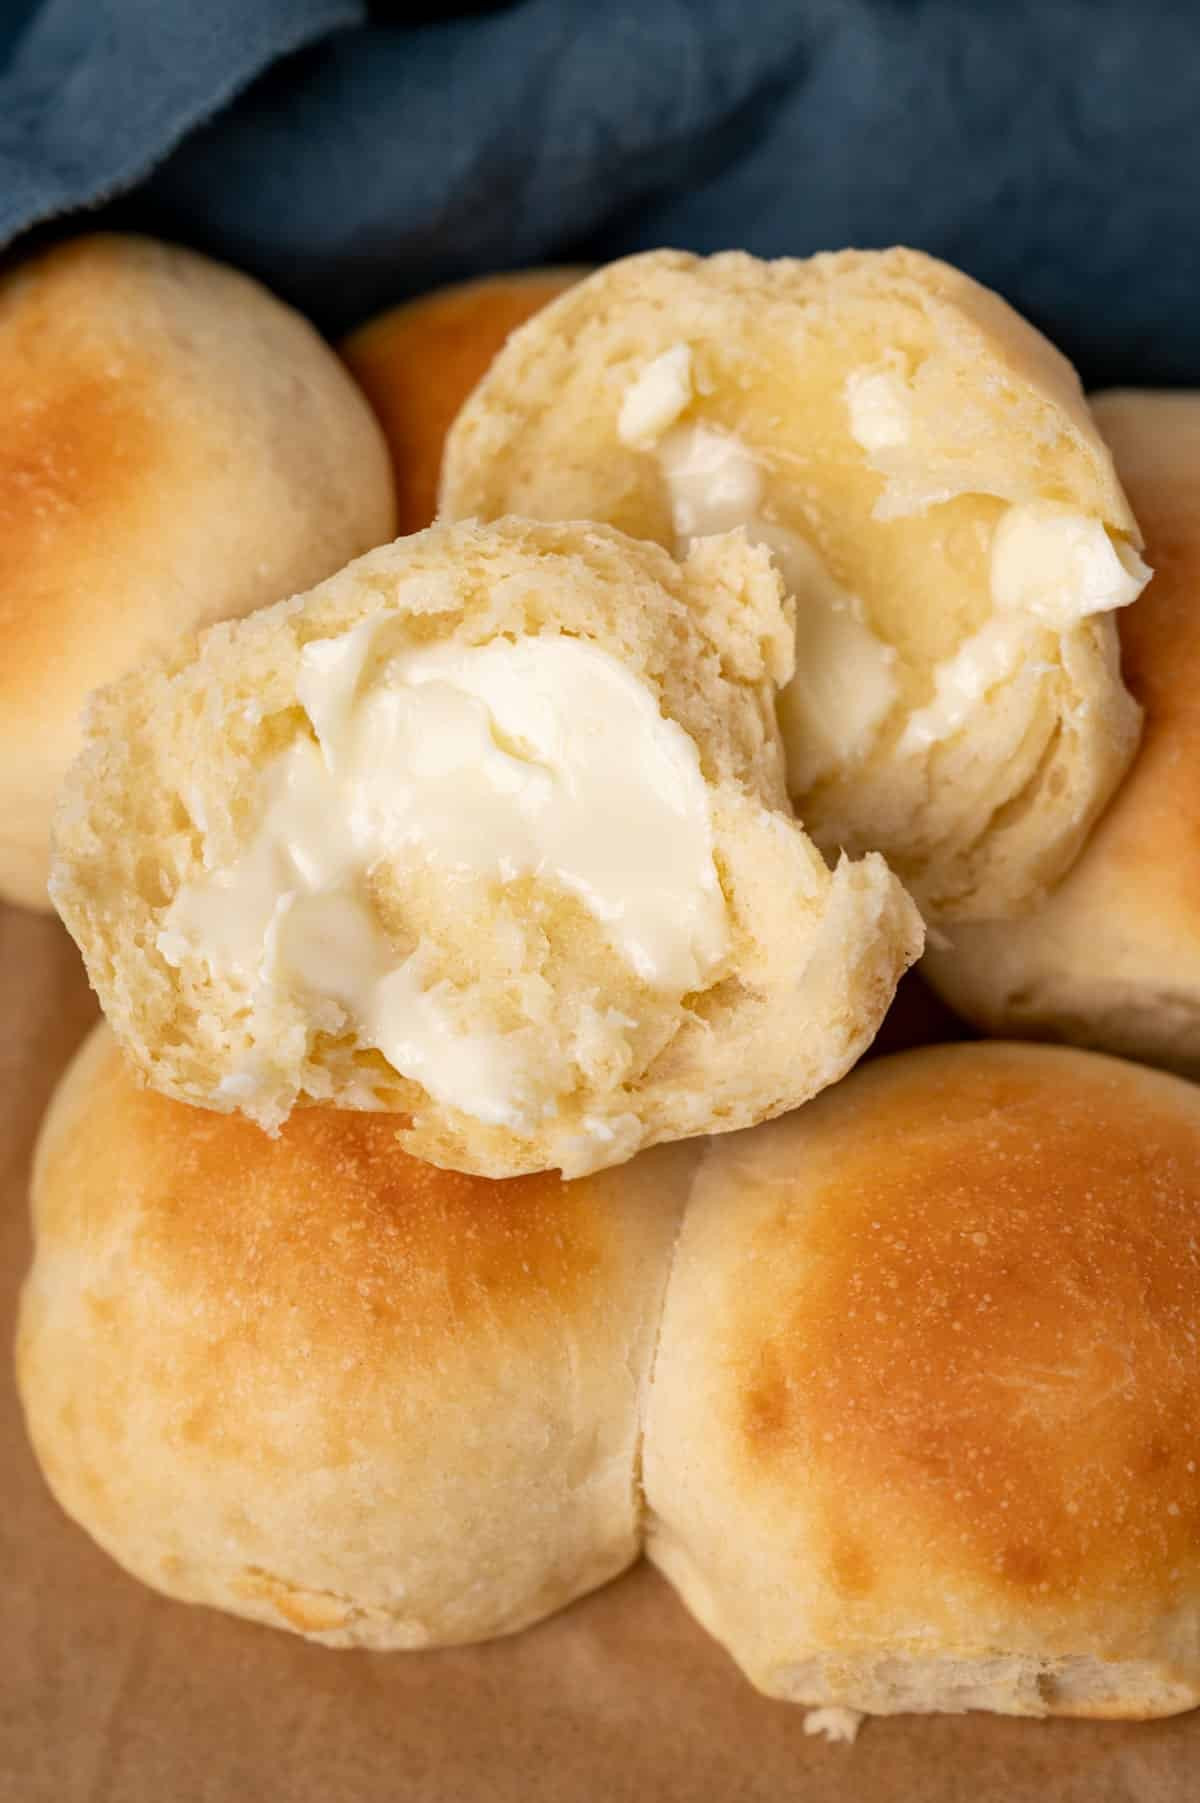 brown and serve dinner rolls on a table, one buttered
Why Homemade Brown and Serve Rolls are a Game Changer
You’ll absolutely love this brown and serve rolls recipe for several reasons:
- Make-Ahead Magic: Prepare these homemade rolls in advance, freeing up precious time on Thanksgiving Day or any special occasion. No last-minute dough making stress!
- Amish Heritage Recipe: This recipe is adapted from a treasured Amish cookbook, known for its classic, comforting, and delicious baked goods.
- Freezer-Friendly Freshness: Bake these rolls halfway, freeze them, and then finish baking whenever you’re ready to serve warm, fresh rolls.
- Unbeatable Texture and Taste: Expect soft, incredibly fluffy rolls with a beautiful golden brown crust – far superior to any store-bought version.
Mastering Yeast for Perfect Rolls
Working with yeast might seem daunting if you’re new to baking, but it’s simpler than you think. Many bakers, myself included, once felt hesitant about using yeast. Questions like “What’s the best type of yeast?” and “How do I get the water temperature just right?” are common.
For this recipe, active dry yeast is the recommended choice. Always check the instructions on your yeast packet, as activation methods can vary slightly between brands and types of yeast.
Using a kitchen thermometer is crucial for yeast success. For active dry yeast in this recipe, aim for water between 110 to 115°F (43-46°C). Properly activated yeast will become bubbly and frothy, indicating it’s ready to work its magic in your dough.
Key Steps Before You Start Baking
Keep these four essential tips in mind as you prepare your brown and serve rolls:
- Three Rises for Ultimate Fluffiness: Yeast dough needs time to rise, and this recipe calls for three rises. This might seem like a lengthy process, but these rises are what develop the incredible flavor and airy texture that define perfect homemade bread. Plan your baking schedule accordingly!
- Salted Butter Adjustment: If you only have salted butter, reduce the added salt in the recipe to 1 ¼ teaspoons to avoid overly salty rolls.
- Flour Power: Bread Flour vs. All-Purpose: Bread flour is recommended for its higher protein content, which creates a stronger gluten structure, resulting in sturdier rolls. However, all-purpose flour can be substituted if needed, yielding slightly softer rolls.
- Kneading Options: A stand mixer with a dough hook simplifies kneading. If kneading by hand, avoid adding too much extra flour; the dough should remain slightly tacky to the touch for the best results.
Step-by-Step Guide to Baking Brown and Serve Rolls
Let’s walk through the process of making these delightful brown and serve rolls.
-
Activate the Yeast: In a small bowl, combine warm water, one tablespoon of sugar, and the active dry yeast. Let this mixture stand for 5-7 minutes until the yeast becomes foamy, indicating activation.
-
Prepare the Milk Mixture: Heat the milk in the microwave until hot (about 1 ½ minutes). Stir in the remaining sugar and softened butter. Allow the mixture to cool until it reaches 110-115°F (43-46°C) before adding it to the activated yeast.
-
First Rise (Batter Stage): Add 2 cups of flour to the yeast and milk mixture. Mix until a very soft batter forms. Cover the bowl and let it rise in a warm place for 1 hour.
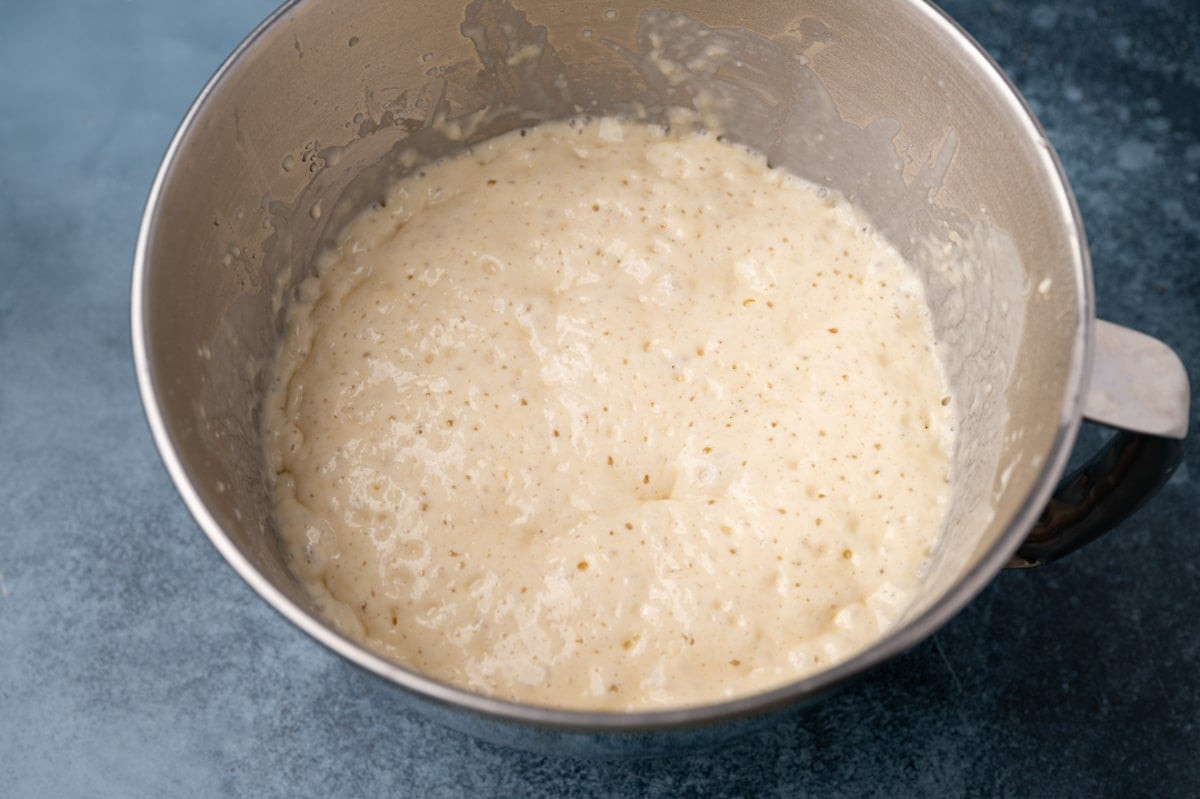 bubbly wet dough in a metal bowl
-
Form the Dough and Knead: Add salt and the remaining 2 ½ cups of flour to the risen batter. Mix until a soft dough forms. Knead the dough for 5-7 minutes by hand or 5 minutes using a dough hook on low speed in a stand mixer.
-
Second Rise (Dough Bulk Fermentation): Place the dough in a greased bowl, cover it with plastic wrap, and let it rise in a warm place until nearly doubled in size, about 30 minutes.
-
Shape the Rolls and Third Rise (Proofing): Punch down the risen dough. On a lightly floured surface, divide the dough into 24 equal portions. Roll each portion into smooth balls. Place the dough balls in a greased cake pan and let them rise again until nearly doubled, approximately 20-30 minutes.
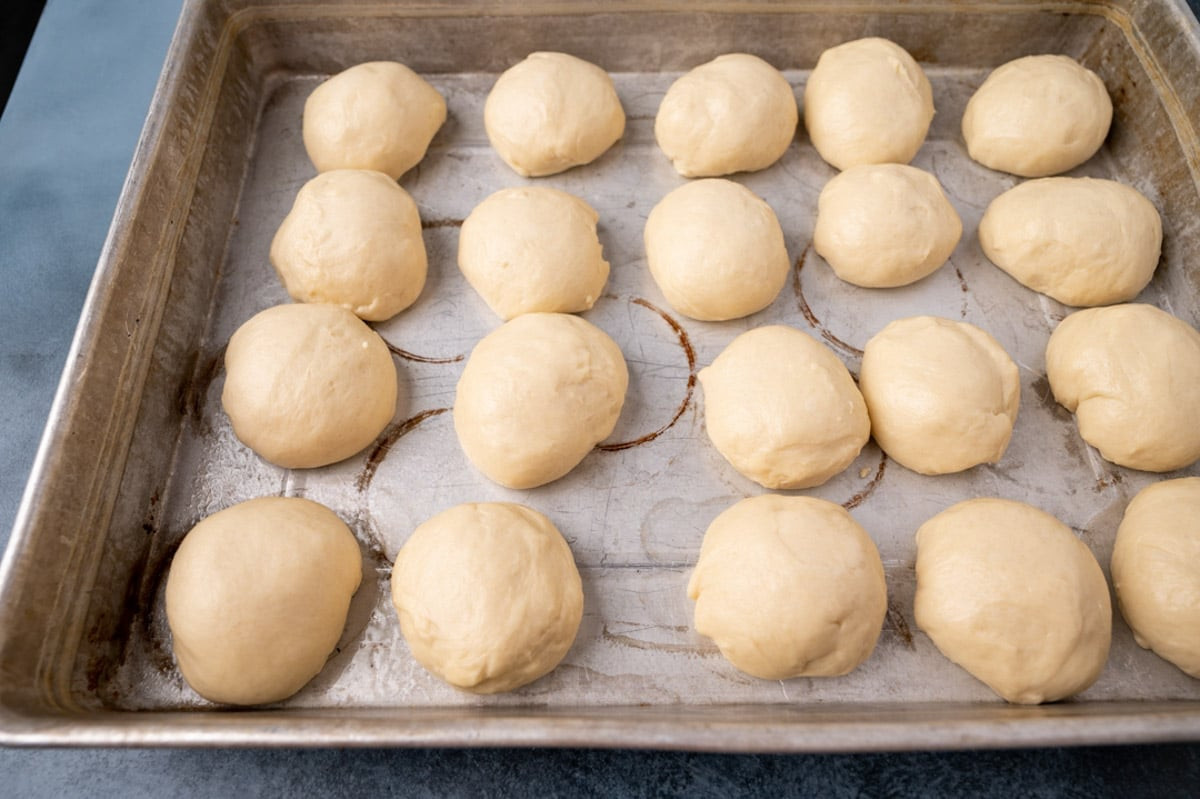 dough balls for rolls in a baking pan
-
Partial Baking (Brown and Serve Stage): Preheat oven to 275°F (135°C). Bake the rolls for 20 minutes. They should be cooked through but not browned at this stage. Allow the rolls to cool completely before freezing them in zippered bags.
-
Final Bake (Serving): When ready to serve, thaw the frozen rolls overnight in the refrigerator or at room temperature for 45 minutes. Bake in a preheated oven at 400°F (200°C) for 8-12 minutes, or until golden brown. Brush the tops with melted butter for extra softness and flavor.
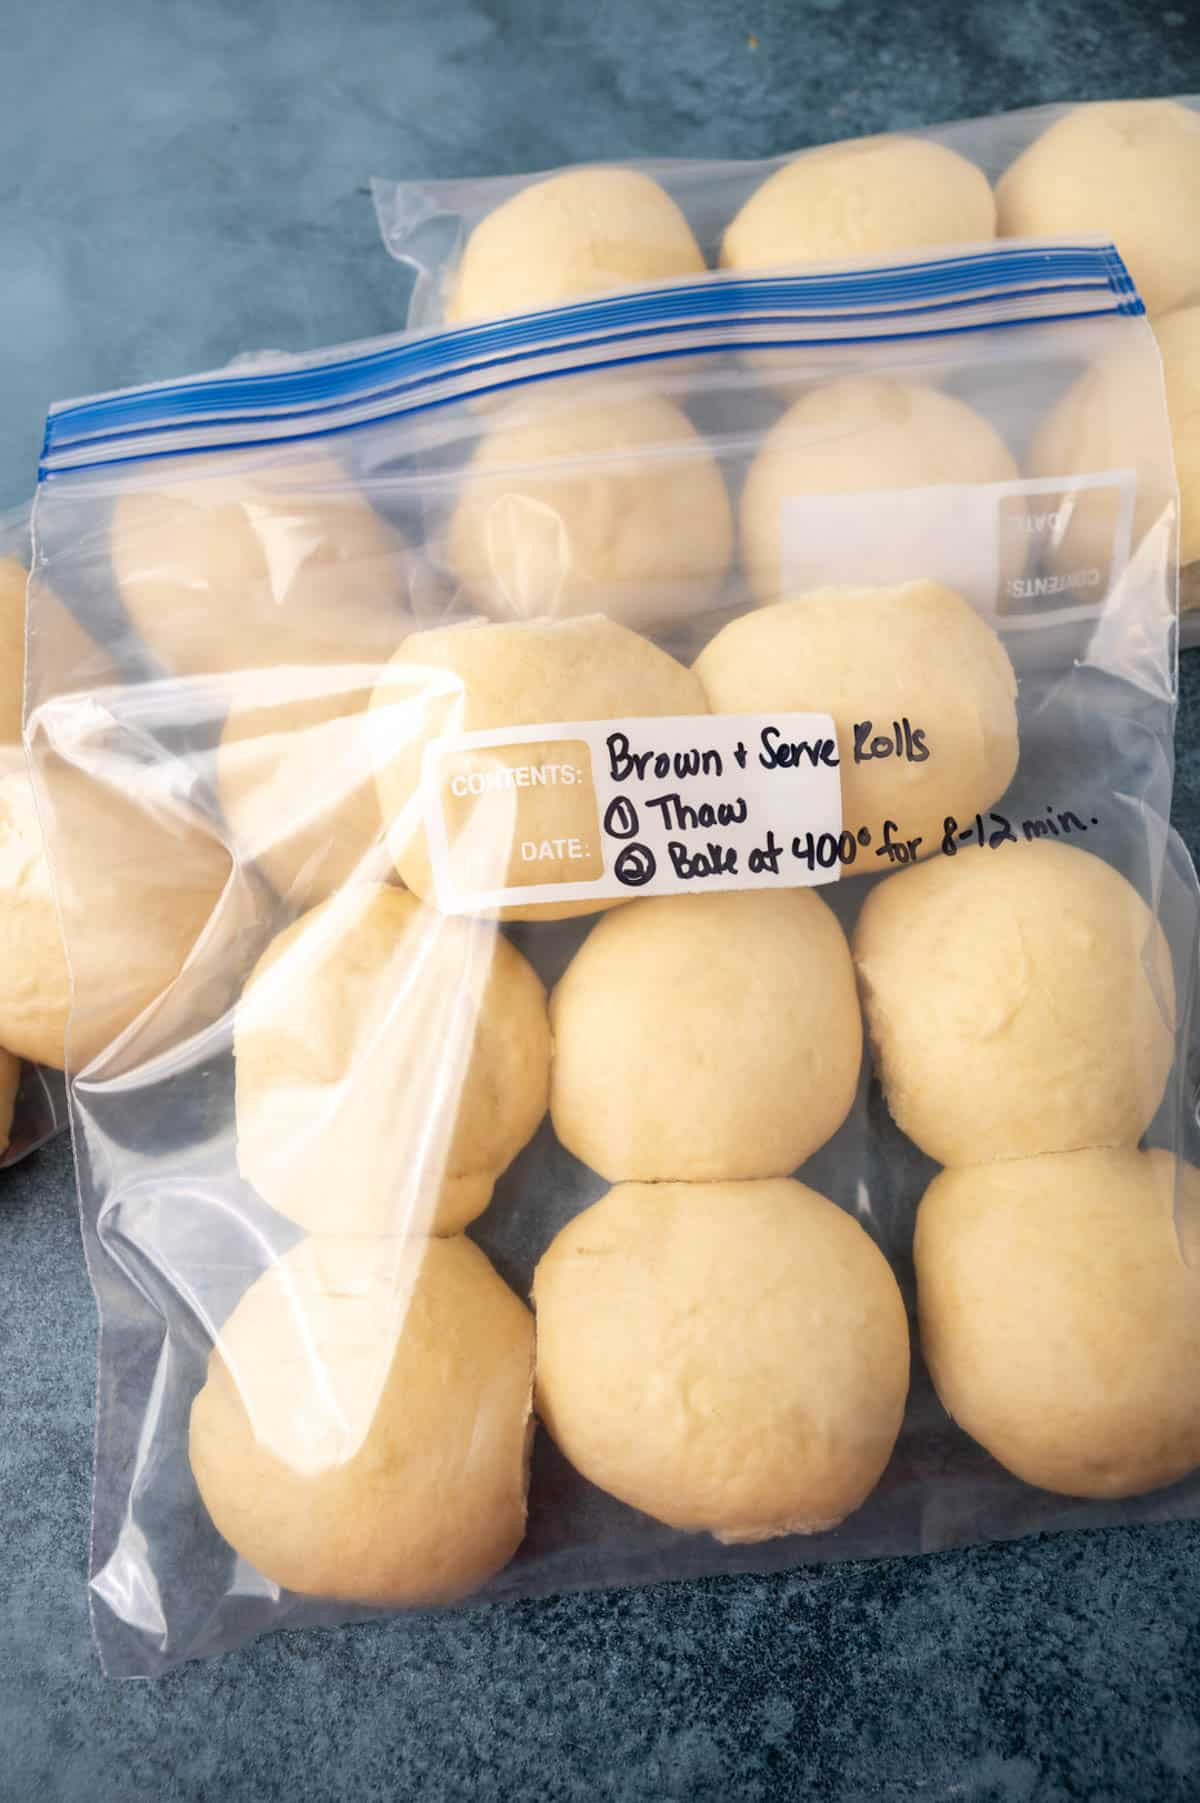 brown and serve rolls in a plastic bag
Troubleshooting: Avoiding Shriveled Rolls
The secret to preventing shriveled brown and serve rolls lies in proper initial baking. If the rolls aren’t fully cooked during the pre-bake, they are likely to shrivel as they cool. Ensure they are thoroughly cooked through in the first bake (ours took a full 20 minutes at 275°F). This will ensure they bake up beautifully golden brown and plump during the final bake.
If you choose to make larger rolls (less than 24), you will need to increase the baking time during the initial pre-bake to ensure they are cooked through.
The Perfect Homemade Roll, Made Easy
And there you have it – the ultimate homemade brown and serve rolls! Your family and guests will be amazed by their soft, fluffy texture and delicious flavor, never suspecting they were made ahead and frozen. These rolls are simply perfection, bringing homemade goodness to your table with incredible ease.
For more delightful roll recipes, be sure to try our Apple Butter Cinnamon Rolls, Mashed Potato Rolls, and Pumpkin Dinner Rolls. Each offers a unique and delicious twist on homemade bread.
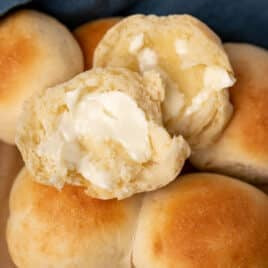 closeup of brown and serve rolls with butter
Brown and Serve Rolls Recipe
Yields: 24 rolls
Prep time: 20 minutes
Cook time: 20 minutes
Rise time: 1 hour 30 minutes
Total time: 2 hours 10 minutes
Print Recipe Pin Recipe Save Recipe Saved Recipe
Ingredients
- 1 package (7 grams) active dry yeast
- ¼ cup (2 ounces) warm water (110-115°F/43-46°C)
- 1 tablespoon (12 grams) granulated sugar
- 1 ½ cups (12 ounces) 2% milk
- 5 tablespoons (60 grams) granulated sugar
- 6 tablespoons (84 grams) unsalted butter, softened
- 1 ½ teaspoons (7 grams) salt
- 4 ½ cups bread flour (or all-purpose flour)
Instructions
- In a small bowl, dissolve yeast and 1 tablespoon sugar in warm water. Let stand 5-7 minutes until frothy.
- Heat milk in microwave until hot. Add 5 tablespoons sugar and butter; let cool to 110-115°F (43-46°C). Add to yeast mixture.
- Add 2 cups flour to yeast mixture; mix until a soft batter forms. Cover and rise in a warm place for 1 hour.
- Add salt and remaining 2 ½ cups flour; mix until soft dough forms. Knead 5-7 minutes by hand or 5 minutes with a dough hook.
- Place dough in a greased bowl, cover, and rise in a warm place until nearly doubled, about 30 minutes.
- Punch down dough, divide into 24 portions, and roll into balls. Place in a greased pan and rise until nearly doubled again, 20-30 minutes.
- Preheat oven to 275°F (135°C). Bake for 20 minutes. Cool completely and freeze.
- To serve, thaw rolls and bake at 400°F (200°C) for 8-12 minutes, until golden brown. Brush with melted butter if desired.
- To bake immediately (without freezing), bake at 375°F (190°C) for 18-20 minutes.
Recipe Notes
- Herb Variations: Enhance flavor by adding garlic, rosemary, or poultry seasoning to the dough.
- Cloverleaf Rolls: For cloverleaf rolls, shape each roll using three small dough balls placed in muffin tins before the final rise and bake.
Nutritional information is an estimate and may vary based on ingredient brands. For precise nutritional details, consult a nutritionist.
Nutrition
Calories: 132kcal | Carbohydrates: 21g | Protein: 3g | Fat: 3g | Saturated Fat: 2g | Cholesterol: 9mg | Sodium: 323mg | Potassium: 47mg | Sugar: 3g | Vitamin A: 110IU | Calcium: 22mg | Iron: 1.1mg
Author: Julie Clark
Course: Bread
Cuisine: American
Calories: 132
Keyword: homemade rolls, thanksgiving dinner
Have you tried this recipe? Share your review below or tag #tastesoflizzyt on Instagram.