
Running services in Docker containers offers flexibility and efficiency, especially for background tasks. If you’re looking to manage cloud storage synchronizations without keeping your main computer running, using Docker for RClone is an excellent solution. This guide will walk you through setting up an RClone Docker container, ensuring you have an always-on server for tasks like syncing Dropbox to Google Drive, accessible from anywhere on your network.
To begin, you’ll need to install the official RClone Docker container on your chosen server. The official documentation provides detailed instructions, but we’ll focus on a streamlined setup using Docker Compose. Docker Compose simplifies the process of defining and running multi-container Docker applications. Below is a sample docker-compose.yml file tailored for RClone, which you can adapt for your server.
version: "3.8"
services:
  rclone:
    image: rclone/rclone
    container_name: rclone-sync-server
    restart: always
    command: rcd --rc-web-gui --rc-addr :5572 --rc-user yourusername --rc-pass yourpassword
    ports:
      - "5572:5572"
    volumes:
      - ./rclone_config:/config/rclone
      - ./rclone_logs:/logs
    environment:
      - PHP_TZ=Europe/London # Replace with your timezone
      - PUID=1000 # Replace with your user ID
      - PGID=1000 # Replace with your group ID
This docker-compose.yml file sets up the RClone container with a few key configurations. The command section is crucial, as it activates the RClone Web GUI on port 5572, secured with a username and password you define. Exposing port 5572 (ports section) makes the Web GUI accessible from your network. Volume mounts (volumes section) ensure that your RClone configuration and logs are stored outside the container, preserving them across container restarts or deletions. Finally, the environment variables for timezone, PUID, and PGID are important for permissions within the container environment, aligning with your server’s user and group settings.
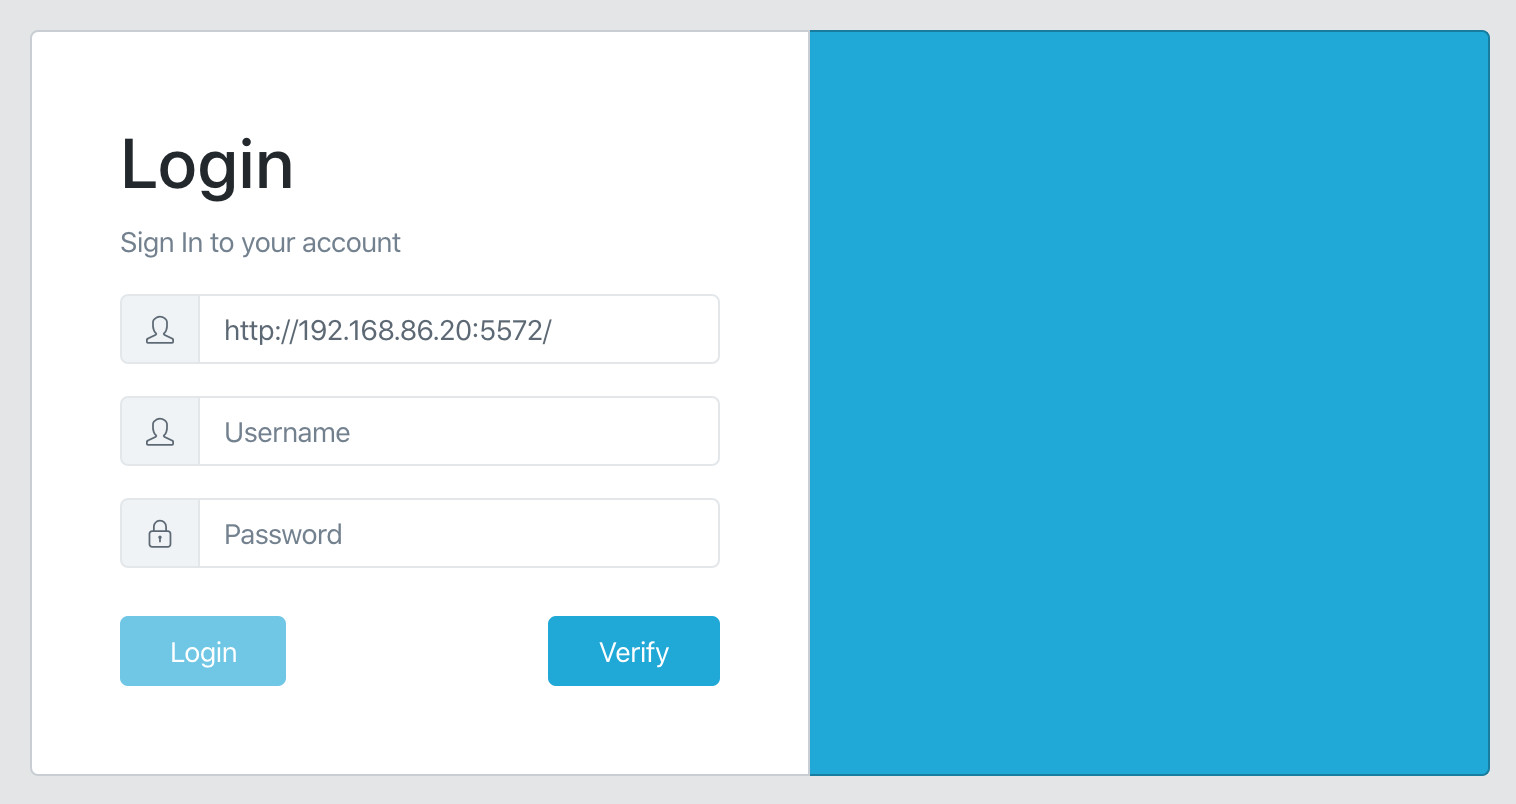 RClone Web GUI Interface
Once you’ve configured your docker-compose.yml file, navigate to the directory containing it in your terminal and run docker-compose up -d. This command will download the RClone image and start your container in detached mode. After a successful start, you can access the RClone Web GUI by navigating to http://[Your-Server-IP]:5572 in your web browser. Log in with the username and password you set in the docker-compose.yml file.
Initially, the Web GUI might appear non-functional as no remote drives are configured. While the Web GUI may offer configuration options (depending on the RClone version), a reliable method is to pre-configure RClone using the command-line tool on your local machine. Install RClone locally and use the rclone config command to set up your cloud storage remotes (Dropbox, Google Drive, etc.). After configuring your remotes locally, locate the RClone configuration file using rclone config file.
The final step is to transfer your locally configured RClone configuration to your Docker container. The docker-compose.yml file we set up mounts a local directory ./rclone_config to /config/rclone inside the container. Simply copy the contents of your local RClone configuration file (typically named rclone.conf) into the ./rclone_config directory you created alongside your docker-compose.yml file. Restart the Docker container using docker-compose restart rclone.
With these steps completed, your RClone Docker container should be fully operational. You can now manage your cloud storage transfers and synchronizations through the Web GUI, running on your server in the background, independent of your personal computer. This setup provides a robust and always-available “Best Docker Container Up And Running Server” solution for your cloud management needs.