This guide details how to configure email notifications in SQL Server 2008, enabling you to receive alerts and status updates directly to your inbox. This is crucial for proactive database administration and monitoring.
I. Setting Up Database Mail
Database Mail is a feature in SQL Server that allows you to send emails from the database engine. Here’s how to enable and configure it:
-
Manually Enable Database Mail Feature
First, you need to enable the Database Mail XPs option. Execute the following SQL scripts in SQL Server Management Studio (SSMS):
EXEC sp_configure 'show advanced options', 1
RECONFIGURE
EXEC sp_configure 'Database Mail XPs', 1 RECONFIGURE WITH OVERRIDEThis script enables advanced options and then specifically enables Database Mail XPs.
 Enabling advanced options and Database Mail XPs in SQL Server Configuration
 -
Configure Database Mail
In SSMS, connect to your SQL Server instance. Navigate to Management → Database Mail and select Configure Database Mail.
 Navigating to Configure Database Mail in SQL Server Management Studio
This will open the Database Mail Configuration Wizard. Click Next to proceed.
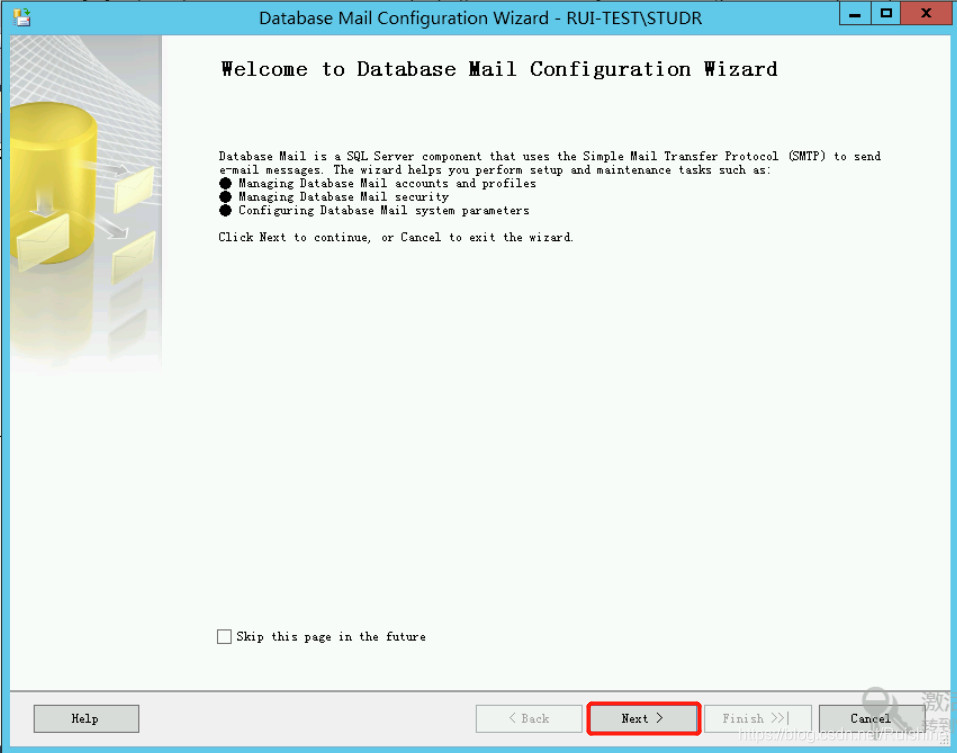 Welcome screen of the Database Mail Configuration Wizard
Choose the configuration task. If this is your first time setting up Database Mail, select Set up Database Mail for the first time; otherwise, for modifications, choose Manage Database Mail accounts and profiles.
For this guide, select Set up Database Mail for the first time and click Next.
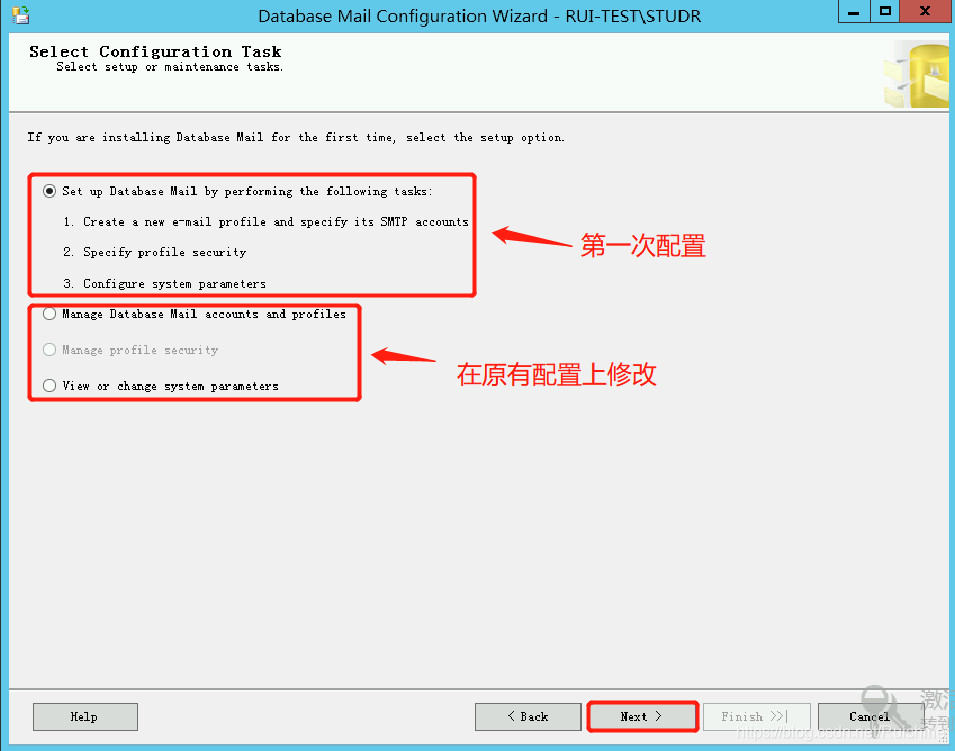 Selecting the option to set up Database Mail for the first time in the wizard
 -
Configure SMTP Account
Now you need to configure an SMTP account. If you have existing accounts, they will be listed. To add a new one, click Add.
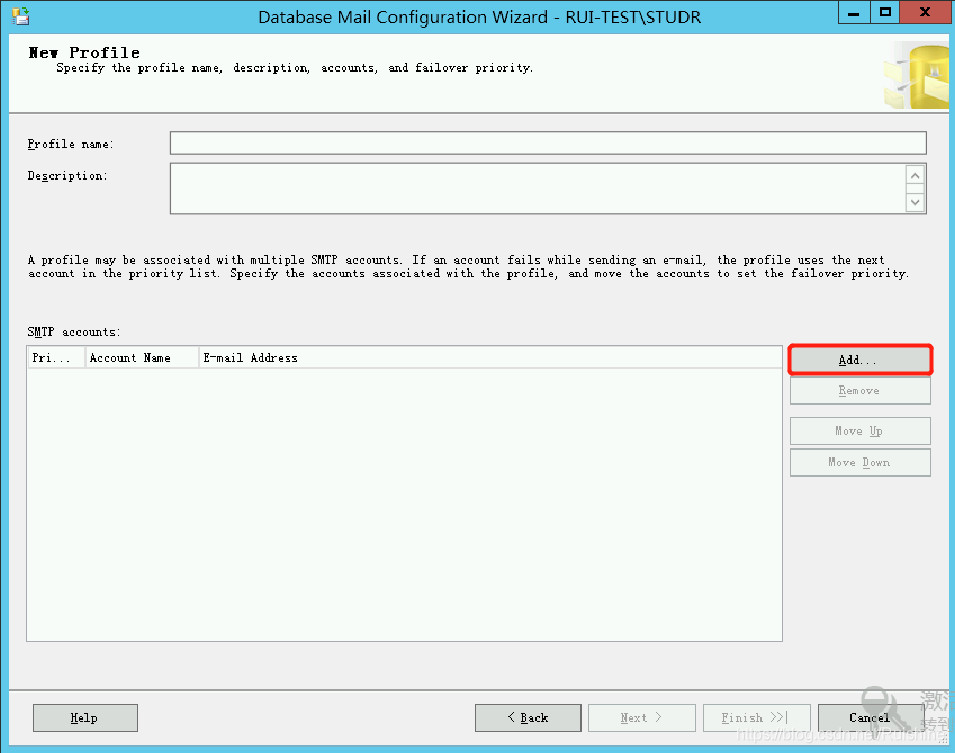 Database Mail Configuration Wizard showing the SMTP Account configuration step
In the New Database Mail Account dialog:
a. Account name: Enter a descriptive name for the account (e.g.,
Monitor_Account).
b. E-mail address: Enter the email address you will use to send notifications. This should be a valid email account with SMTP enabled.
c. Display name: Enter a name that will be displayed as the sender (e.g.,SQL Server Alert).
d. Server name: Enter the SMTP server name. For example, for QQ Mail, it’ssmtp.qq.com. For Gmail, it’ssmtp.gmail.com.
e. This server requires a secure connection (SSL): Check this box if your SMTP server requires SSL (recommended for security).
f. Basic authentication: Select this and enter the email address as the username and the SMTP authorization code (or password if authorization code is not required).Here’s an example configuration:
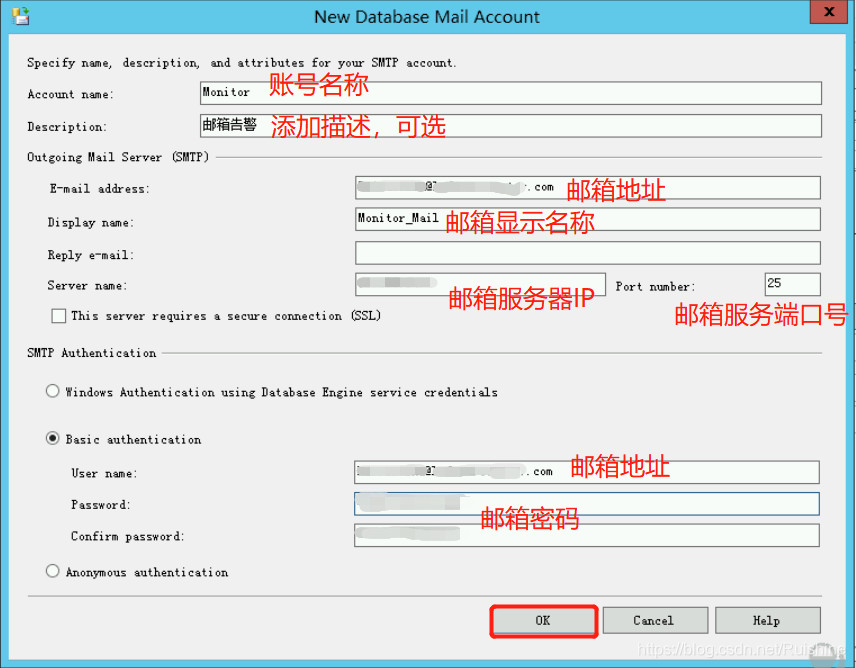 Example configuration for a new Database Mail account using QQ Mail
Click OK once configured. You will see the new SMTP account listed.
-
Configure Database Mail Profile
Click Next to configure a Database Mail profile. Add a Profile name (e.g.,
Monitor_Mail) and click Next. Database Mail Profile step in the configuration wizard, showing profile name input
 -
Manage Profile Security
Select the security settings for the profile. Choose the profile you just created and decide whether it should be a public profile. For general use, keeping the default No for a private profile is recommended unless you need broader access. Click Next.
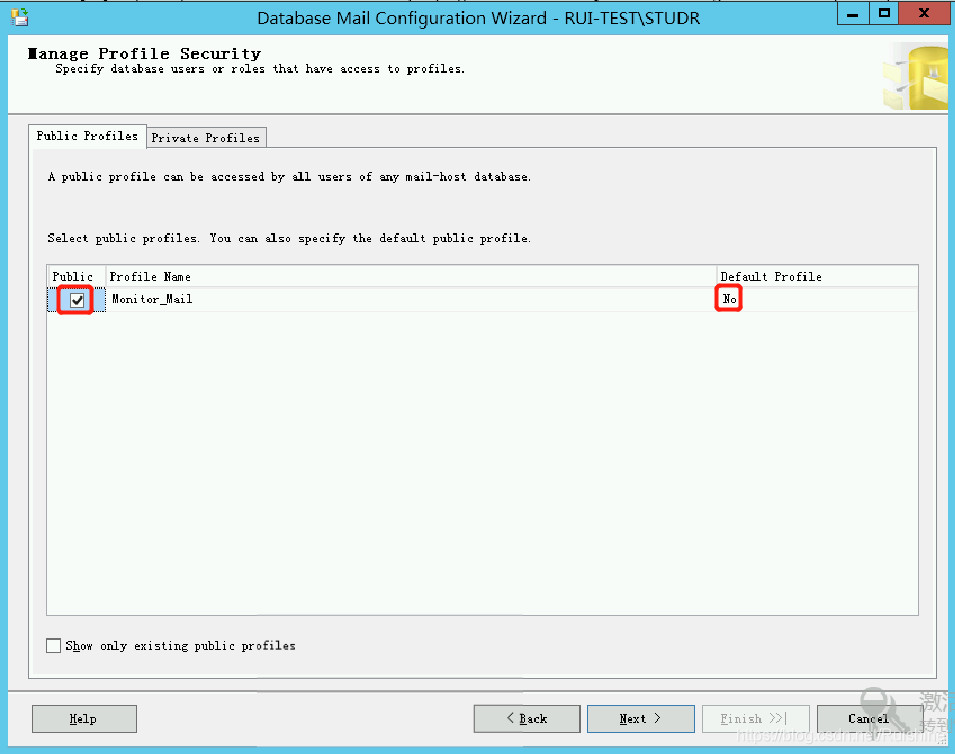 Profile Security settings in the Database Mail Configuration Wizard
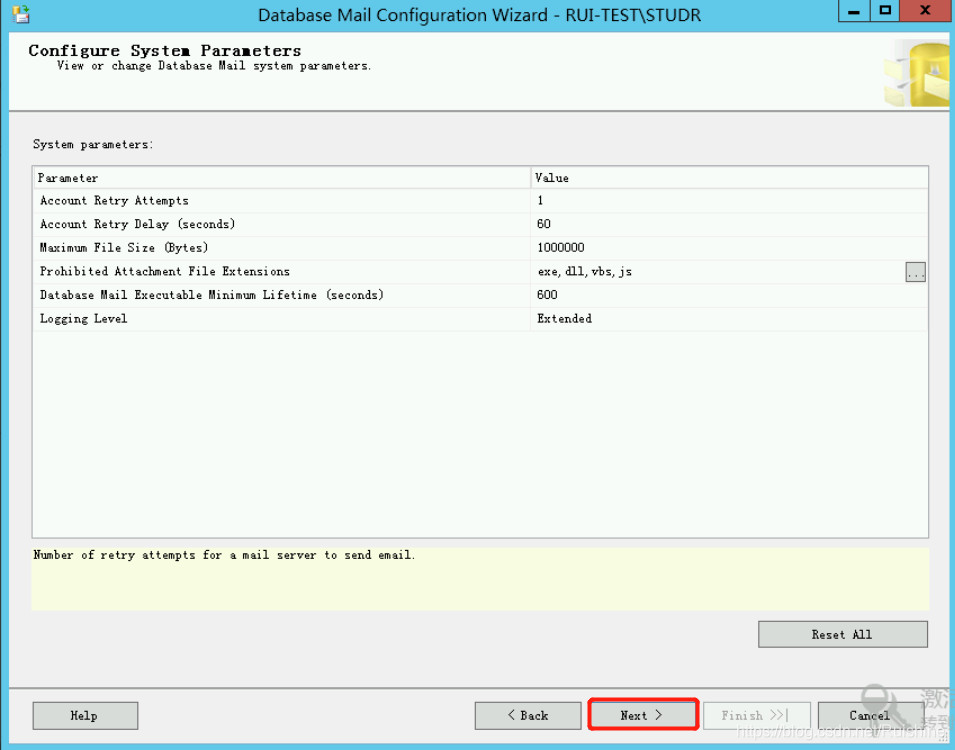
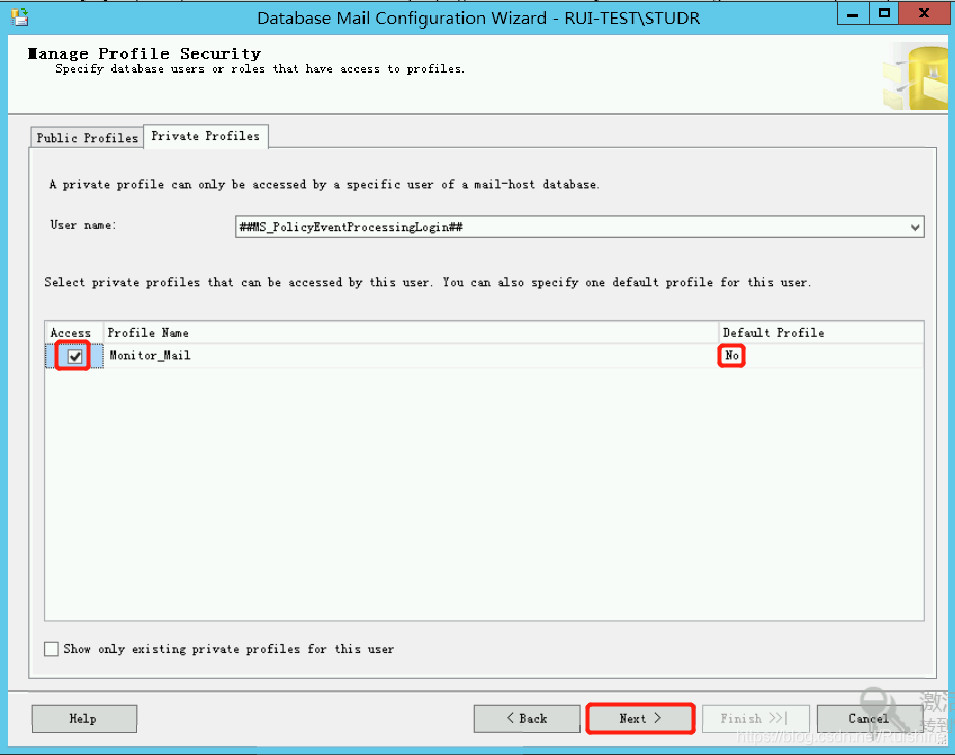 System Parameters configuration in Database Mail setup
You can modify system parameters if needed, but default settings generally suffice for basic setups. Click Next.
-
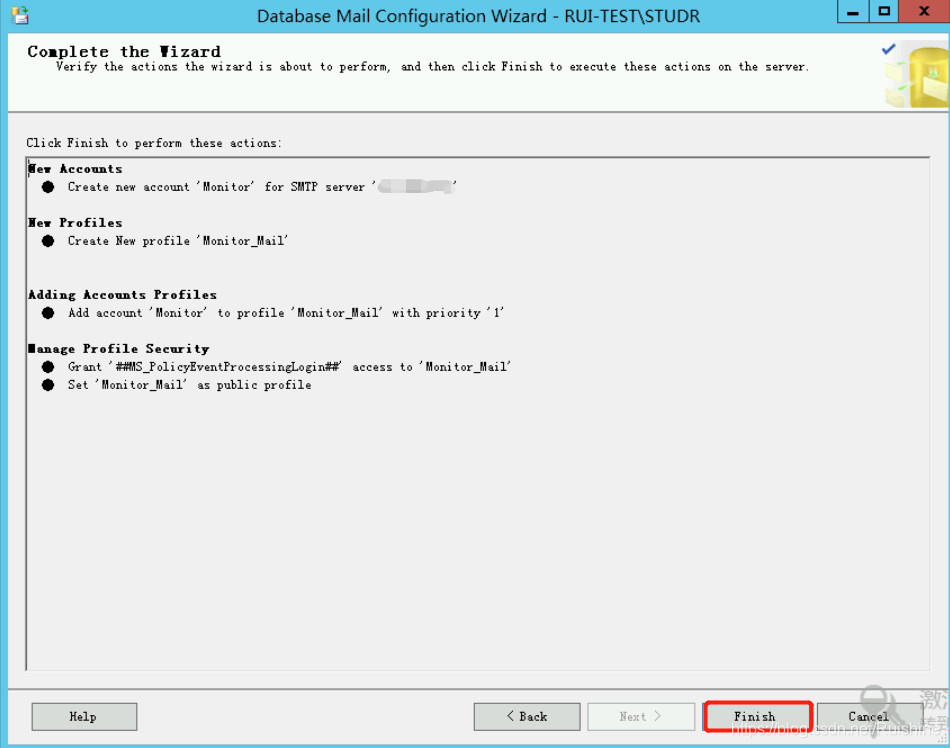
Complete the Configuration
Review the summary and click Finish to apply the configurations.
 Confirmation screen before completing the Database Mail Configuration
Once completed, click Close to exit the wizard.
 Final screen of the Database Mail Configuration Wizard indicating successful completion
Alt Text: SQL Server Management Studio showing the Database Mail configuration completed under Management.
-
Test Database Mail
To test if Database Mail is configured correctly, right-click on Database Mail and select Send Test E-Mail…
 Option to send a test email from Database Mail in SQL Server Management Studio
Enter the recipient email address(es) and click Send Test E-Mail. You can add multiple recipients separated by semicolons.
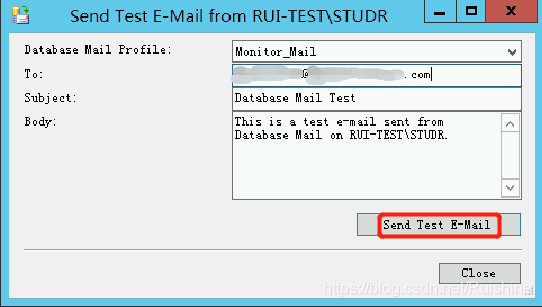 Dialog box to send a test email with recipient email address field
If successful, you will see a confirmation message and receive a test email in the inbox of the specified recipient. Click OK on the confirmation dialog.
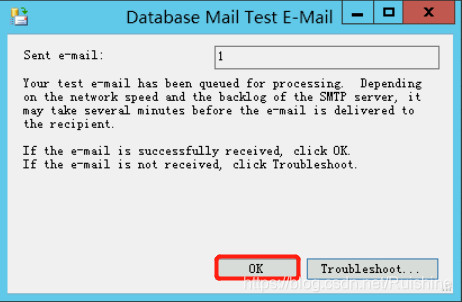 Confirmation dialog box after successfully sending a test email
Example of a received test email:
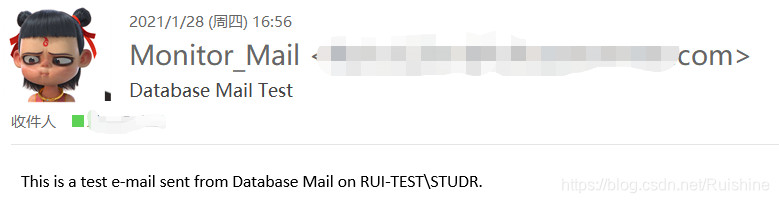 Example of a test email received after configuring Database Mail
II. Monitoring Job Task Status
Monitoring the status of SQL Server Agent jobs is crucial for maintaining database health and performance. Email notifications can automate this process.
-
Define Operator
Operators are the recipients of alerts. Navigate to SQL Server Agent → Operators and select New Operator.
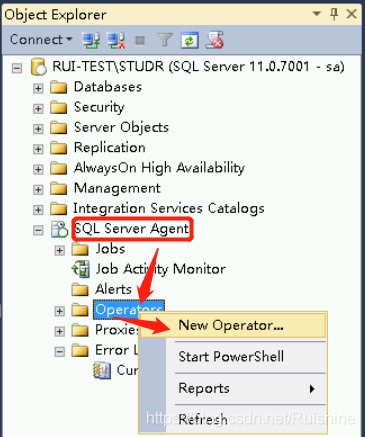 Navigating to Operators under SQL Server Agent in Management Studio
In the New Operator dialog:
a. Name: Enter a name for the operator (e.g.,
DBA_Team).
b. E-mail name: Enter the email address of the operator or a distribution list.
c. Pager schedule: Optionally, set up a pager schedule if needed.Configure the operator details and click OK.
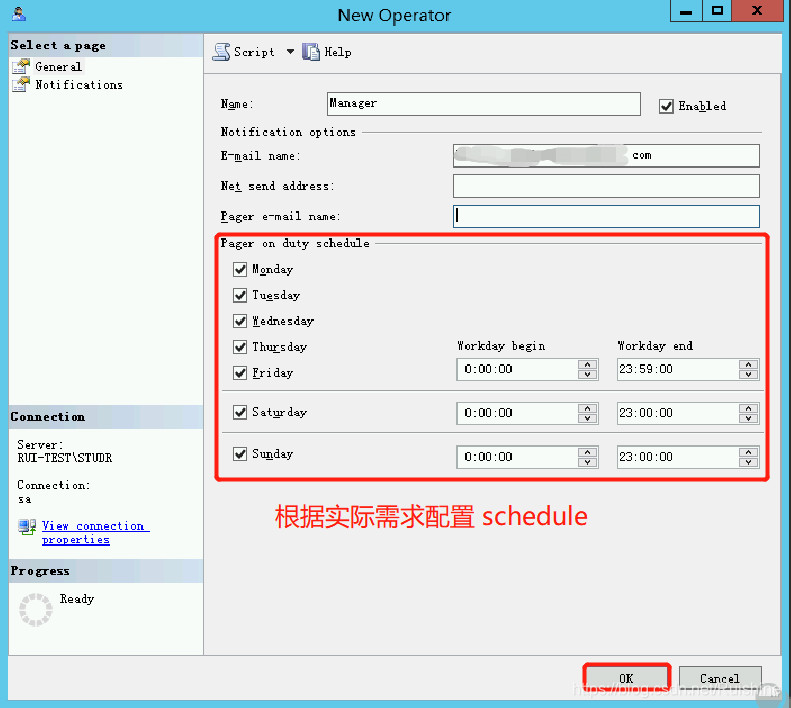 New Operator dialog box with fields for name, email, and pager schedule
You can now see the newly added operator in the Operators list.
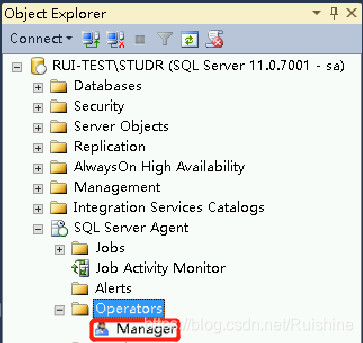 Operators list showing the newly created operator
 -
Create a Deadlock Alert
Let’s set up an alert for deadlocks. You can use the UI or T-SQL. First, let’s check the current alert categories and alerts using these queries:
SELECT * FROM msdb.dbo.syscategoriesQuery result:
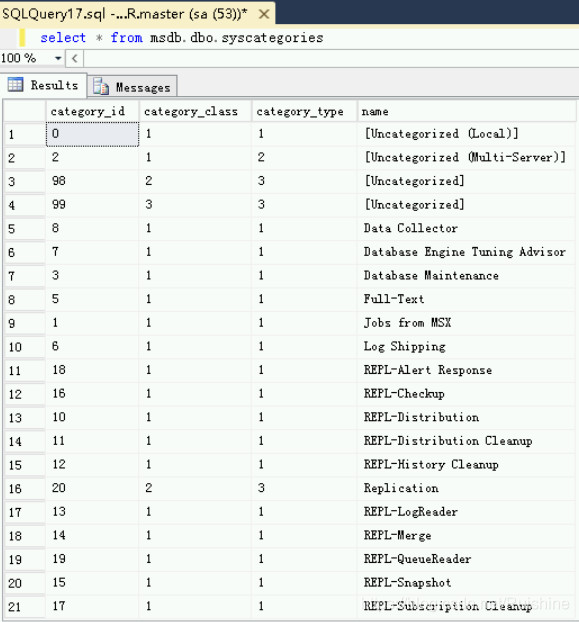 Query result showing categories from msdb.dbo.syscategories
SELECT * FROM msdb.dbo.sysalertsQuery result:
 Query result showing alerts from msdb.dbo.sysalerts
Now, execute the following script to add a deadlock alert:
USE [msdb]
GO
IF NOT EXISTS(SELECT 1 FROM msdb.dbo.syscategories WHERE name='DBA_MONITORING' AND category_class=2)
BEGIN
EXEC msdb.dbo.sp_add_category @class=N'ALERT', @type=N'NONE', @name=N'DBA_MONITORING' ;
END
GO
IF EXISTS(SELECT 1 FROM msdb.dbo.sysalerts WHERE name='SQL Server Dead Lock Detected')
BEGIN
EXEC msdb.dbo.sp_delete_alert @name=N'SQL Server Dead Lock Detected';
END
GO
IF NOT EXISTS(SELECT 1 FROM msdb.dbo.sysalerts WHERE name='SQL Server Dead Lock Detected')
BEGIN
EXEC msdb.dbo.sp_add_alert @name=N'SQL Server Dead Lock Detected', @message_id=1205, @severity=0, @enabled=1, @delay_between_responses=0, @include_event_description_in=1, @category_name=N'DBA_MONITORING', @job_id=N'00000000-0000-0000-0000-000000000000'
END
GO
IF NOT EXISTS ( SELECT  * FROM msdb.dbo.sysnotifications WHERE alert_id = ( SELECT id FROM msdb.dbo.sysalerts WHERE name = 'SQL Server Dead Lock Detected' ) )
BEGIN
EXEC msdb.dbo.sp_add_notification @alert_name = N'SQL Server Dead Lock Detected', @operator_name = N'DBA_Team', @notification_method = 1;
END;
GO
This script creates a new alert category
DBA_MONITORINGif it doesn’t exist, deletes any existing alert namedSQL Server Dead Lock Detected, and then creates a new alert for SQL Server deadlock detection (message ID 1205). It also adds a notification to send an email to theDBA_Teamoperator when this alert is triggered.Alt Text: SQL Server Management Studio displaying the successful execution of the script to create a SQL Server deadlock alert.
After successful execution, refresh the Alert list under SQL Server Agent → Alerts.
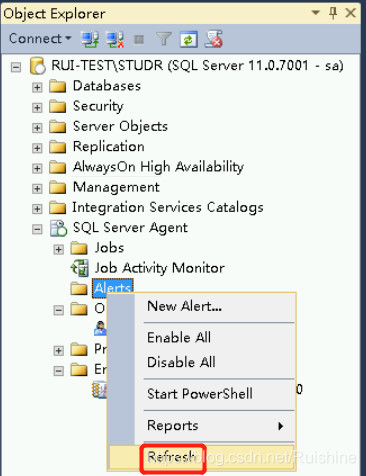 Refreshing the Alerts list in SQL Server Management Studio
Expand the Alerts list to see the new
SQL Server Dead Lock Detectedalert.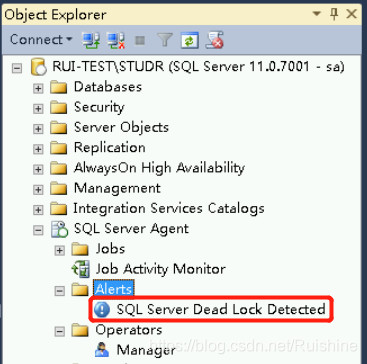 Alerts list showing the newly added SQL Server Dead Lock Detected alert
 -
Set SQL Server Agent Properties
Configure SQL Server Agent to use Database Mail for alerts. Right-click on SQL Server Agent and select Properties.
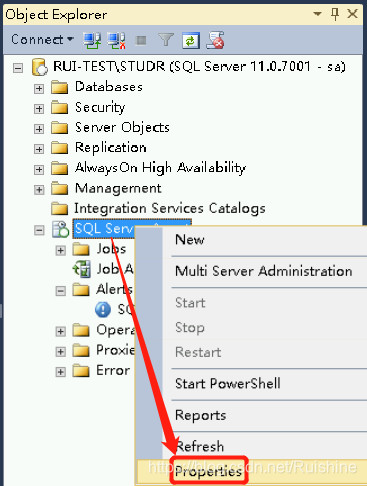 Accessing SQL Server Agent Properties in SQL Server Management Studio
In the Alert System page:
a. Select Enable mail profile and choose the Database Mail profile you configured (e.g.,
Monitor_Mail).
b. Check Enable fail-safe operator.Configure the Alert System options and click OK.
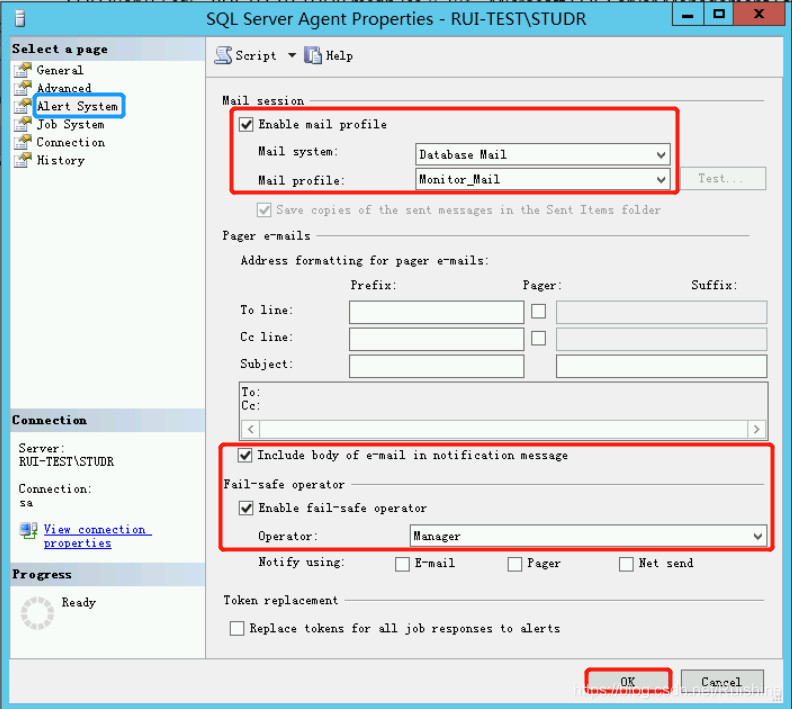 Alert System properties page in SQL Server Agent Properties, configured to use Database Mail
The other tabs in SQL Server Agent Properties can be left at their default settings for basic email notification setup. Screenshots of default settings for reference:
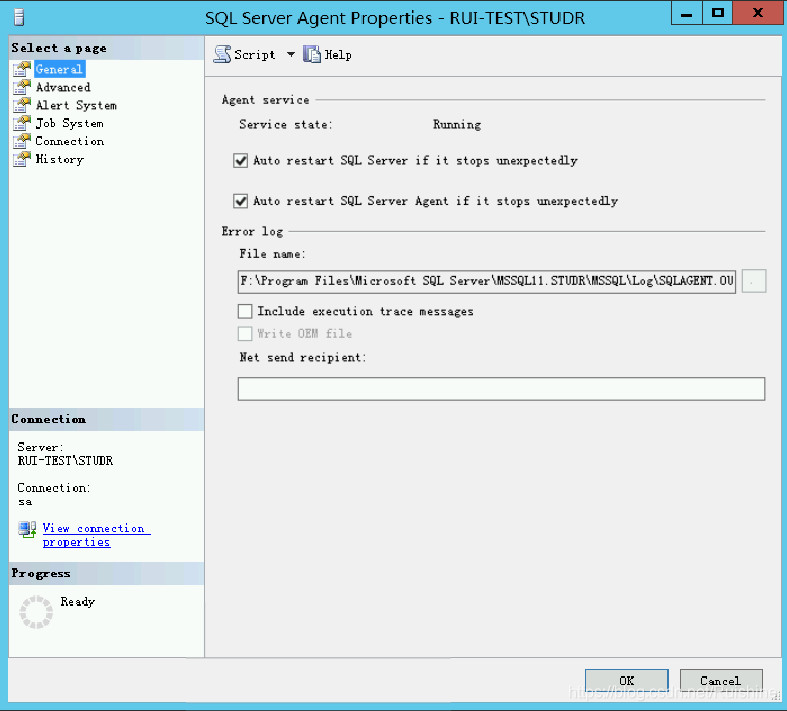 General settings in SQL Server Agent Properties, showing default configurations
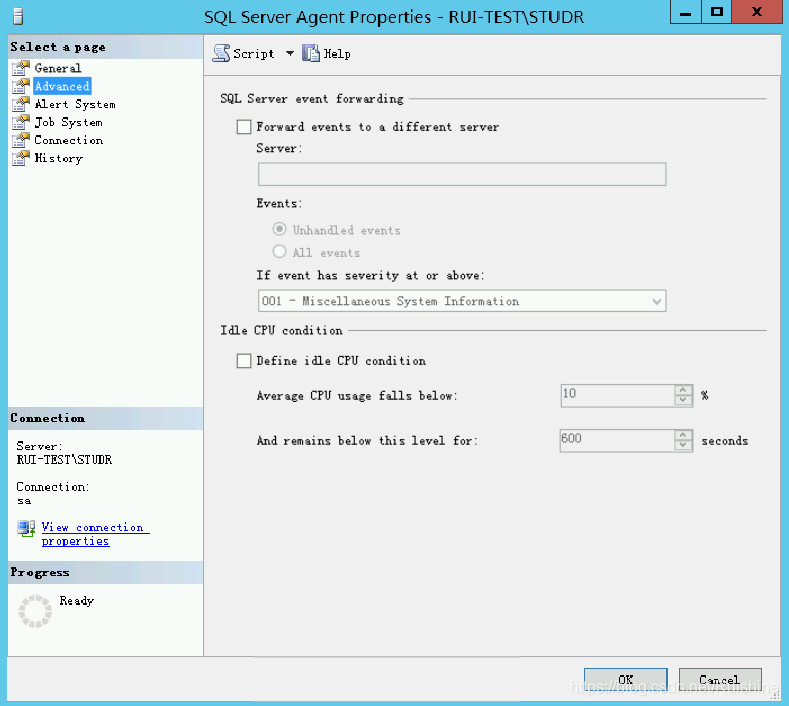 Advanced settings in SQL Server Agent Properties, showing default configurations
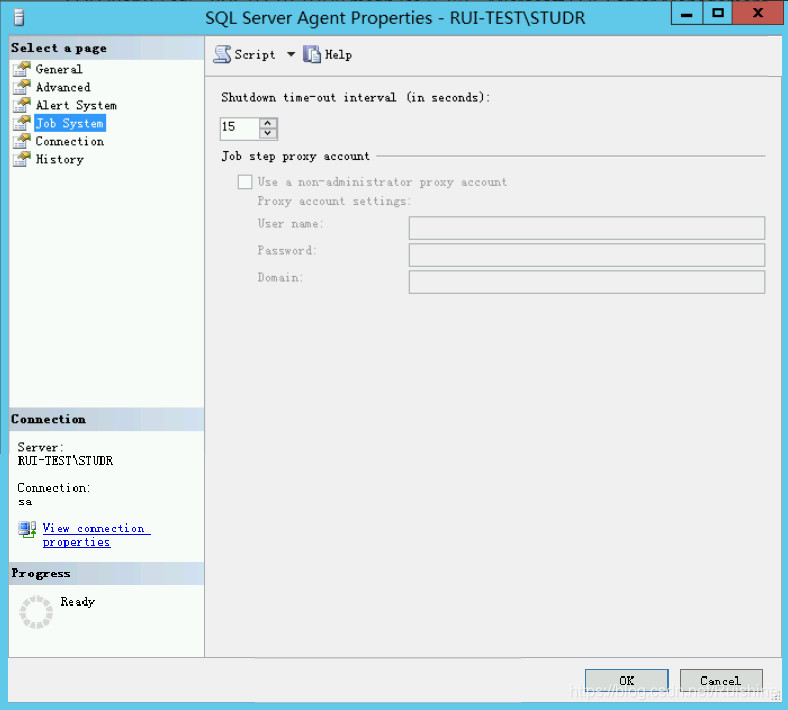 History settings in SQL Server Agent Properties, showing default configurations
 Job System settings in SQL Server Agent Properties, showing default configurations
 Restart settings in SQL Server Agent Properties, showing default configurations
III. Creating Profile and Mapping
Profiles help manage email accounts. Let’s create a profile and map an account to it.
-
Add Profile
Execute the following script to add a new profile:
EXEC msdb..sysmail_add_profile_sp @profile_name = 'dba_profile', -- profile name @description = 'dba mail profile', -- profile description @profile_id = NULL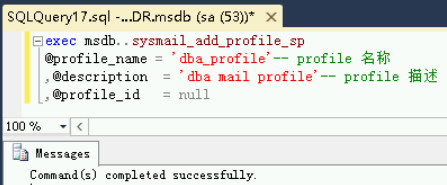 Script execution to add a new Database Mail profile named dba_profile
 -
Map Account and Profile
Map the previously created account (
Monitor_Account) to thedba_profile:EXEC msdb..sysmail_add_profileaccount_sp @profile_name = 'dba_profile', -- profile name @account_name = 'Monitor_Account', -- account name @sequence_number = 1 -- account sequence in profile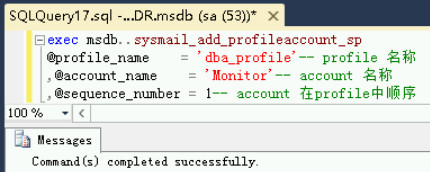 Script execution to map the Monitor account to the dba_profile
IV. Configuring a Job to Send Database Log Space Email
Let’s create a job that sends an email about database log space usage.
-
Create a New Job
Navigate to SQL Server Agent → Jobs and select New Job.
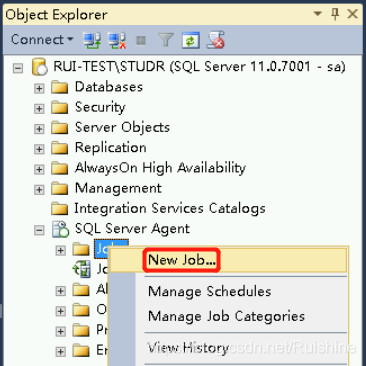 Navigating to create a new job under SQL Server Agent Jobs in Management Studio
In the General page, configure the job name (e.g.,
Database Log Space Monitor).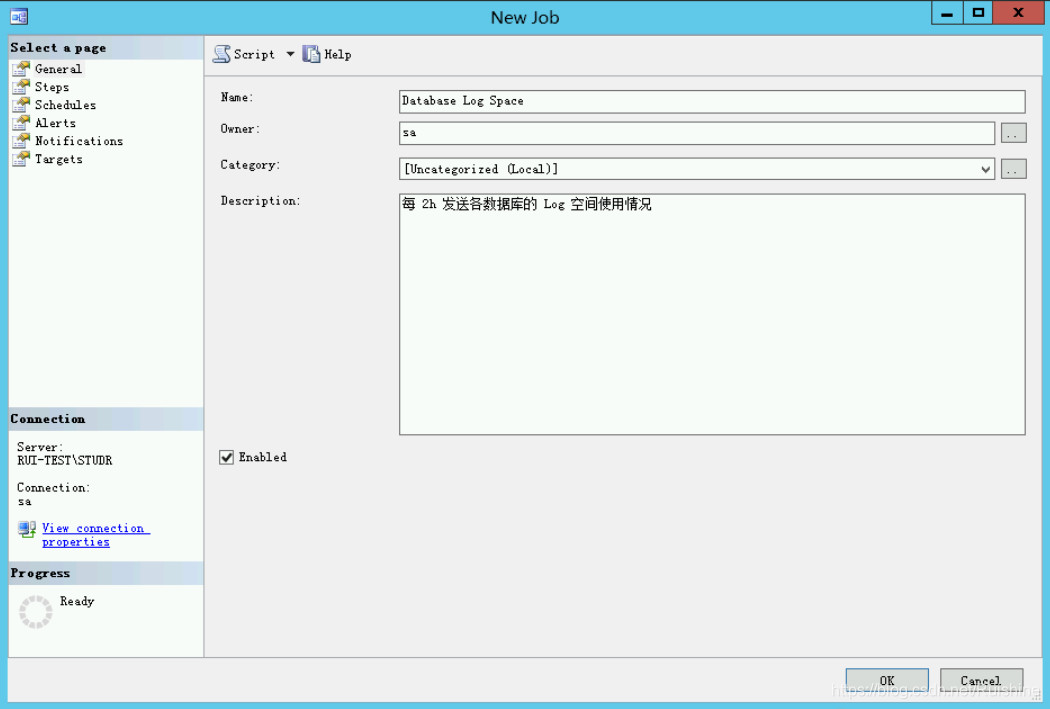 General properties page for a new SQL Server Agent job, with job name input
Go to the Steps page and click New.
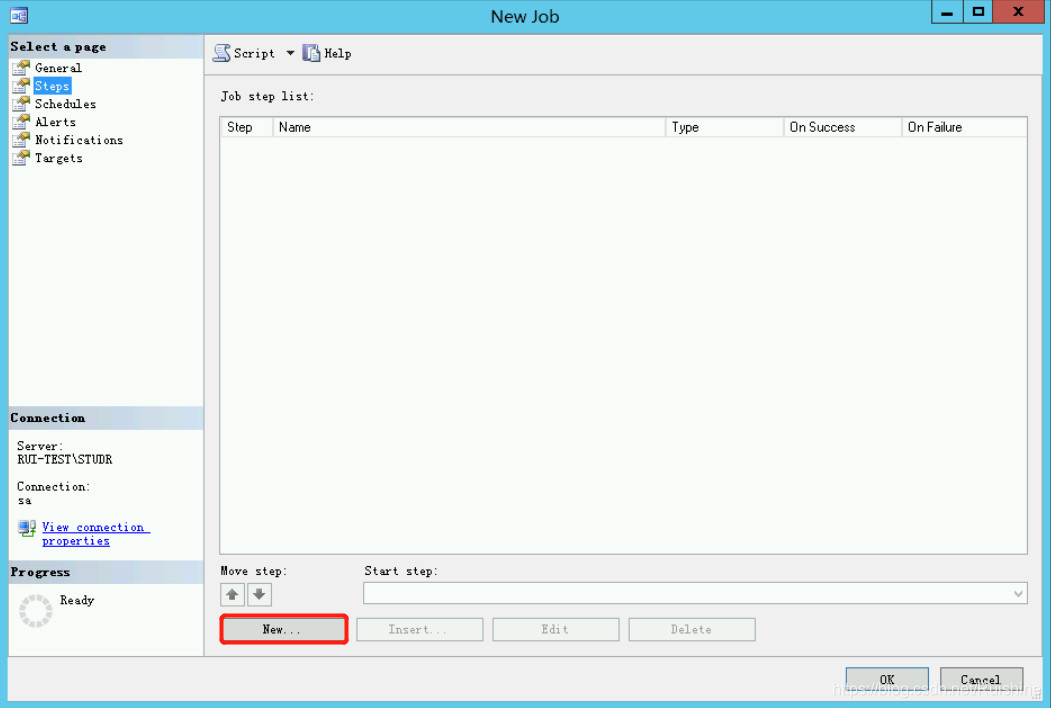 Steps properties page for a new SQL Server Agent job, highlighting the New button
Configure the New Job Step as follows:
-
Step name:
Send Log Space Email -
Type:
Transact-SQL script (T-SQL) -
Database:
master(or any relevant database context) -
Command:
EXEC sp_send_dbmail
    @profile_name = 'dba_profile',
    @recipients = '[email protected]', -- Replace with actual email address
    @subject = 'Database Log Space Usage',
    @query = 'DBCC SQLPERF(LOGSPACE)'
Note: Replace
'[email protected]'with the actual recipient email address.
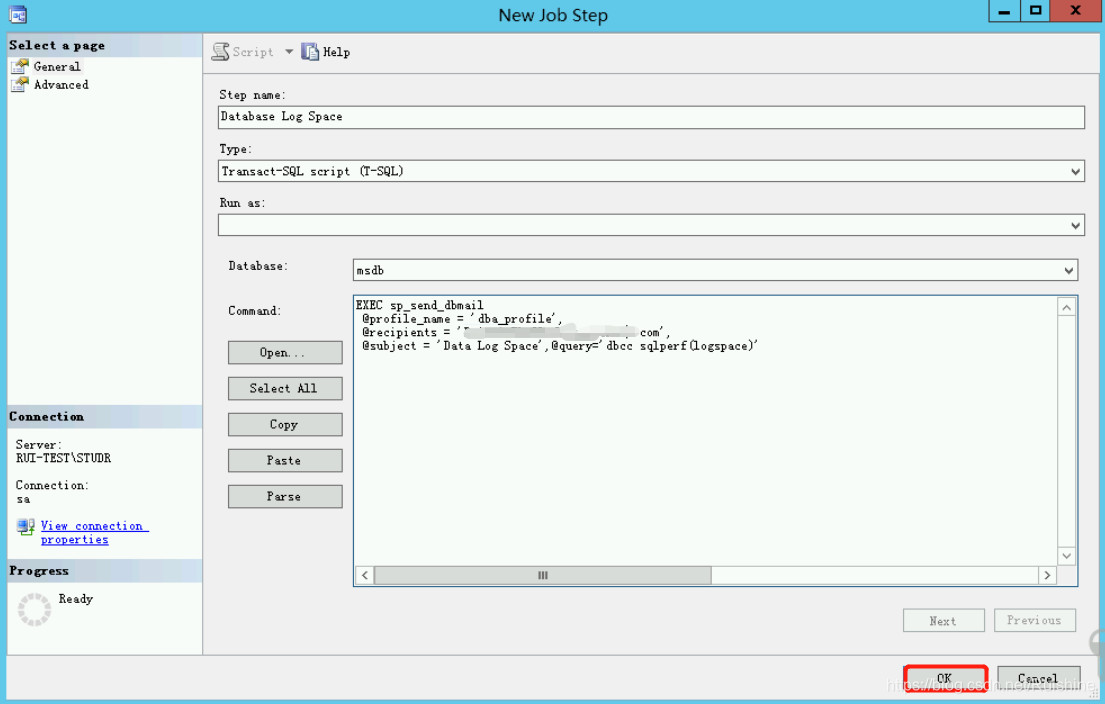 New Job Step dialog box configured to send an email with log space information
Click OK to save the step. You will return to the Steps page.
 Steps properties page showing the newly added job step
Go to the Schedules page and click New.
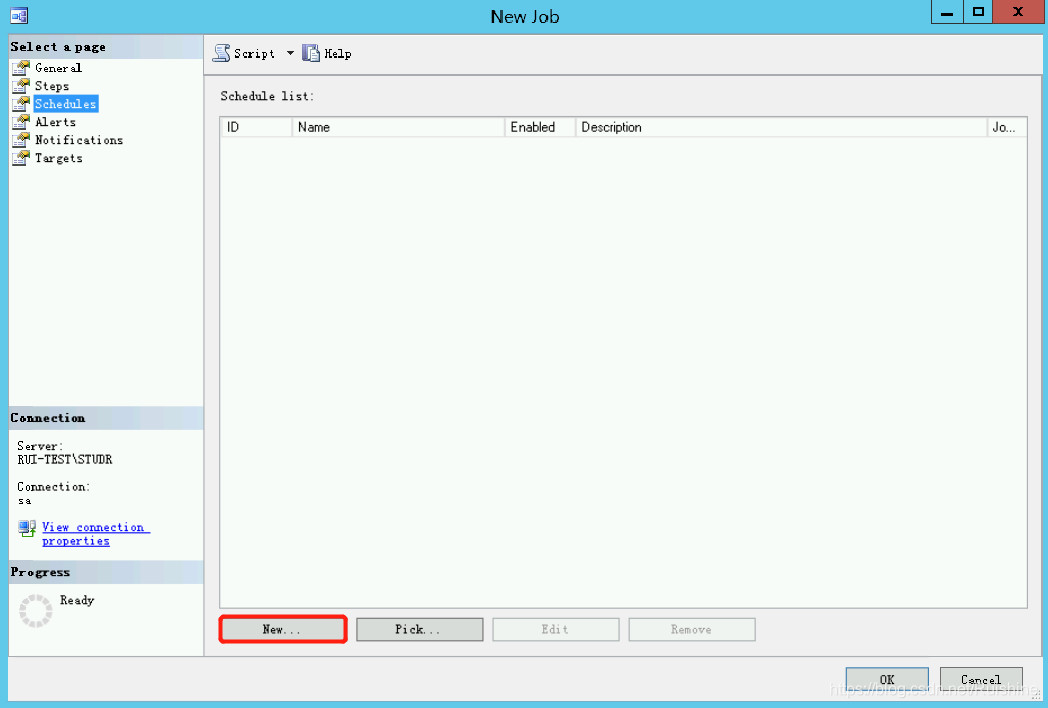 Schedules properties page for a new SQL Server Agent job, highlighting the New button
Configure the schedule according to your needs. For example, to send an email every 2 hours daily:
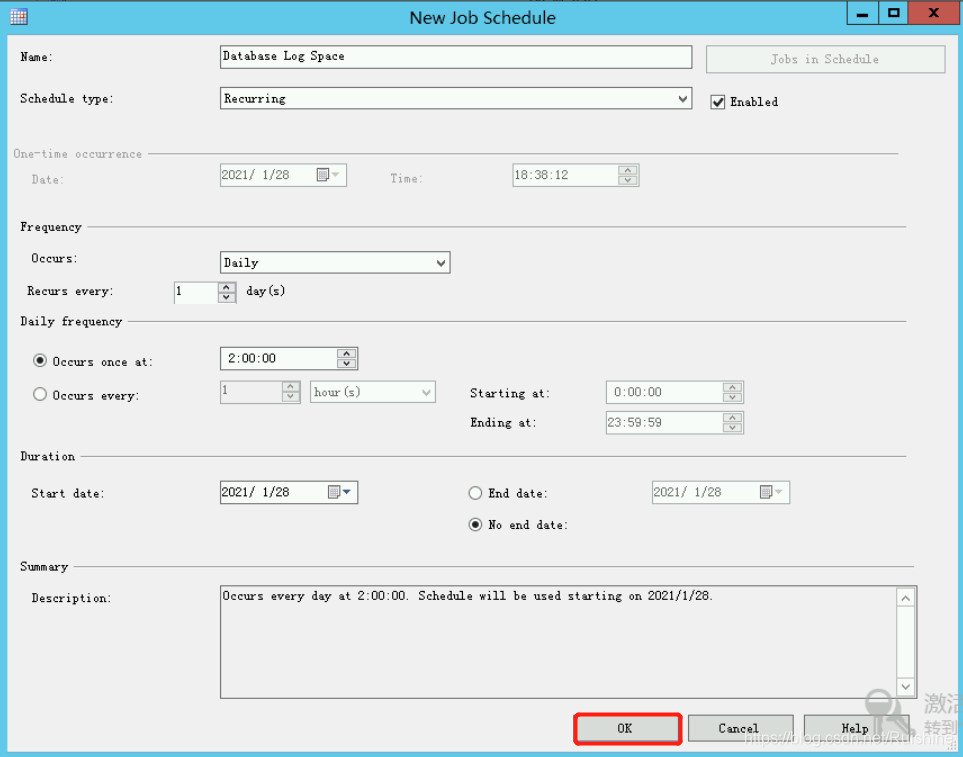 Schedule configuration to send email every 2 hours daily
Click OK to save the schedule.
Click OK again to create the job.
Alt Text: Confirmation dialog box before finalizing the creation of the new SQL Server Agent job.
You can see the new job in the Jobs list.
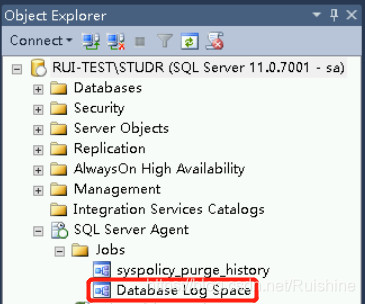 Jobs list showing the newly created Database Log Space Monitor job
 -
-
Test the Job
To test the job, right-click on the
Database Log Space Monitorjob and select Start Job at Step. Option to start the job at step from the context menu of a job in SQL Server Agent
If the job executes successfully, you will see a success message. Click OK to close the window.
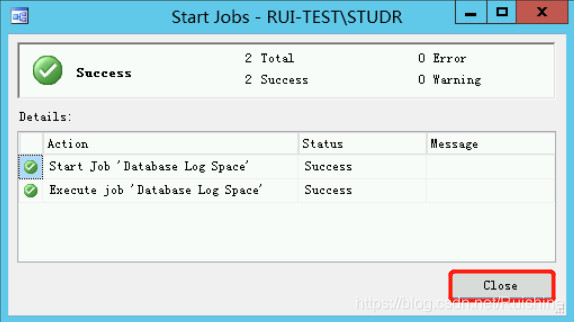 Confirmation dialog box after successful execution of the job
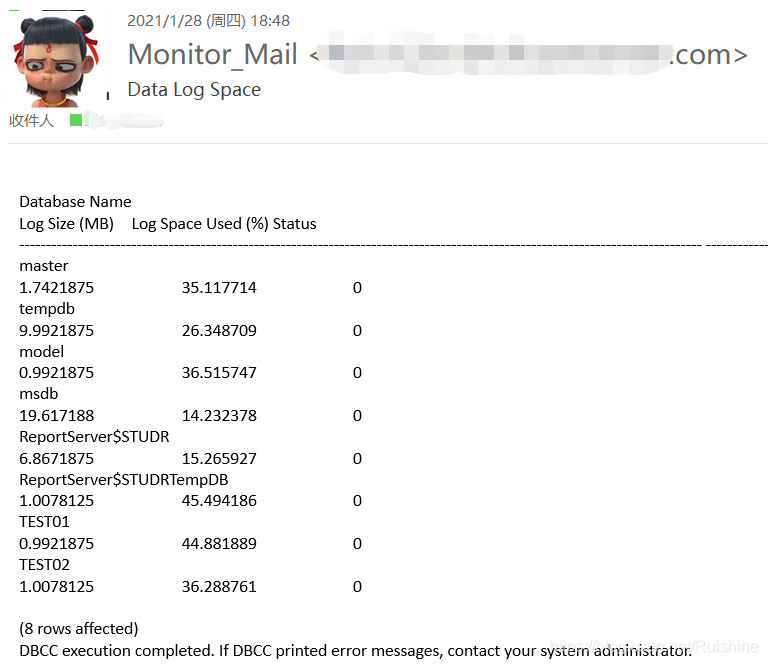 Job execution successful confirmation message
Verify that you have received the email containing the database log space information. The job is now configured to send emails as per the schedule.
This comprehensive guide should help you configure email notifications in SQL Server 2008 for alerts and job monitoring, enhancing your database administration capabilities.