Private servers on Roblox offer a personalized and controlled environment for players to enjoy their favorite experiences. Imagine having a Roblox world where you decide who enters, perfect for playing exclusively with friends, hosting private events, or creating content without interruptions. This feature, often subscription-based, gives you the power to tailor your Roblox experience. While some private servers are offered for free by experience creators, others can be monetized, allowing creators to charge a monthly Robux fee for access.
Private servers unlock a range of possibilities, making them invaluable for various scenarios:
- Exclusive Gameplay with Friends: Enjoy experiences solely with your chosen friends, fostering a more intimate and collaborative environment.
- Hosting Private Gatherings: Organize classes, meetings, parties, or any private event within a dedicated Roblox space, free from public interference.
- Content Creation and Streaming: Record videos or stream gameplay without the presence of other users, ensuring a clean and focused recording session.
- Resource Gathering in Peace: Collect in-experience resources without competition or disturbances from other players, streamlining your progress.
It’s important to note a key limitation: you cannot simultaneously enable both paid access features (either in Robux or local currency) and private servers. Choosing private servers means opting out of these broader paid access monetization methods.
Additionally, players under 13 years old might face restrictions in joining private servers, depending on their account’s privacy settings and parental controls.
Enabling Your Private Server: A Detailed Walkthrough
Before setting up a private server, ensure your experience is publicly accessible to all users. This is a prerequisite for enabling private server functionality.
Here’s how to create your private server in a few easy steps:
-
Access Game Settings: Begin by opening Game Settings. You can find this option within the Home tab in Roblox Studio.
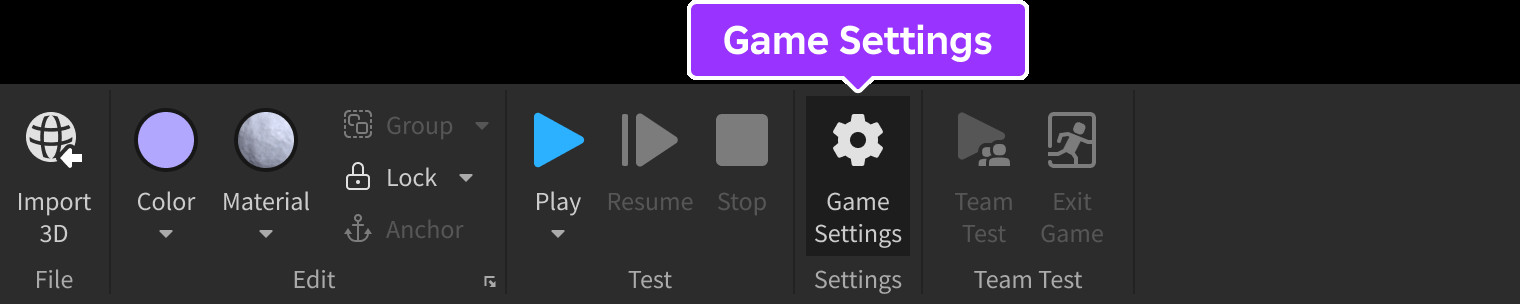 Game Settings button indicated in Home tab
 -
Navigate to Monetization Settings: In the Game Settings window, locate and click on Monetization in the left-hand navigation menu.
-
Enable Private Servers: Find the Private Servers toggle and switch it to the on position. Once enabled, you’ll see additional settings that allow you to configure the monetization of your private server.
-
Choose Your Server Type: You have two options for your private server:
-
Free Private Servers: To offer private servers at no cost, select the Free radio button. This allows any user to create a private server for your experience without any Robux charge.
-
Paid Private Servers: To monetize your private server, choose the Paid radio button. Then, enter the desired amount of Robux users will need to pay per month to access a private server for your experience. The price you set directly impacts your Robux earnings from each subscription.
-
-
Save Your Settings: After selecting your server type and, if applicable, setting the price, click the Save button to apply your changes.
Keep in mind that altering the price of your private servers will automatically cancel all existing active subscriptions. Roblox will send a private message to users with active subscriptions to notify them about this change, ensuring transparency and communication regarding subscription adjustments.
By following these steps, you can easily create and manage private servers for your Roblox experiences, offering a more personalized and controlled gameplay environment for your community. Whether you choose to offer them for free or monetize them, private servers are a powerful tool to enhance user experience and community engagement.