So, your kids are asking for a Minecraft server to play with their friends? Setting up your own Minecraft server might sound daunting, but it’s actually quite achievable, even on a cloud platform like Microsoft Azure. Hosting your server on Azure offers reliability and accessibility, ensuring your kids and their friends can jump into their Minecraft world whenever they want. Plus, by using Azure’s free tier options, you can potentially keep costs very low, making it a pocket-money-friendly solution for months of gaming fun. This guide will walk you through the process of creating your own Minecraft server on Azure, step-by-step.
Basic Minecraft Server Setup on Azure
First things first, you’ll need to sign up for an Azure account. New users typically get free credits to explore Azure services, which is perfect for setting up a Minecraft server without immediate costs. Head over to the Azure website and sign up. You will need to provide credit card details, but don’t worry, we’ll configure the server to minimize expenses. Our aim is to keep the server running costs minimal, ideally just a few dollars a month even after the free credits are used.
Once you’re signed up and in the Azure portal, navigate to Virtual Machines and click on Create then Azure Virtual Machine.
 Azure Virtual Machine Creation Start
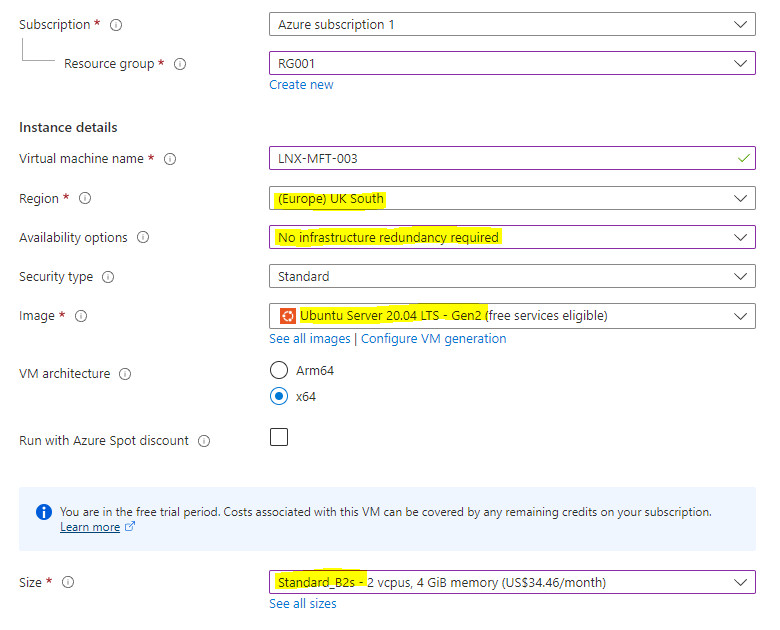
You’ll need to configure a few settings for your virtual machine. Choose the following options to get started:
 Azure VM Configuration Basics
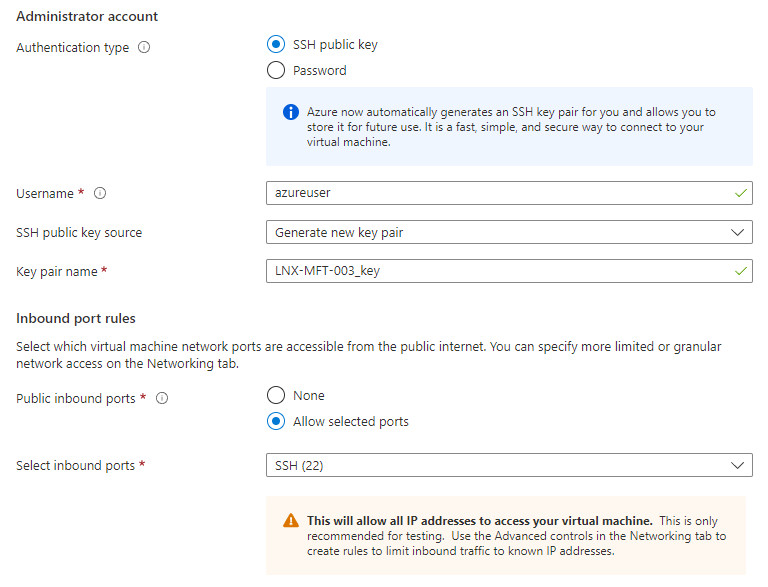
For the Size, while the B2 size is shown here, a B1 size VM can also be sufficient, especially if you’re aiming to minimize credit usage and costs. For initial setup, we’re allowing SSH access from the public internet, but we’ll enhance security shortly.
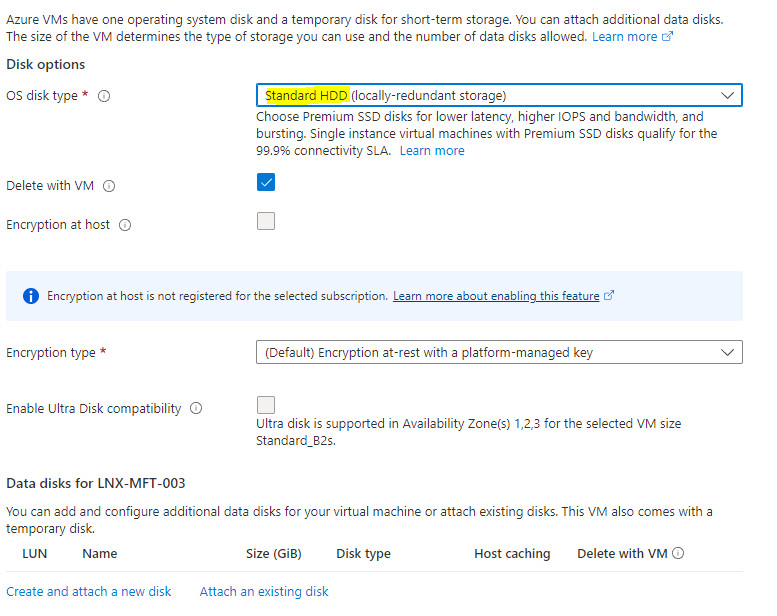
Next, switch the disk type to Standard HDD. Minecraft server operations aren’t typically disk-intensive, so a Standard HDD is cost-effective and perfectly adequate.
 Azure Disk Configuration for Minecraft Server
Leave the Networking options at their default settings for now.
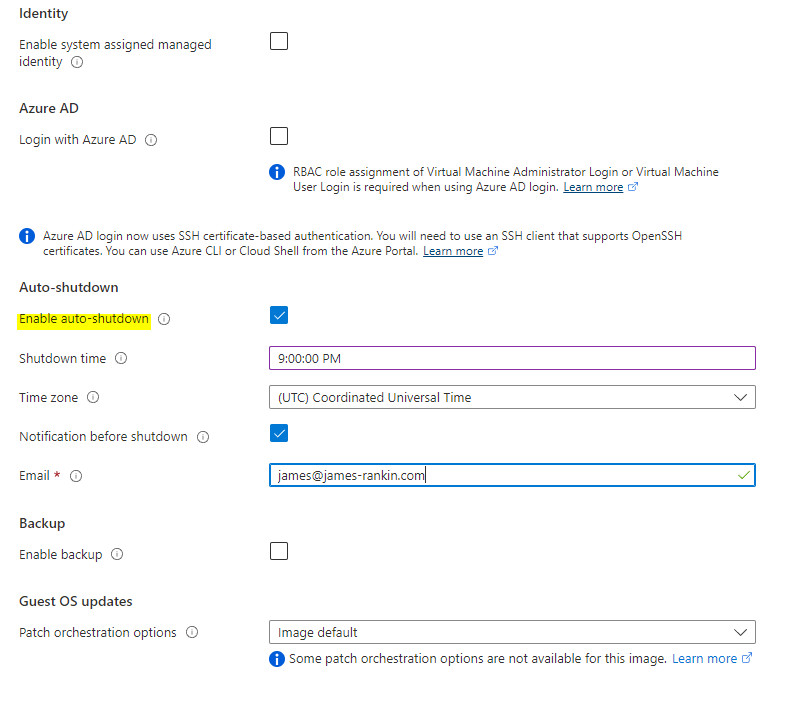
Under Management options, it’s highly recommended to enable auto-shutdown. This is a great feature, especially if the server is for kids, as it automatically powers down the VM at a set time, preventing unexpected credit consumption due to forgotten servers left running. Set up a schedule that suits your needs.
 Azure Auto-Shutdown Configuration for VM
You can skip configuring anything in Monitoring. Proceed to Review and Create and then click Create to deploy your new virtual machine.
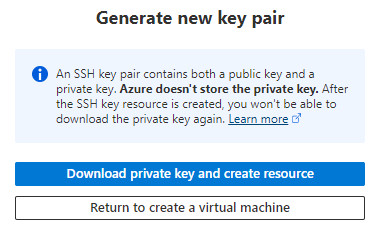
Once the deployment starts, you’ll be prompted to download a private key. Click on Download private key and create resource. This will save a .pem file to your local machine. Keep this file safe and remember its location, as you’ll need it to connect to your server.
 Download Private Key for Azure VM Access
Wait for the deployment to complete. Once done, go to your newly created resource, and then click on Networking. Click on the SSH inbound port rule to enhance security. Initially, SSH access is open to all IP addresses, but it’s best to restrict it to your specific IP address or IP range. This limits SSH access only to trusted locations, adding a layer of security to your Minecraft server.
 Securing SSH Access to Azure VM
After saving the SSH rule changes, take note of your virtual machine’s Public IP address. You will need this to connect to your Minecraft server.
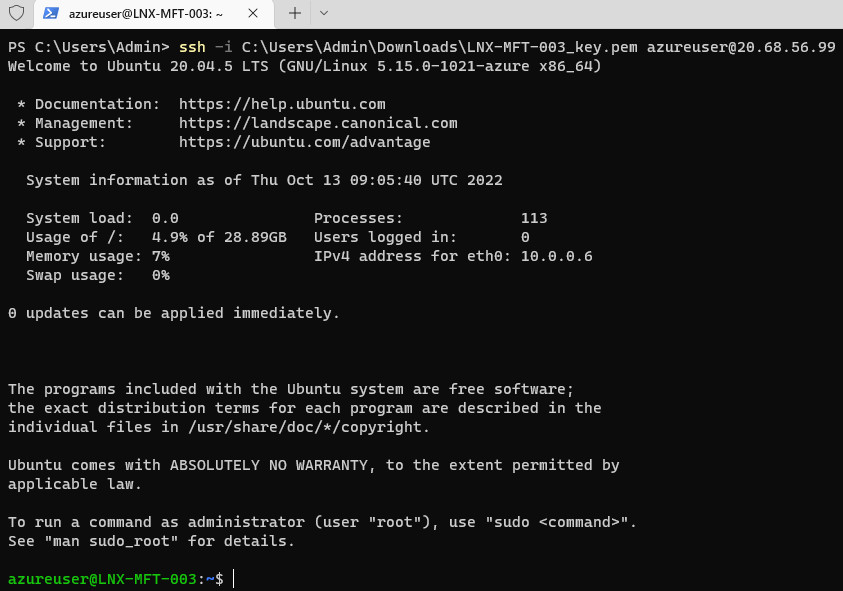
To connect to your server, use an SSH client like Windows Terminal. Open your terminal and use the following command, replacing the IP address and path to your .pem key with your actual details:
ssh -i C:UsersAdminDownloadsLNX-MFT-003_key.pem [email protected]This command establishes a secure connection to your Azure virtual machine.
 Successful SSH Connection to Azure VM
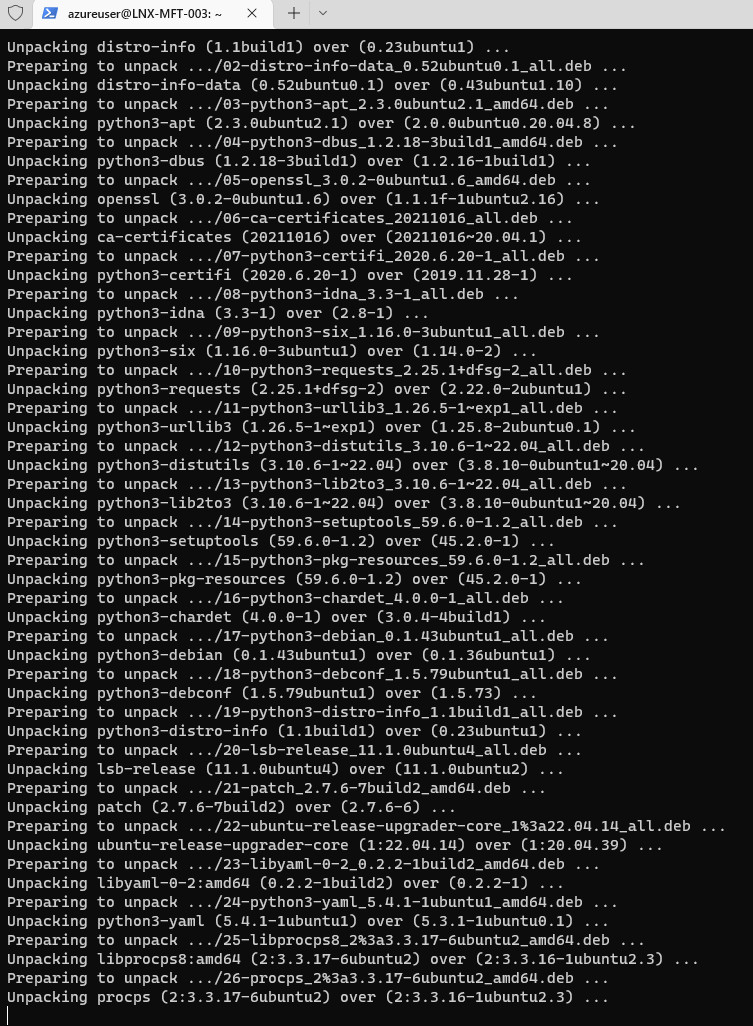
Once connected, it’s a good practice to upgrade the Ubuntu server to the latest release. Run this command:
sudo do-release-upgrade -dThis process might take some time and might require you to respond to prompts in the console.
 Ubuntu Upgrade Process on Azure VM
After the upgrade completes, you’ll likely need to restart the system. Let it reboot, and then reconnect via SSH using Windows Terminal.
Next, we need to update the application packages, install Java (which Minecraft requires), install screen (to keep the server running in the background), and open the firewall for Minecraft server traffic. Run these commands in sequence:
sudo apt update
sudo apt install openjdk-17-jre-headless
sudo apt install screen
sudo ufw allow 25565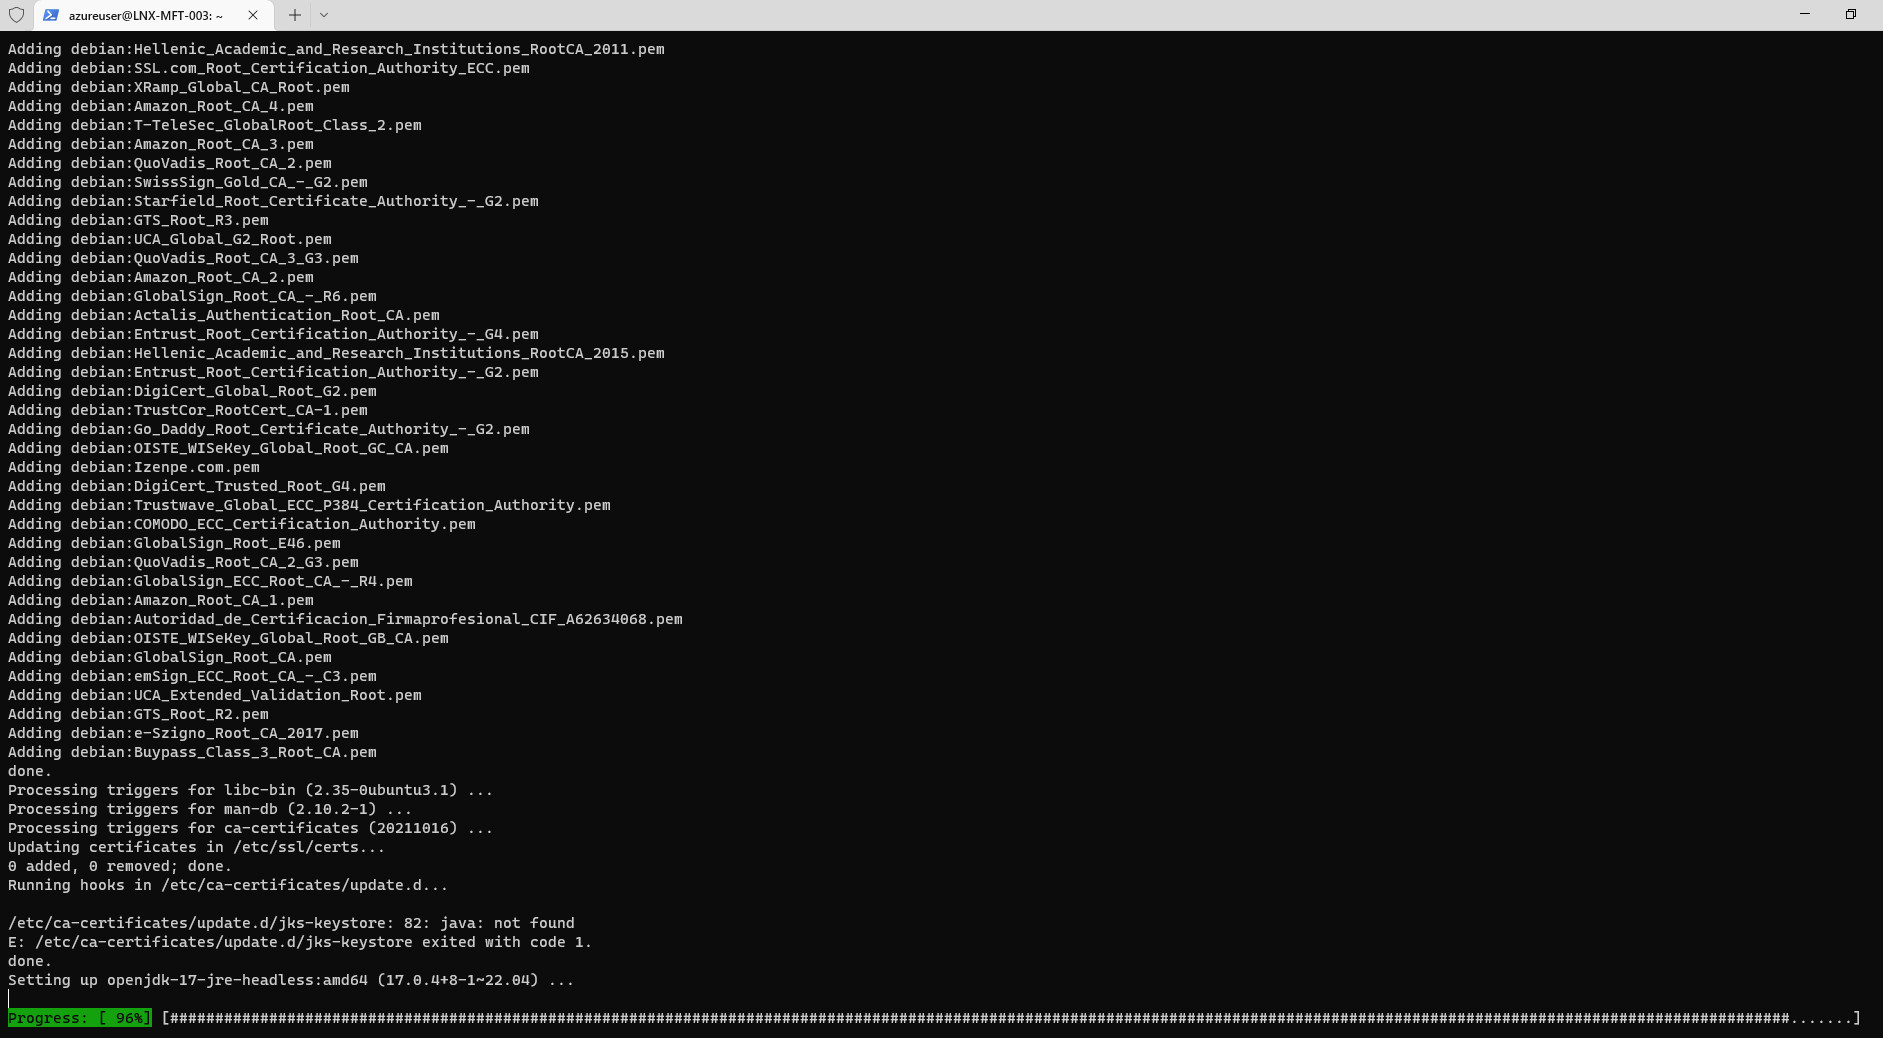 Installing Minecraft Server Dependencies on Ubuntu
Now, you need to download the Minecraft server software. Visit the official Minecraft server download page: https://www.minecraft.net/en-us/download/server. Find the download link for the Java server version. Right-click on the “Download Minecraft server jar” link and choose “Copy Link Address”.
Use wget in your SSH terminal to download the server file. Paste the link you copied from the Minecraft website, replacing the example link below with the actual link:
wget https://piston-data.mojang.com/v1/objects/f69c284232d7c7580bd89a5a4931c3581eae1378/server.jarThis will download the server.jar file to your current directory on the VM.
It’s a good idea to rename the file to include the Minecraft version number for easier management. Replace 1.19.2 with the actual version you downloaded:
mv server.jar minecraft_server.1.19.2.jarNow, start a screen session to keep the server running even after you disconnect from SSH:
screenInside the screen session, launch the Minecraft server using Java. Ensure the jar file name matches the one you renamed it to:
java -Xms1024M -Xmx1024M -jar minecraft_server.1.19.2.jar noguiRunning this command for the first time will generate an error and stop because you haven’t accepted the Minecraft End User License Agreement (EULA). This is expected.
 Minecraft Server EULA Acceptance Error
To fix this, you need to edit the eula.txt file that was created in the server directory. Use a text editor like nano:
nano eula.txtIn the eula.txt file, change eula=false to eula=true to accept the Minecraft EULA.
eula=truePress Ctrl+O, then Enter to save in nano, and Ctrl+X to exit.
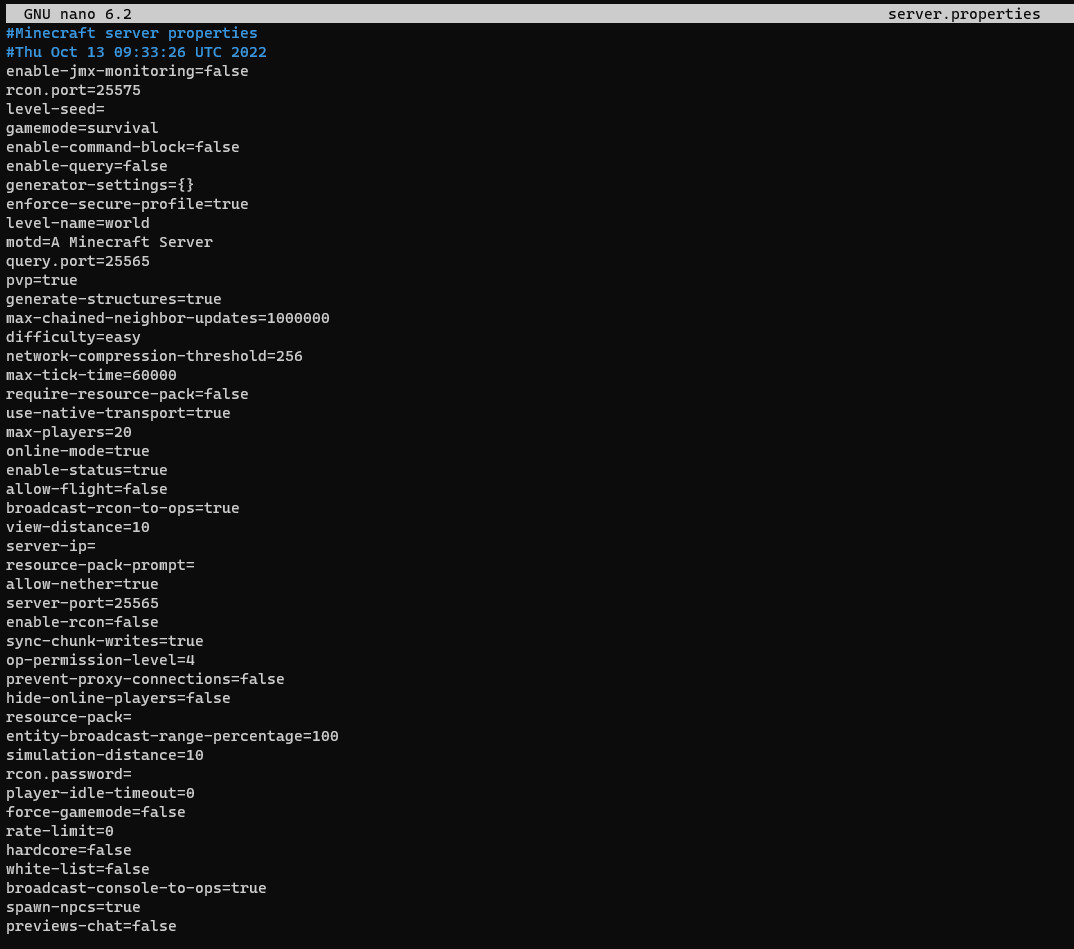
You can also customize your server settings by editing the server.properties file:
nano server.propertiesThis file contains numerous settings you can adjust, such as game mode, difficulty, PvP settings, server port, and more. Customize these settings to your preferences.
 Minecraft Server Properties Configuration
Now, start the Minecraft server again with an increased memory allocation for better performance. Adjust -Xmx4G to allocate up to 4GB of RAM, or more if needed for more players or mods:
java -Xms1024M -Xmx4G -jar minecraft_server.1.19.2.jar noguiFinally, allow inbound Minecraft traffic in Azure by creating a new inbound port rule in your Azure Virtual Machine’s networking settings. Similar to the SSH rule, for enhanced security, you can restrict this rule to specific IP addresses or ranges of your players.
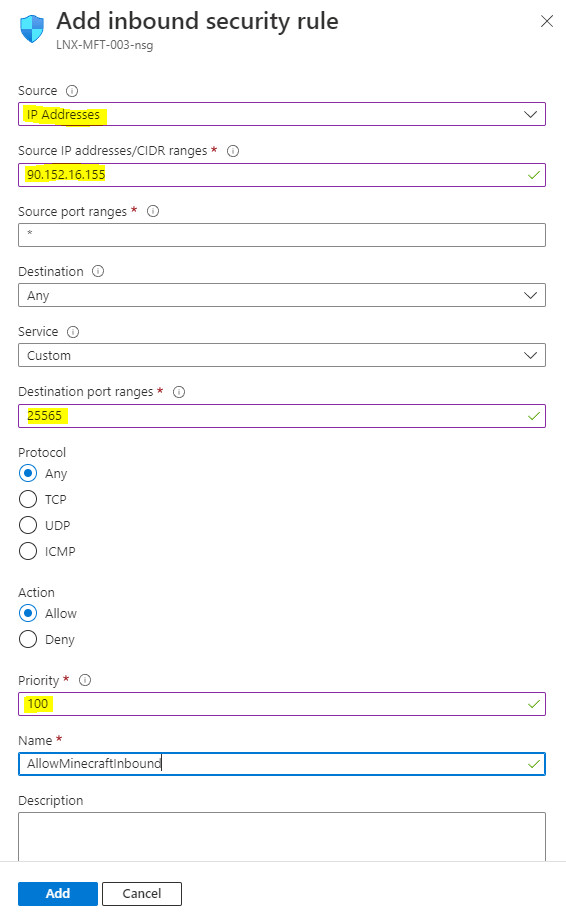 Configuring Inbound Port Rule for Minecraft Traffic
If you prefer to manually start the Minecraft server each time you power on the VM, then the basic setup is complete! You can now launch your Minecraft client, enter the public IP address of your Azure VM, and connect to your new Minecraft server.
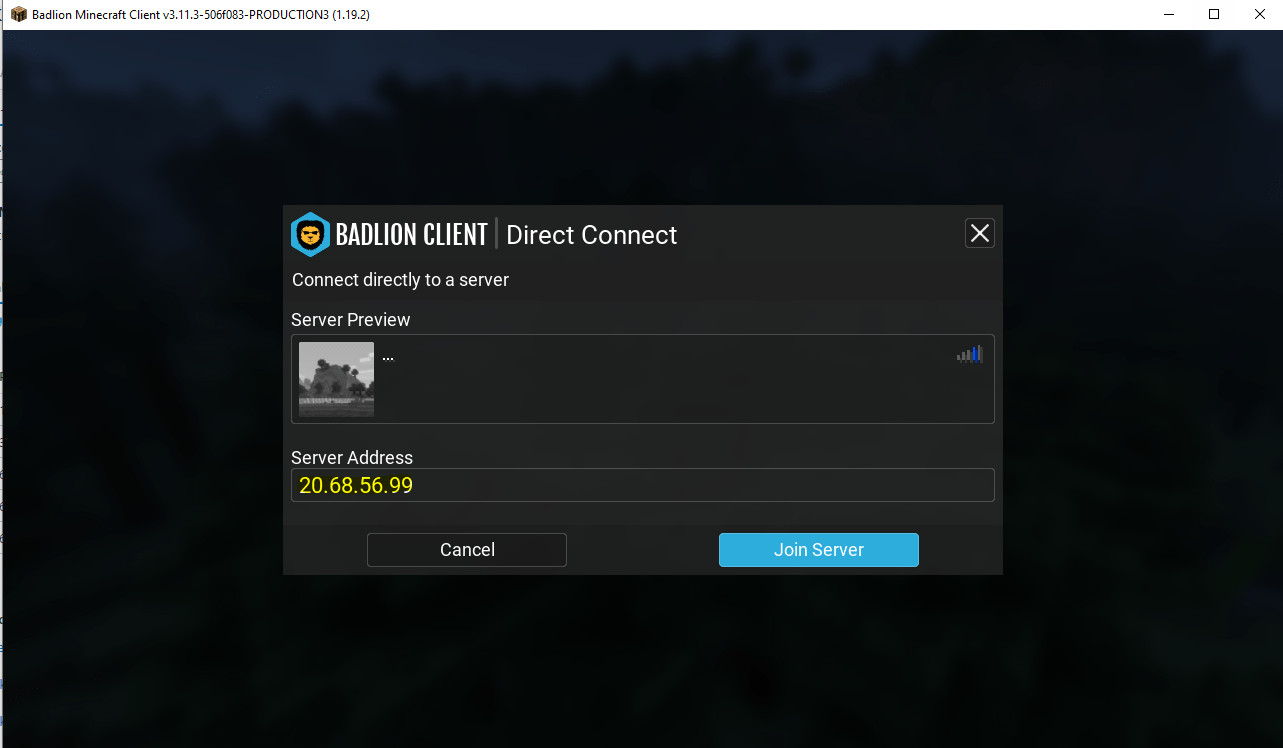 Minecraft Client Connection to Server
Once connected, you and your friends can start playing Minecraft on your dedicated server!
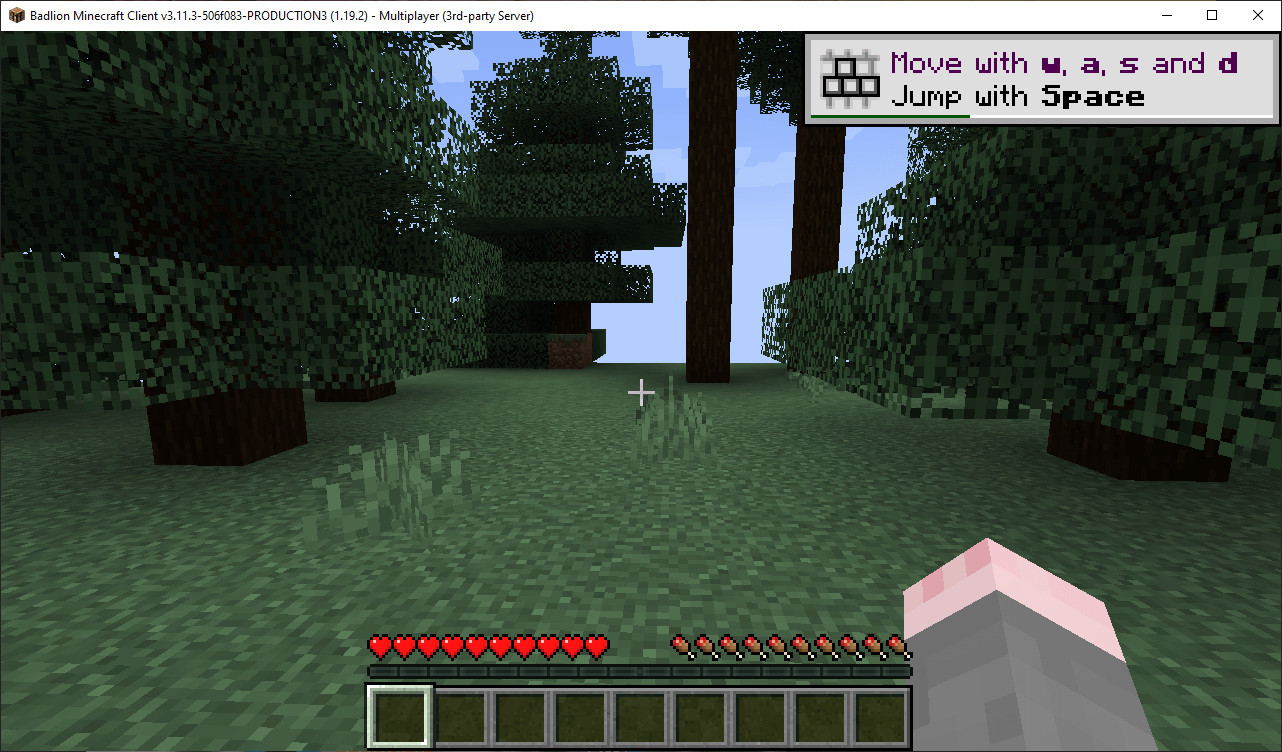 Minecraft Server Running Successfully
However, if you want the Minecraft server to start automatically whenever you start your Azure VM, follow the next steps.
Setting Up Minecraft Server to Start on VM Boot
For automatic startup, you need to configure a systemd service. First, log back into your VM via SSH.
Run these commands to create a dedicated directory for Minecraft server files and move the necessary files into it:
sudo mkdir /home/minecraft
sudo mv eula.txt /home/minecraft/eula.txt
sudo mv server.properties /home/minecraft/server.properties
sudo mv minecraft_server.1.19.2.jar /home/minecraft/minecraft_server.1.19.2.jar
Next, create a systemd service file:
cd /etc/systemd/system
sudo touch minecraft.service
Edit the minecraft.service file using nano:
sudo nano minecraft.servicePaste the following configuration into the file:
[Unit]
Description=Start Minecraft
After=network.target

[Service]
Type=simple
ExecStart=/root/start_minecraft_server.bash
TimeoutStartSec=0

[Install]
WantedBy=default.target
Save the file and exit nano. Now, make the service file executable and create the startup script:
sudo chmod +x /etc/systemd/system/minecraft.service
sudo touch /root/start_minecraft_server.bash
Edit the startup script file:
sudo nano /root/start_minecraft_server.bashAdd the following content to the script. You can adjust the Java memory parameters as needed:
#!/bin/bash
#Standard Minecraft
cd /home/minecraft
exec java -Xms1024M -Xmx4G -jar minecraft_server.1.19.2.jar nogui
Save the script and exit nano. Make the script executable and enable and start the Minecraft service:
sudo chmod +x /root/start_minecraft_server.bash
sudo systemctl daemon-reload
sudo systemctl enable minecraft.service
sudo systemctl start minecraft.service
sudo systemctl status minecraft.service
If everything is set up correctly, the status command should show that the Minecraft service is active and running.
 Minecraft Systemd Service Status
Finally, reboot your Azure VM:
sudo rebootAfter rebooting, your Minecraft server should automatically start without any manual intervention. You and your kids can now enjoy seamless Minecraft sessions on your Azure-hosted server.
Running a Minecraft server on Azure, especially with auto-shutdown and careful management, can be incredibly cost-effective. Enjoy creating new worlds and adventures with your friends! And if you ever need more robust or managed server solutions, remember to check out rental-server.net for all your server hosting needs.