
Turning your home into a personal entertainment hub is easier than you might think. With readily available hardware and user-friendly software, creating your own video streaming server at home is a fantastic project for anyone looking to access their media library on any device, anywhere. This guide will walk you through the essentials of setting up a home video streaming server, allowing you to enjoy your movies, TV shows, and home videos throughout your home network and even remotely.
Understanding the Basics of a Home Streaming Server
At its core, a home video streaming server is a centralized system that stores your video files and makes them accessible to various devices like smart TVs, computers, tablets, and smartphones. Think of it as your personal Netflix, but instead of relying on a subscription service, you control the content and the platform. This setup offers numerous benefits:
- Centralized Media Library: Organize all your videos in one place for easy access.
- Access Anywhere: Stream your media within your home network and, with some configuration, even when you are away from home.
- Device Compatibility: Access your library from a wide range of devices, regardless of their operating system.
- Cost-Effective: Avoid ongoing subscription fees of streaming services by using media you already own.
- Personalized Experience: Curate your own content and create a streaming experience tailored to your preferences.
To get started, you’ll need to consider a few key components: the hardware for your server, the software to manage and stream your media, and the devices you’ll use to watch your videos. Let’s break down each of these aspects.
Step 1: Choosing Your Server Hardware
The foundation of your home video streaming server is the hardware it runs on. The demands on this hardware depend largely on your streaming needs, such as the video quality you intend to stream, the number of simultaneous users, and whether you’ll need to transcode videos. Here are some popular hardware options:
Repurposed Computer
An old desktop or laptop can be an excellent and cost-effective starting point. If you have a computer lying around that’s no longer your primary machine, it can be given a new lease on life as a media server.
- Pros: Cost-effective (if you already own one), familiar operating system, easily expandable storage.
- Cons: Can be power-inefficient compared to dedicated NAS devices, might be noisy, potentially larger footprint.
For basic streaming up to 1080p, even older hardware can suffice. However, for 4K streaming and transcoding, you’ll need to consider the processor (CPU) and RAM. Plex, for example, recommends at least an Intel Core i3 and 2GB of RAM for basic operation, but an Intel Core i7 or better for smooth 4K transcoding.
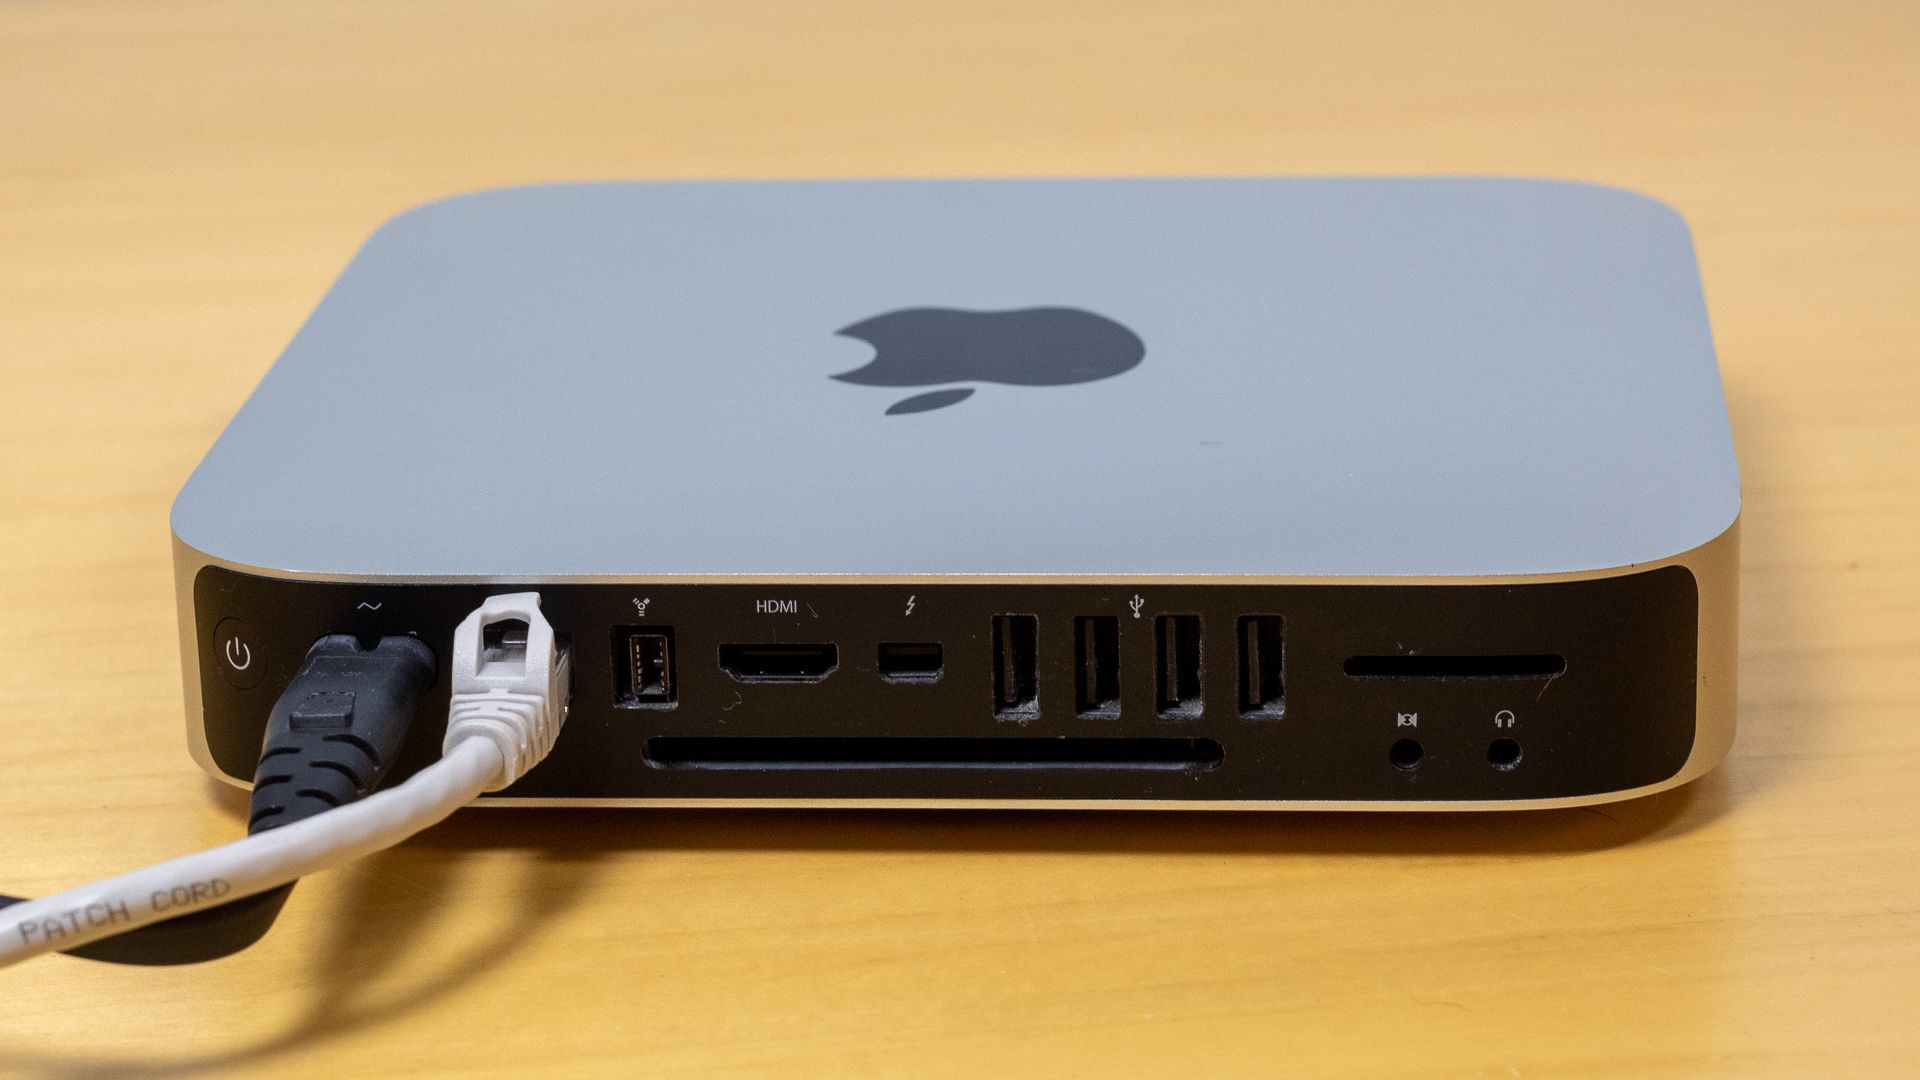 Power and ethernet cable plugged into the back of an Apple Mac Mini
Network Attached Storage (NAS) Device
A NAS drive is a dedicated device designed for network storage and file sharing. Many modern NAS devices are powerful enough to run media server software directly.
- Pros: Energy-efficient, designed for 24/7 operation, often come with built-in media server capabilities, compact form factor.
- Cons: Can be more expensive upfront than repurposing old hardware, transcoding capabilities vary depending on the model.
If you plan to build a more robust and long-term media server solution, a NAS is a worthwhile investment. Higher-end NAS models often include hardware transcoding capabilities, making them ideal for streaming high-resolution content to multiple devices simultaneously.
Mini PC
Mini PCs offer a balance between the power of a desktop and the compactness of a NAS. They are small, relatively energy-efficient, and can pack enough processing power for media server tasks.
- Pros: Compact, more powerful than some NAS devices for transcoding, versatile, often quieter than full-sized desktops.
- Cons: Can be more expensive than repurposing old hardware, expansion options might be limited compared to desktops.
Devices like the Apple Mac Mini or Intel NUC are popular choices for mini PC media servers, offering a good blend of performance and size.
Step 2: Choosing Your Media Server Software
Once you’ve decided on your server hardware, the next crucial step is selecting the media server software. This software will manage your media library, handle streaming, and provide user interfaces for accessing your content. Here are some top software options:
Plex
Plex is one of the most popular and user-friendly media server options. It excels in its ease of use, rich interface, and wide device compatibility.
- Key Features: Beautiful interface, automatic media organization, metadata fetching (movie posters, descriptions, etc.), live TV and DVR capabilities (with Plex Pass), remote access, extensive client apps for virtually every platform.
- Pricing: Free version with core features, Plex Pass subscription unlocks premium features like hardware transcoding, offline downloads, and mobile sync.
Plex is a great all-around choice, especially if you value ease of use and a polished user experience.
Jellyfin
Jellyfin is a free and open-source alternative to Plex, aiming to provide similar features without any subscription fees.
- Key Features: Open-source and completely free, media organization, metadata management, live TV and DVR (in beta), remote access, client apps for various platforms.
- Pricing: Completely free.
Jellyfin is an excellent option for those who prefer open-source software and want a feature-rich media server without subscription costs. While it may not have the same level of polish as Plex in some areas, it’s rapidly developing and offers a compelling alternative.
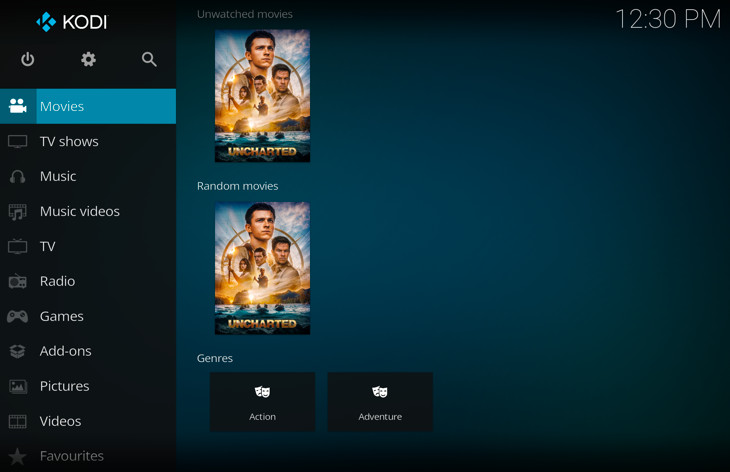 Kodi media center front-end
Kodi
Kodi is a powerful, free, and open-source media player and entertainment hub. While it can act as a media server, it’s primarily designed as a media center application for direct playback on a TV-connected device.
- Key Features: Highly customizable interface, extensive plugin support (for streaming services, games, etc.), media organization, local playback, can function as a UPnP/DLNA server.
- Pricing: Completely free.
Kodi is ideal if you want your server device to also function as your primary media playback device connected to your TV. Its flexibility and customization options are unmatched.
Emby
Emby is another media server software with a similar feature set to Plex and Jellyfin, offering both free and premium options.
- Key Features: Media organization, metadata, live TV and DVR, remote access, client apps, user management.
- Pricing: Free version with core features, Emby Premiere subscription unlocks premium features.
Emby provides a solid middle ground, offering a balance of features and usability.
Universal Media Server (UMS)
Universal Media Server is a free, open-source DLNA-compliant media server. It focuses on simple streaming over DLNA/UPnP without the bells and whistles of Plex or Jellyfin.
- Key Features: Simple DLNA/UPnP streaming, minimal configuration, wide device compatibility via DLNA.
- Pricing: Completely free.
UMS is a good choice if you primarily need to stream to DLNA-compatible devices like smart TVs and don’t require client apps or extensive media management features.
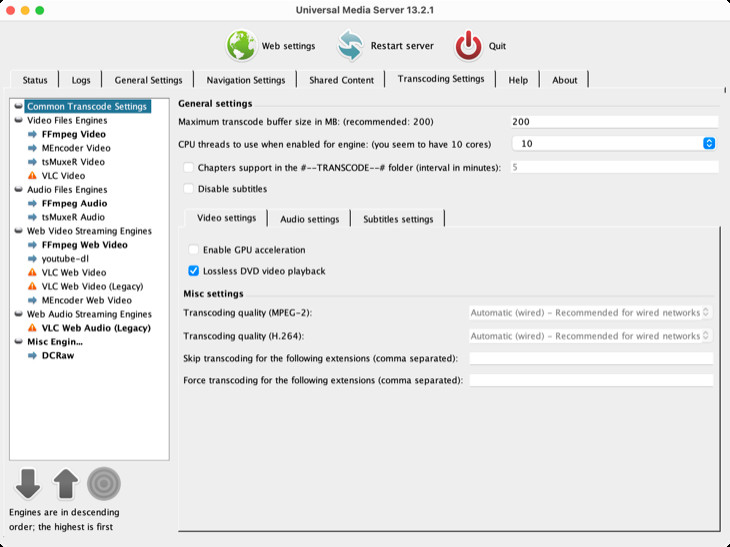 Universal Media Server running on macOS
Step 3: Setting Up Your Server and Software
The setup process will vary slightly depending on your chosen hardware and software, but here are the general steps:
- Install the Operating System (if applicable): If you’re using a repurposed computer or building a NAS, ensure your operating system (Windows, macOS, Linux, or NAS OS) is installed and updated.
- Install Media Server Software: Download and install your chosen media server software (Plex, Jellyfin, Emby, Kodi, UMS) on your server hardware.
- Configure the Software:
- Library Setup: Point the software to the folders where your video files are stored. The software will then scan and organize your media.
- Network Settings: Ensure your server is connected to your home network, ideally via Ethernet for better performance. Configure remote access if you want to stream outside your home network (usually involves port forwarding on your router and possibly setting up a dynamic DNS).
- User Accounts: Set up user accounts if you want to control access to your media library for different users.
- Add Media: Copy your video files to the designated folders that your media server software is monitoring.
- Install Client Apps (if using Plex, Jellyfin, Emby, Kodi): Install the client apps on your streaming devices (smart TVs, phones, tablets, computers).
- Connect and Stream: Open the client app on your device, connect to your server (usually by logging in or automatically discovering the server on your network), and start enjoying your media!
Step 4: Accessing Your Media
The beauty of a home streaming server is the versatility in how you can access your media.
Dedicated Client Apps
For Plex, Jellyfin, Emby, and Kodi, dedicated client apps are available for a wide range of devices. These apps provide the best user experience with optimized playback, navigation, and features specific to each platform. You can find apps for:
- Smart TVs (Samsung, LG, Android TV, etc.)
- Smartphones and Tablets (iOS, Android)
- Streaming Devices (Roku, Apple TV, Amazon Fire TV, NVIDIA Shield)
- Computers (Windows, macOS, Linux)
- Web Browsers (for accessing the server interface and sometimes streaming)
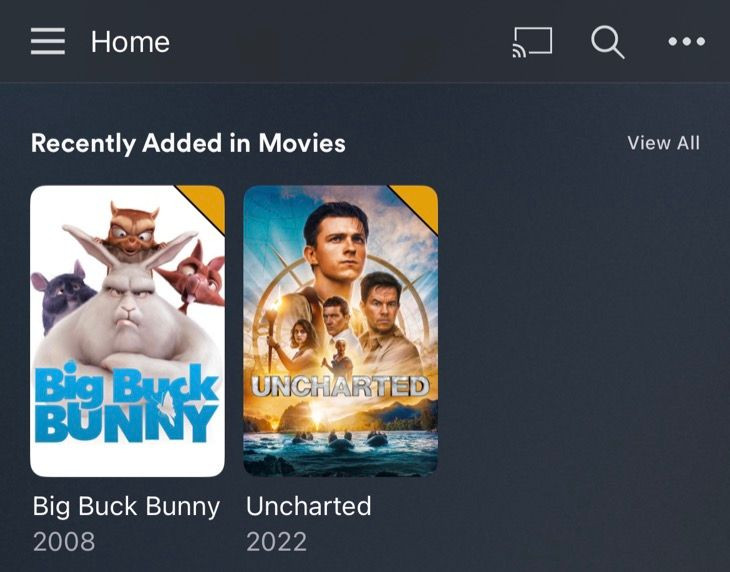 Recently added Plex media in the iOS app
DLNA/UPnP Streaming
If you choose a DLNA-compliant server (like UMS, or Plex, Jellyfin, and Kodi can also act as DLNA servers), you can stream to any DLNA-compatible device without needing a specific client app. Many smart TVs, game consoles, and media players support DLNA. You can usually find your media server listed as a source in your device’s media input settings.
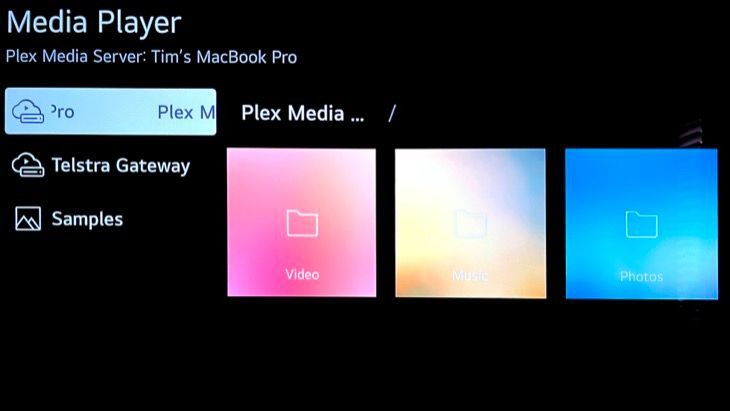 Access UPnP server on LG C2 TV
Step 5: Expanding Your Server Capabilities
Once your basic server is up and running, you can explore further enhancements:
Network Attached Storage (NAS) Integration
If you initially used a computer, consider migrating your server to a dedicated NAS device for improved efficiency, reliability, and potentially built-in hardware transcoding. Many NAS devices offer easy installation of Plex, Jellyfin, Emby, and other media server software.
Storage Expansion
As your media library grows, you’ll need more storage. External hard drives are a simple way to add storage to a computer or mini PC server. For NAS devices, you can often add more drives internally or expand using expansion units. Consider using high-capacity hard drives designed for NAS usage for optimal reliability.
Advanced Features
Explore the advanced features of your chosen media server software. This might include:
- Hardware Transcoding: Offload video transcoding to a dedicated GPU or hardware encoder for smoother streaming, especially for 4K and remote access.
- Live TV and DVR: Set up live TV streaming and recording if your software and hardware support it.
- Plugins and Extensions: Extend the functionality of Kodi, Plex, or Emby with plugins for additional content sources or features.
Conclusion
Creating a home video streaming server is a rewarding project that puts you in control of your media consumption. By choosing the right hardware and software for your needs, you can build a powerful and versatile entertainment system that provides access to your video library throughout your home and beyond. Whether you opt for a simple setup with a repurposed computer or a more advanced NAS-based server, the steps outlined in this guide will help you get started on your journey to building your own personal streaming service. Enjoy your movies and shows, streamed your way!