
The wedding cake cutting ceremony is a timeless tradition, a beautiful symbol of unity and the first sweet treat shared as a married couple. Whether you envision a grand tiered cake or a charming wedding pie, the Cake Serving Set you choose plays a significant role in this memorable moment. However, finding a cake serving set that perfectly embodies your style and wedding theme can be surprisingly challenging. Many options are either too generic, overly ornate, or simply beyond budget.
But what if you could create a cake serving set that is uniquely yours, reflecting your personality and adding a personal touch to your special day? With the magic of DIY and readily available tools, personalizing your cake serving set is not only achievable but also a fun and rewarding project. Let’s explore how you can transform an ordinary cake serving set into a cherished keepsake, perfectly tailored to your wedding celebration.
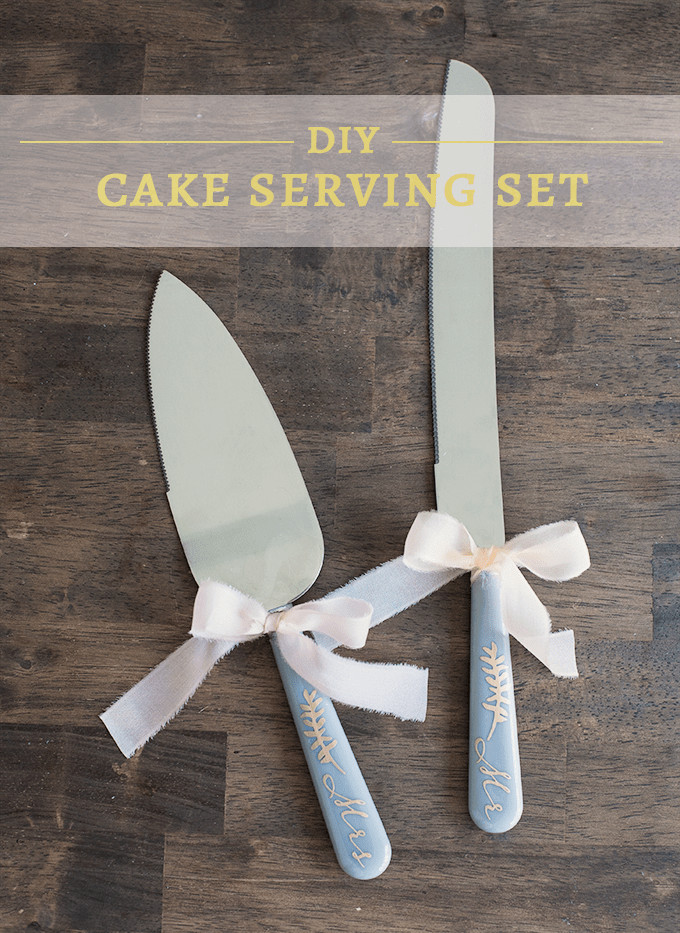
Crafting a DIY Mr and Mrs Cake Serving Set: A Step-by-Step Guide
This tutorial will guide you through creating an elegant “Mr and Mrs” cake serving set using a Cricut machine and adhesive foil. This project is perfect for adding a touch of shimmer and personalization to your wedding, and it’s easier than you might think!
Here’s what you’ll need to create your personalized cake serving set:
 Supplies for DIY Mr and Mrs Cake Serving Set
Supplies:
- Cake Serving Set: Choose a plain cake serving set as your base. Stainless steel sets work wonderfully for this project.
- Cricut Explore Air™: This cutting machine will precisely cut your design from adhesive foil.
- Cricut Adhesive Foil: Select your favorite color of adhesive foil. Gold is used in this example for a classic wedding touch, but silver, copper, or even colored foils can be used to match your wedding theme.
- Cricut Transfer Paper: Transfer paper is essential for easily moving your delicate foil design onto the cake server handles.
- Cricut Tool Set: This set includes a Scraper and Weeder, both crucial for working with adhesive foil.
- Ribbon (Optional): Ribbon in your wedding colors can add an extra decorative element to your finished cake serving set.
Step-by-Step Instructions:
Step 1: Design and Size Your “Mr” and “Mrs” Graphics in Cricut Design Space™
Begin by uploading “Mr” and “Mrs” graphics into your Cricut Design Space™. Opt for simple image uploads as these designs are text-based and straightforward. Resize the graphics to fit your cake server handles. Measure the width of your server handles to ensure the design fits appropriately. In this example, the handles are approximately 1/2 inch wide. Arrange both “Mr” and “Mrs” designs together in the workspace to cut them simultaneously and conserve adhesive foil. “Attach” the layers in Design Space to keep their relative positions during cutting. Save your project and prepare to cut!
 DIY Mr and Mrs Cake Serving Set Design in Cricut Design Space
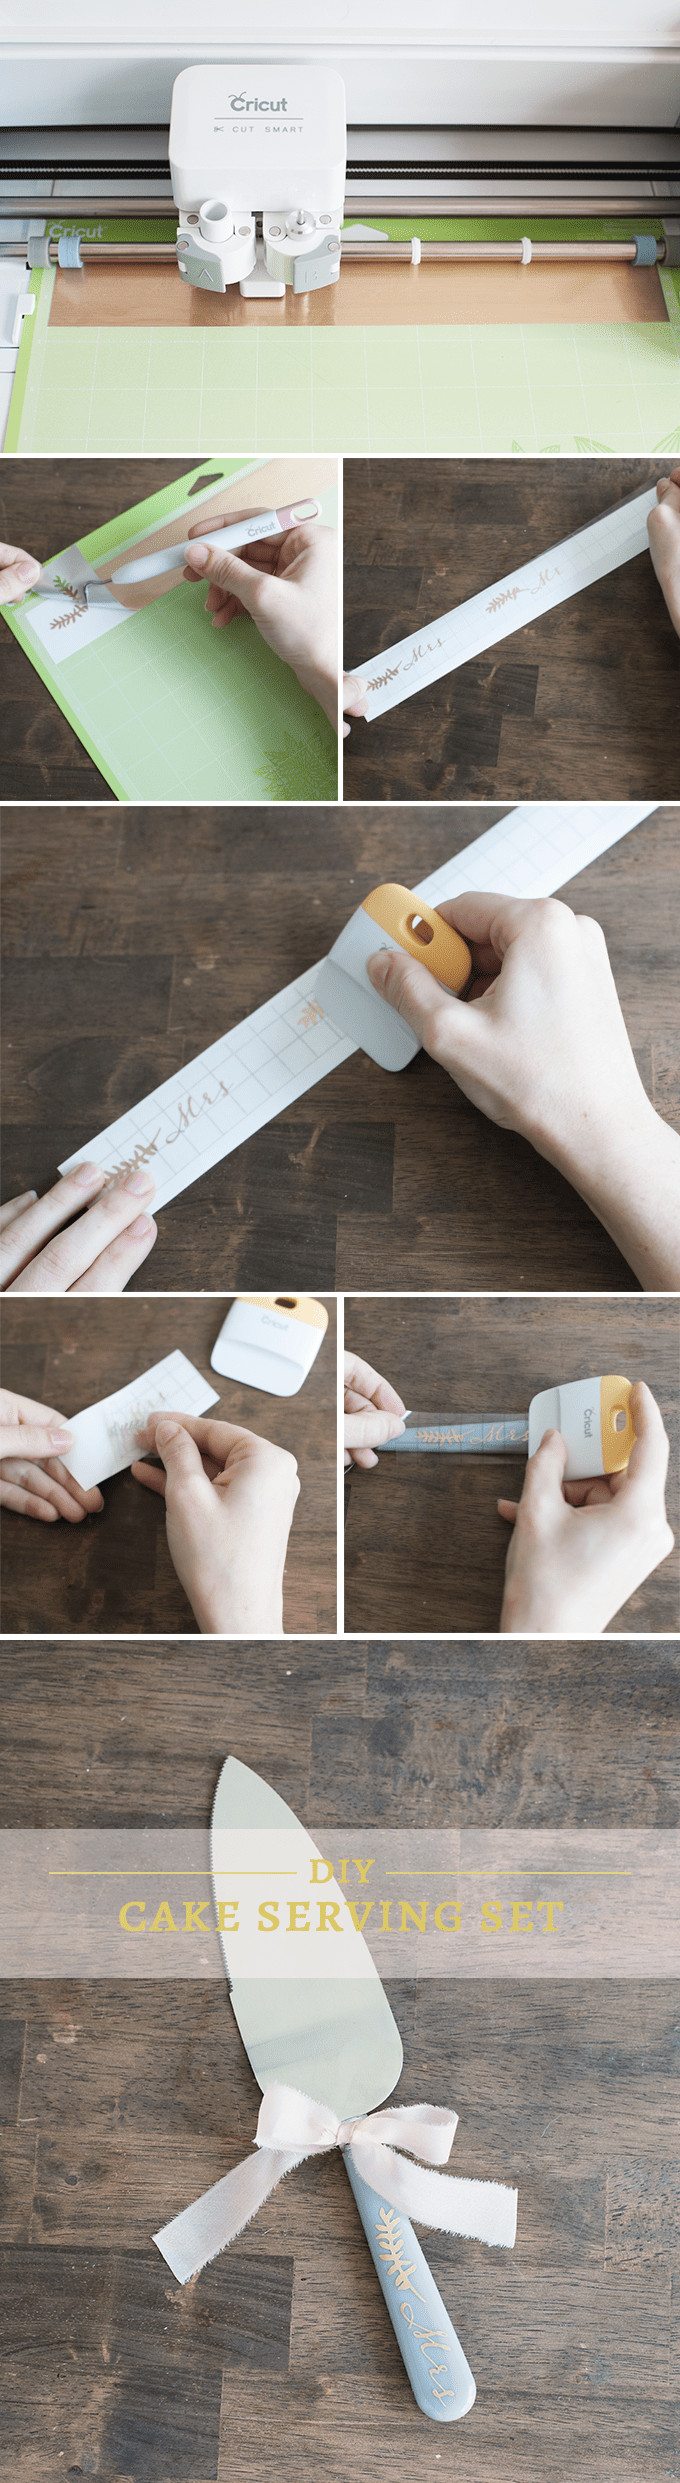
Step 2: Cut Your Design from Adhesive Foil Using Cricut
Cut a piece of adhesive foil slightly larger than your design to provide some margin. Attach the foil to your Cricut cutting mat and load it into the machine. Adjust your Cricut machine settings. Set the material dial to “Custom” and then choose “Adhesive Foil” from the custom materials list in Design Space. Initiate the cutting process by pressing the blinking “C” button on your Cricut machine.
Step 3: Weed Away Excess Foil
Once the Cricut has finished cutting, carefully remove the mat. Use the weeding tool from your Cricut Tool Set to peel away the excess foil around your “Mr” and “Mrs” designs. Pay close attention to detail and remove all the tiny pieces within the lettering to reveal your clean design ready for transfer.
Step 4: Apply Transfer Paper to Your Foil Design
Cut a piece of transfer paper that is the same size as your foil designs. Peel off the backing from the transfer paper and carefully place it over your weeded foil design. Use the scraper tool to firmly rub over the transfer paper, ensuring the foil design adheres completely to the transfer paper. This step is crucial for a clean and easy transfer to the cake servers.
 Applying Transfer Paper to Cricut DIY Mr and Mrs cake serving set
Step 5: Transfer the Foil Design to the Cake Server Handles
Carefully peel the transfer tape away from the foil backing at a 45-degree angle. Ensure that the entire foil design is lifted with the transfer tape. Position the transferred foil design onto the handle of your cake server, exactly where you want it to be placed. Use the scraper tool again to firmly adhere the foil design to the server handle. Once secure, gently peel away the transfer tape, leaving the “Mr” or “Mrs” foil design beautifully adhered to the cake server handle. Repeat this process for the other piece of your cake serving set.
Step 6: Add Finishing Touches
For an extra touch of elegance, tie ribbons in your wedding colors around the handles of your personalized cake serving set. This step is optional but adds a beautiful and cohesive detail that ties into your wedding décor.
 Finished gold Mr and Mrs cake servers with ribbons
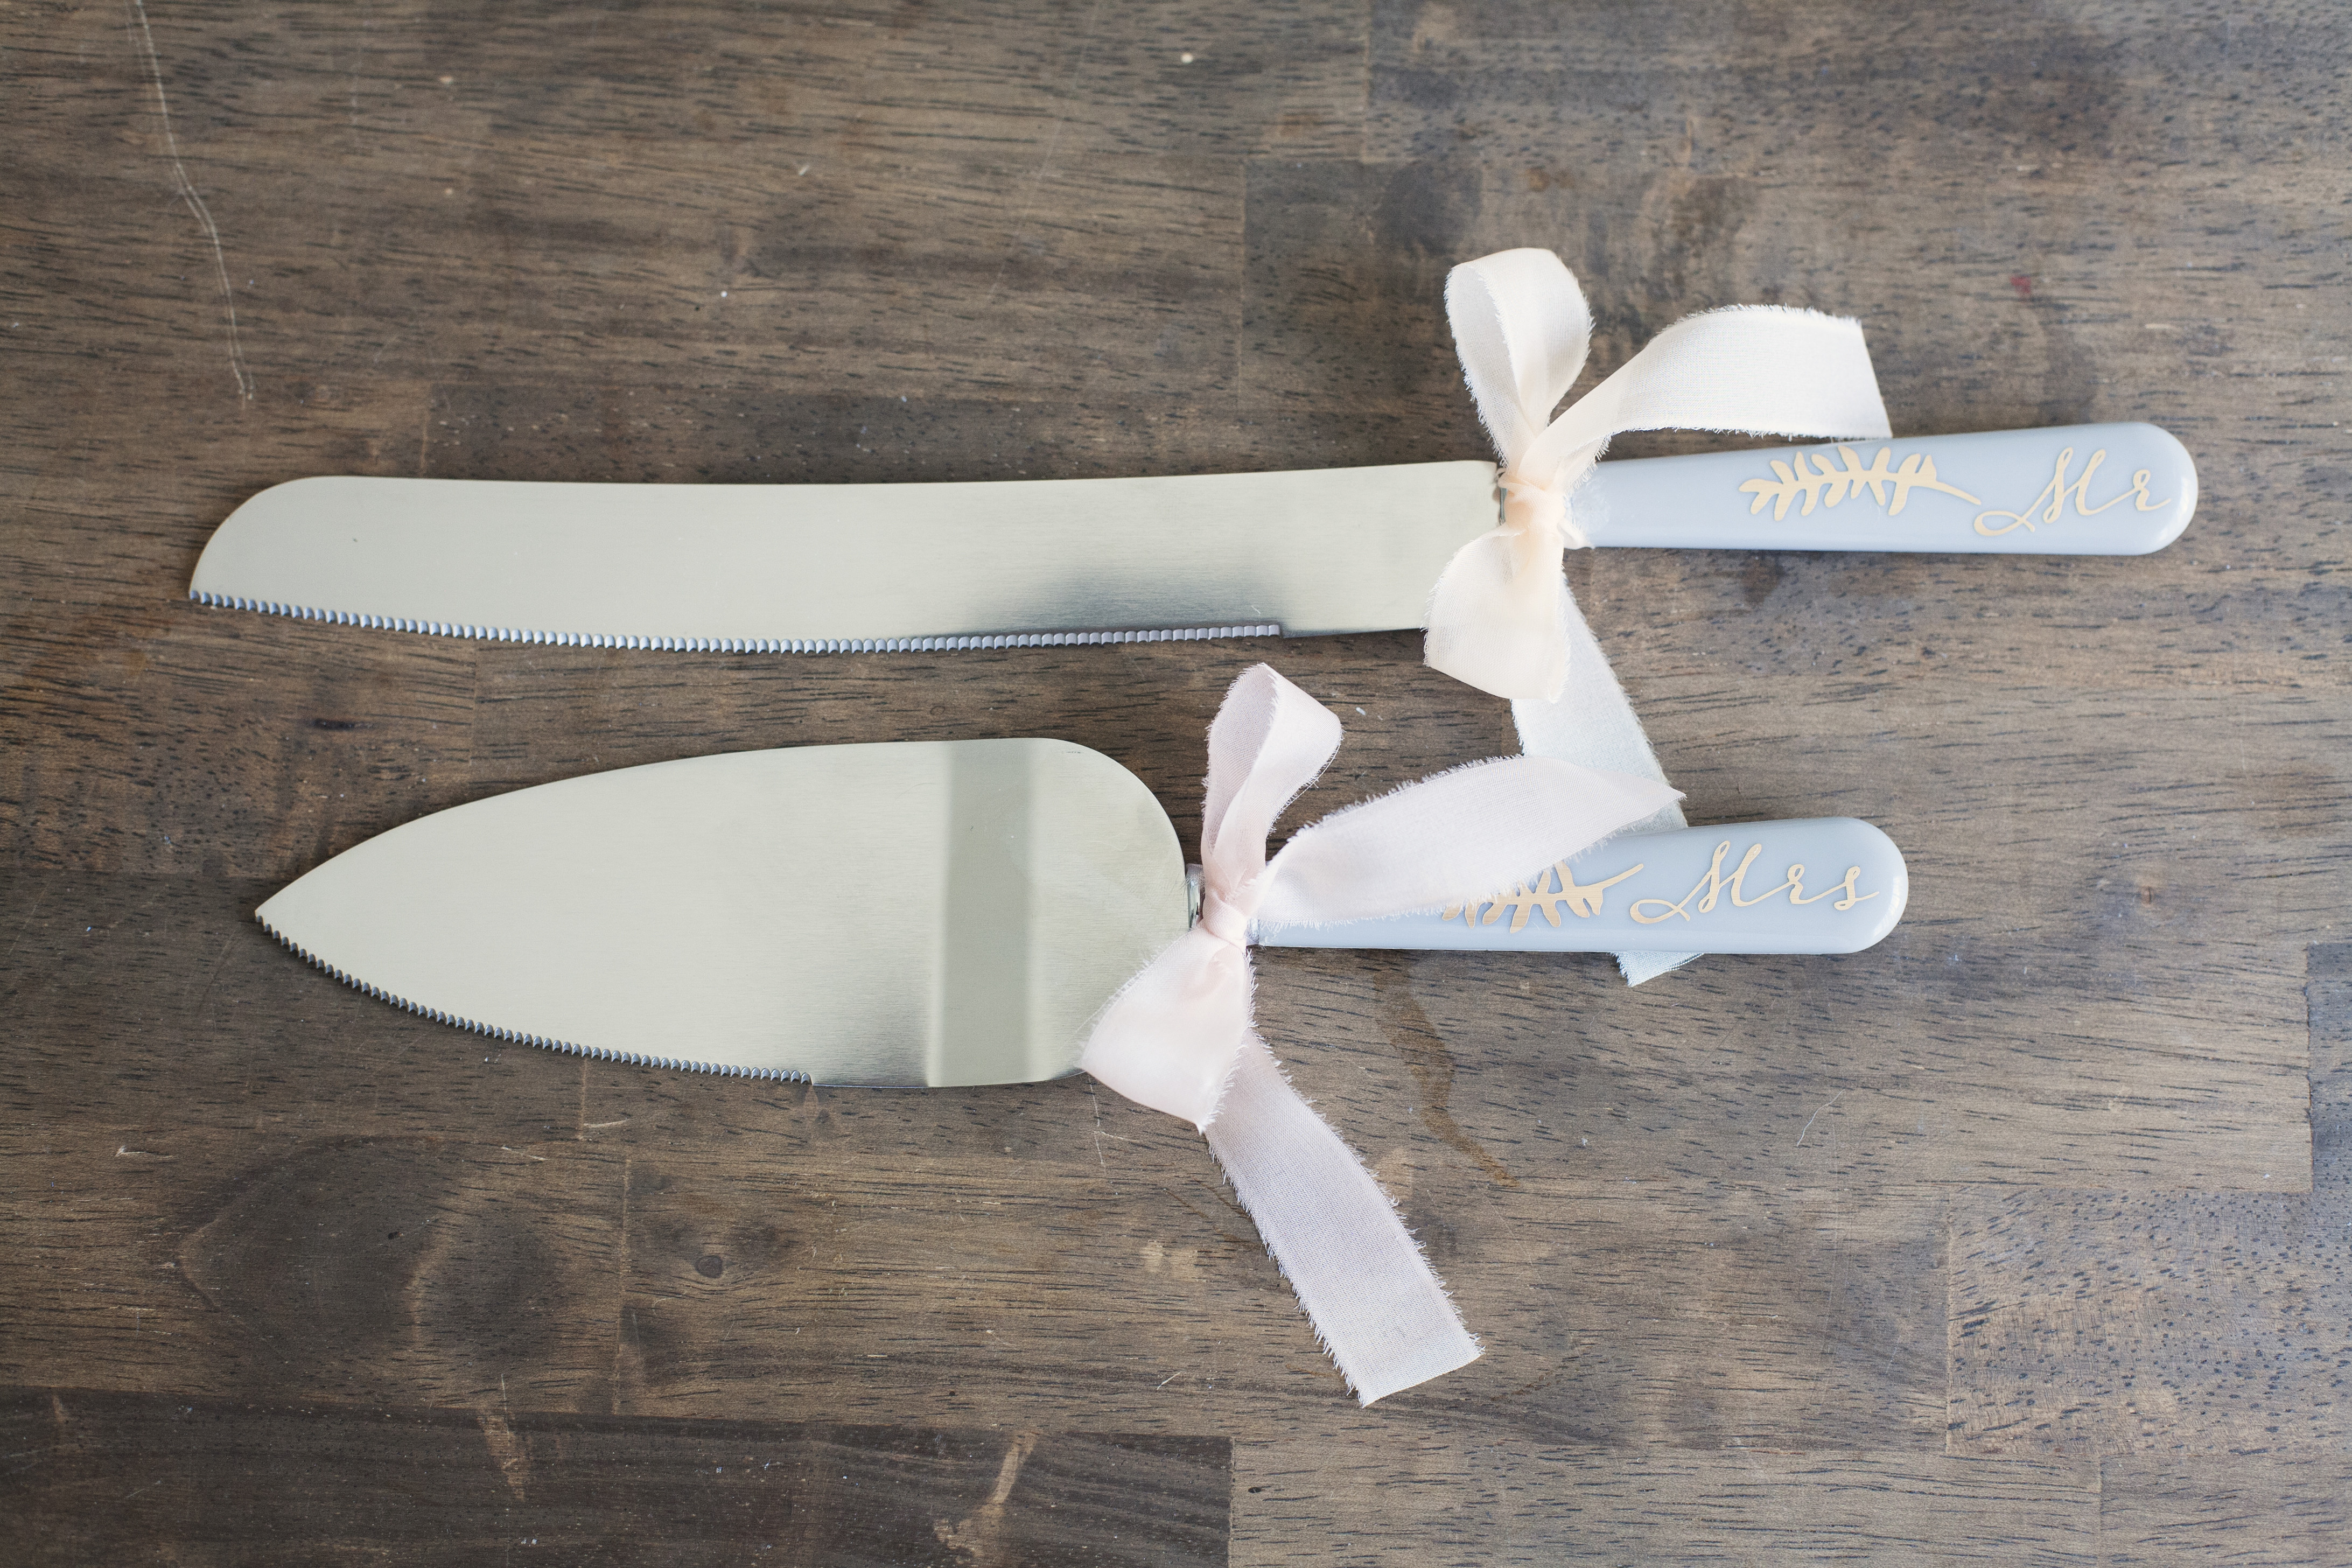 Close up of Mr and Mrs cake servers
Congratulations! You have now created a beautiful and personalized cake serving set that is perfect for your wedding day. This DIY project not only adds a unique and heartfelt touch to your cake cutting ceremony but also results in a wonderful keepsake to cherish for years to come. Enjoy showcasing your creativity and adding a personal touch to your wedding traditions.