
Experiencing slow internet speeds or connectivity hiccups on your brand-new Galaxy S24? While Samsung’s latest flagship boasts cutting-edge technology and performance, occasional network issues can still arise. One effective, yet often overlooked solution is to Change Dns Server In Galaxy S24. This simple tweak can sometimes significantly improve your browsing experience, especially on Wi-Fi networks.
DNS servers are essentially the internet’s phonebook, translating website names into numerical IP addresses that devices like your Galaxy S24 can understand. When your device struggles to connect to these servers, or if the default servers provided by your internet service provider (ISP) are slow or unreliable, you might encounter problems loading websites or using online apps.
[  Network switch with ethernet cables, illustrating local area network infrastructure and DNS server function in routing internet traffic for devices like Galaxy S24.
](/dns-server-guide/)
Why Consider Changing DNS Server on Your Galaxy S24?
Just like any technology, DNS servers can experience technical difficulties or become overloaded. This can lead to slower internet browsing speeds and connection problems on your Galaxy S24. While restarting your router often resolves temporary glitches, sometimes the issue lies with the DNS server itself.
By default, your Galaxy S24, like most devices, automatically uses the DNS server assigned by your current Wi-Fi network or mobile data provider. However, you have the option to override this and choose a different DNS server. This can be particularly beneficial if:
- Your ISP’s DNS servers are slow: Some default DNS servers are simply less efficient than others, leading to sluggish page loading times.
- Experiencing connectivity issues: If you frequently encounter “website not found” errors or slow loading pages, a faulty DNS server could be the culprit.
- Seeking potentially improved privacy: While not primarily a security measure, some public DNS servers may offer different privacy policies. (For enhanced security, consider a VPN).
Changing the DNS server on your Galaxy S24 affects only your device. Other devices on the same Wi-Fi network will continue to use the default DNS server unless their settings are also changed. For network-wide DNS changes, you would need to modify your router’s settings, which is a different process.
For this guide, we will use Google Public DNS, a popular and reliable free DNS service. To use Google Public DNS on your Galaxy S24, you’ll need to enter dns.google as the hostname. Alternatively, you can use the IPv4 or IPv6 addresses provided below, which might be necessary for some non-Android devices or advanced configurations:
| IPv4 | IPv6 | |
|---|---|---|
| Primary | 8.8.8.8 | 2001:4860:4860::8888 |
| Secondary | 8.8.4.4 | 2001:4860:4860::8844 |
You can use either the Primary or Secondary address as the first or second option in your settings – the order doesn’t matter. If you prefer to use a different DNS provider like Cloudflare or OpenDNS, simply obtain their respective hostnames or IP addresses and use them instead of Google’s.
Before You Begin: Clear Your DNS Cache
Before making any changes to your DNS server settings, it’s a good practice to flush your device’s DNS cache. This cache stores previous DNS lookups, and clearing it can sometimes resolve temporary issues without needing to switch servers. Here’s how to flush the DNS cache on your Galaxy S24 using Chrome browser:
- Open Google Chrome on your Galaxy S24.
- In the address bar, type: chrome://net-internals/#dns and press Enter.
- Click the Clear host cache button.
- Restart your Galaxy S24.
After restarting, browse the internet to see if the issue persists. If you are still experiencing slow speeds or connectivity problems, proceed with changing your DNS server.
Step-by-Step Guide: How to Change DNS Server on Galaxy S24
Changing the DNS server on your Galaxy S24 is a straightforward process within the Android settings. Here’s how to do it:
- Open the Settings app on your Galaxy S24.
- Tap on Connections or Network & Internet (the exact wording may vary slightly depending on your Android version).
- Select More connection settings or Private DNS.
[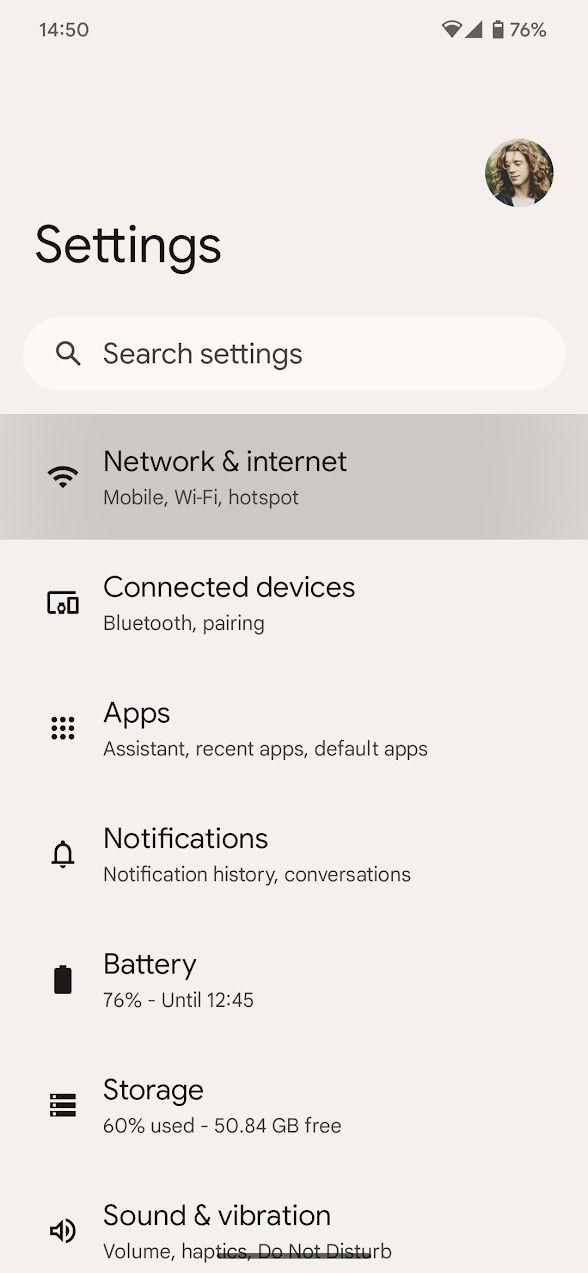 Android 13 Settings menu showing Network & Internet options, step 1 in changing DNS server on Galaxy S24. ]
 - Tap Private DNS.
- Choose Private DNS provider hostname.
- Enter the hostname of your chosen DNS provider. For Google Public DNS, type dns.google.
[ Android Private DNS settings window, step 5 to input custom DNS server like dns.google on Galaxy S24. ]
 - Tap Save.
Once saved, open a web browser and try loading a webpage. If the page loads successfully, you have successfully changed the DNS server on your Galaxy S24. You should now experience internet browsing using your newly configured DNS server.
Keep This DNS Tweak in Mind
Changing the DNS server on your Galaxy S24 can be a helpful troubleshooting step for improving internet connectivity on various Wi-Fi networks, whether you’re at home, work, or traveling. It’s a quick and reversible change that can sometimes make a noticeable difference in your browsing speed and reliability.
However, remember that changing your DNS server primarily addresses connectivity and speed issues, not online security. For enhanced security and privacy on your Galaxy S24, consider using a reputable VPN service in addition to optimizing your DNS settings. Keep this DNS server trick in your digital toolkit for a smoother and faster internet experience on your Galaxy S24 and other Android devices.